

Weddings can be a money pit these days. It’s a huge money-making industry for some, and a couple can easily spend tons of money on a wedding. We were fortunate enough to have families that could help us out with most things, but we still wanted to save some money where we could. Since my then-fiance and I were paying for our own invitations (and I wanted to design it myself), we decided to try and save a few bucks. All you need is a trusty printing company, a design program, and a little creativity.
As we talked to tons of people leading up to our wedding day, we were constantly reminded that not many of them really care about invitations enough to actually warrant spending a small fortune. As my boss stated, “you know, Jason… we all just throw them away eventually.” I had to agree. How many invitations from other weddings do you end up keeping past the wedding date? None. Sure, maybe our parents and maybe a sibling or two… but that wasn’t enough to make us dish out that much moola.
I had been using Nextdayflyers in the Los Angeles area for various jobs over the last few years. They were cheap, good quality, and had fast turnaround. By designing our own invitations, I cut out a lot of the extra cost of many invites. Plus, they were local enough where I could pick them up on my own… eliminating the cost of shipping! Our final cost for 250 invitations, envelopes, and info/map cards: approx $120. If we had cut out the map cards, we would have cut the cost to under $90! (NOTE: we also opted for online RSVPs, which worked wonderfully about 95% of the time). Here are some simple steps to making your own invitations…
1) Pick a good printer. You will want to know before hand what you are ok with and what is a deal-breaker. If you want really fancy shmancy high-quality paper made from fern-fibers, coconut shavings, and pixy dust, your cost will go way up. If you’re ok with cardstock, your price can be kept to a minimum. I picked a 14pt matte finish cardstock because glossy looks like you’re advertising for a drunken night of clubbing. However, if that’s you’re thing, be my guest. I would check out the printer before hand – you can usually ask them for samples of their products. That way, you can feel the quality and thickness of the paper. Our package had envelopes included. Looking back, I would have splurged for better quality linen envelopes, as the stock ones were a tad thin, but it’s not totally necessary.

2) Design around your theme. Hopefully, you have discussed with your fiance what your wedding and your marriage will be about. We decided on a journey/adventure theme because that’s how we saw our lives together. The initial thoughts revolved around trains, travel, etc. However, what evolved was an origami boat on the open sea… sort of an homage to the Great Wave off Kanagawa woodblock. Using my trusty Wacom tablet and Illustrator, I came up with a design that was a mixture of a few wave prints. From there, I used the colors my wife had chosen to color the invitations. While the colors were not all exactly what she gave me, it was close enough that the design looked ok and they still went with the other decor.

I also looked at a number of invitations online and in stores just to make sure I followed standard protocol such as wording, what info should be included, etc. For example, there is specific wording used if it is a church wedding, second wedding, divorced parents, etc. Nobody’s really going to care too much in the end, but I wanted to keep within tradition for this one. Make sure you triple check the spelling of everyone’s name!
3) Print, Stuff, Mail. All you have to do now is upload the files to the printer’s website, pick them up when they’re done, and send them out! Most fast printers can be done within 2 weeks. The printer I use can even print by the next day if you want to pay about $30 more. CAUTION: if you are doing things around the holidays, I’d allow for 2 extra days of turnaround.
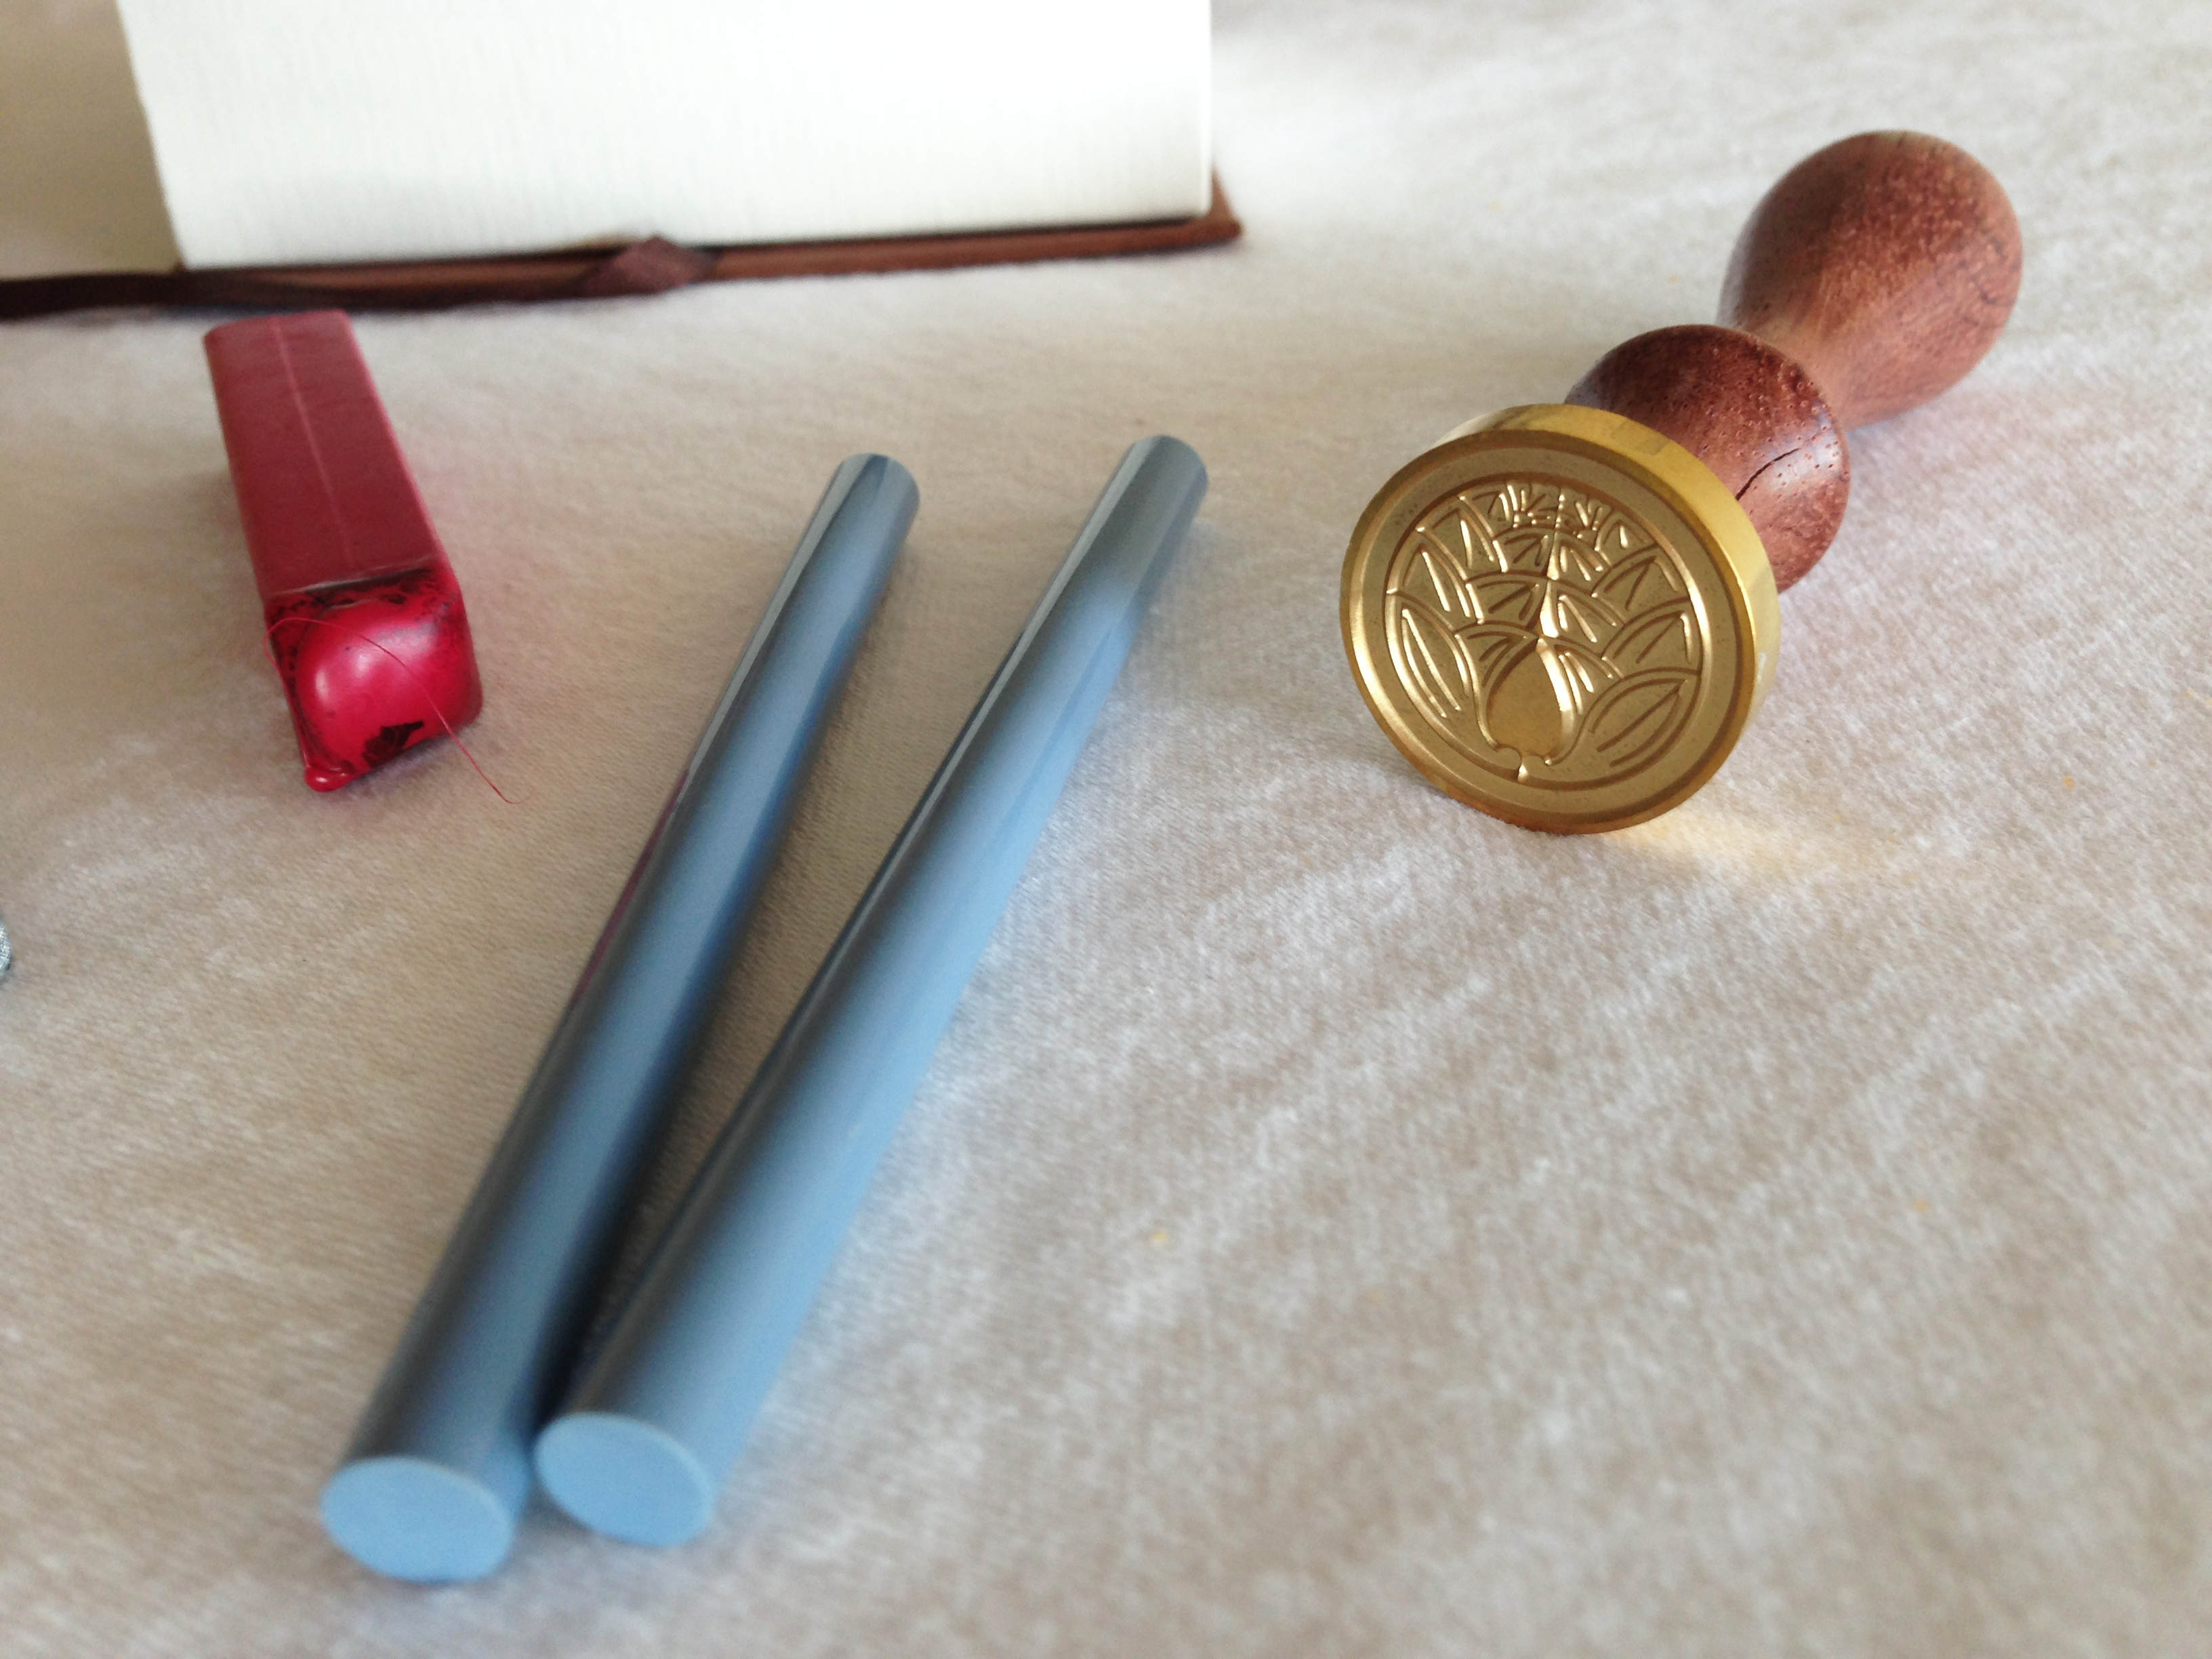
EXTRAS: Your invites will be fairly simple, but they’ll be yours. THAT’s the cool thing about this. With the money we saved on paper and ordering from a fancy shop, we were able to add a nice little wax seal on the envelopes. I ordered mine with my family crest and got the wax in one of our wedding colors (light gray-blue). If you get the wax sticks that go into a glue gun, you can save a lot of trouble when you’re sealing 200 envelopes.

I love how you incorporated the Japanese wood block print into the design on of your wedding invitations. I also like how you did not make the set “matchy-matchy” with each piece showing different parts of the wave. What font did you use for the wedding details? Makes the wedding feel welcoming and friendly.
Thanks Anna! It was fun to create! I actually used a Men in Black font (based off the movie).
A+ for the invite…thought it was clean & simple. And I was totally wondering if the waves were inspired by the woodblock print!
thanks Kristy! they were inspired by the Great Wave!