

While I’m on sabbatical I get some time to catch up on some projects I’ve been planning for a while. One of them is a framed hanging jewelry box for my wife (inspired by one her sister has). I drew up some plans for it on the long plane ride back from our honeymoon and set out to tackle this!
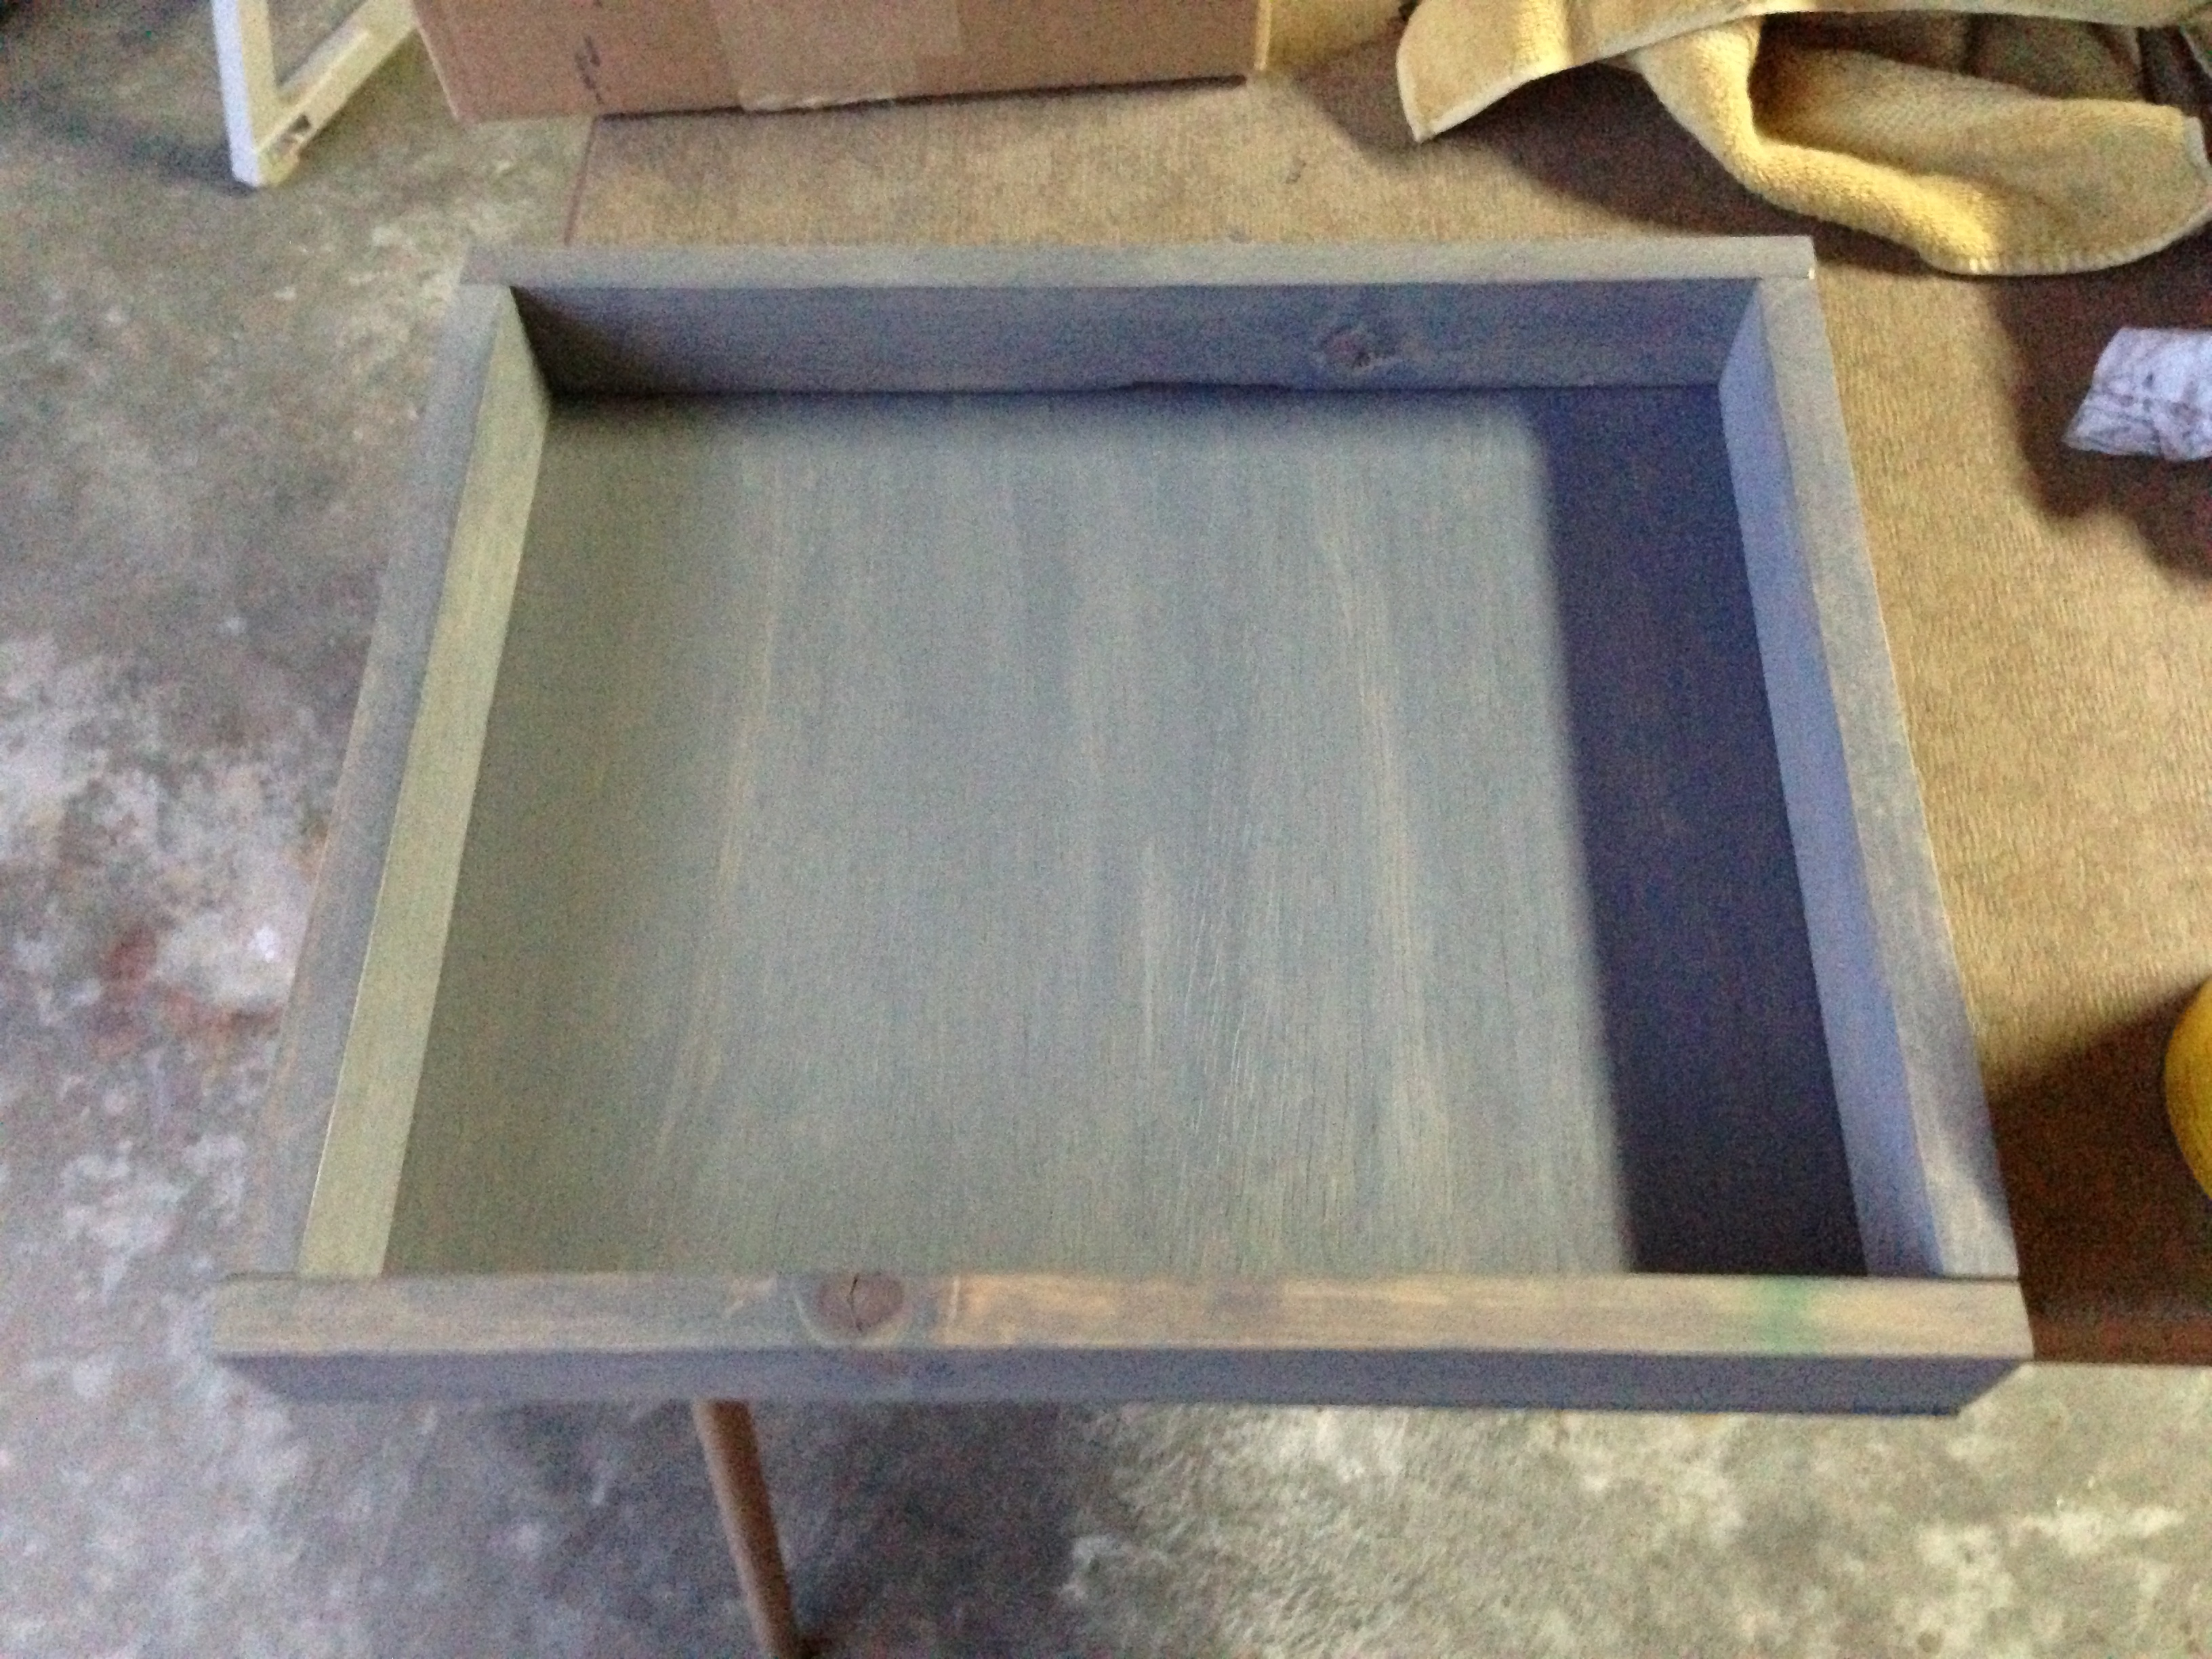
First, we stopped by Aaron Bros to pick out a rustic-farmhouse frame. She chose a nice gray frame with a weathered look. I then adjusted all my measurements to fit this frame. My plan of attack was to build a box that fit the frame, attach the frame, then add some cabinet hardware/pieces that could hold necklaces, bracelets, rings, and earrings.
There were a lot of things we needed, so here are my basic ingredients for jewelry box stew in list form:
- thin plywood (needs to be light or the whole box will be too heavy)
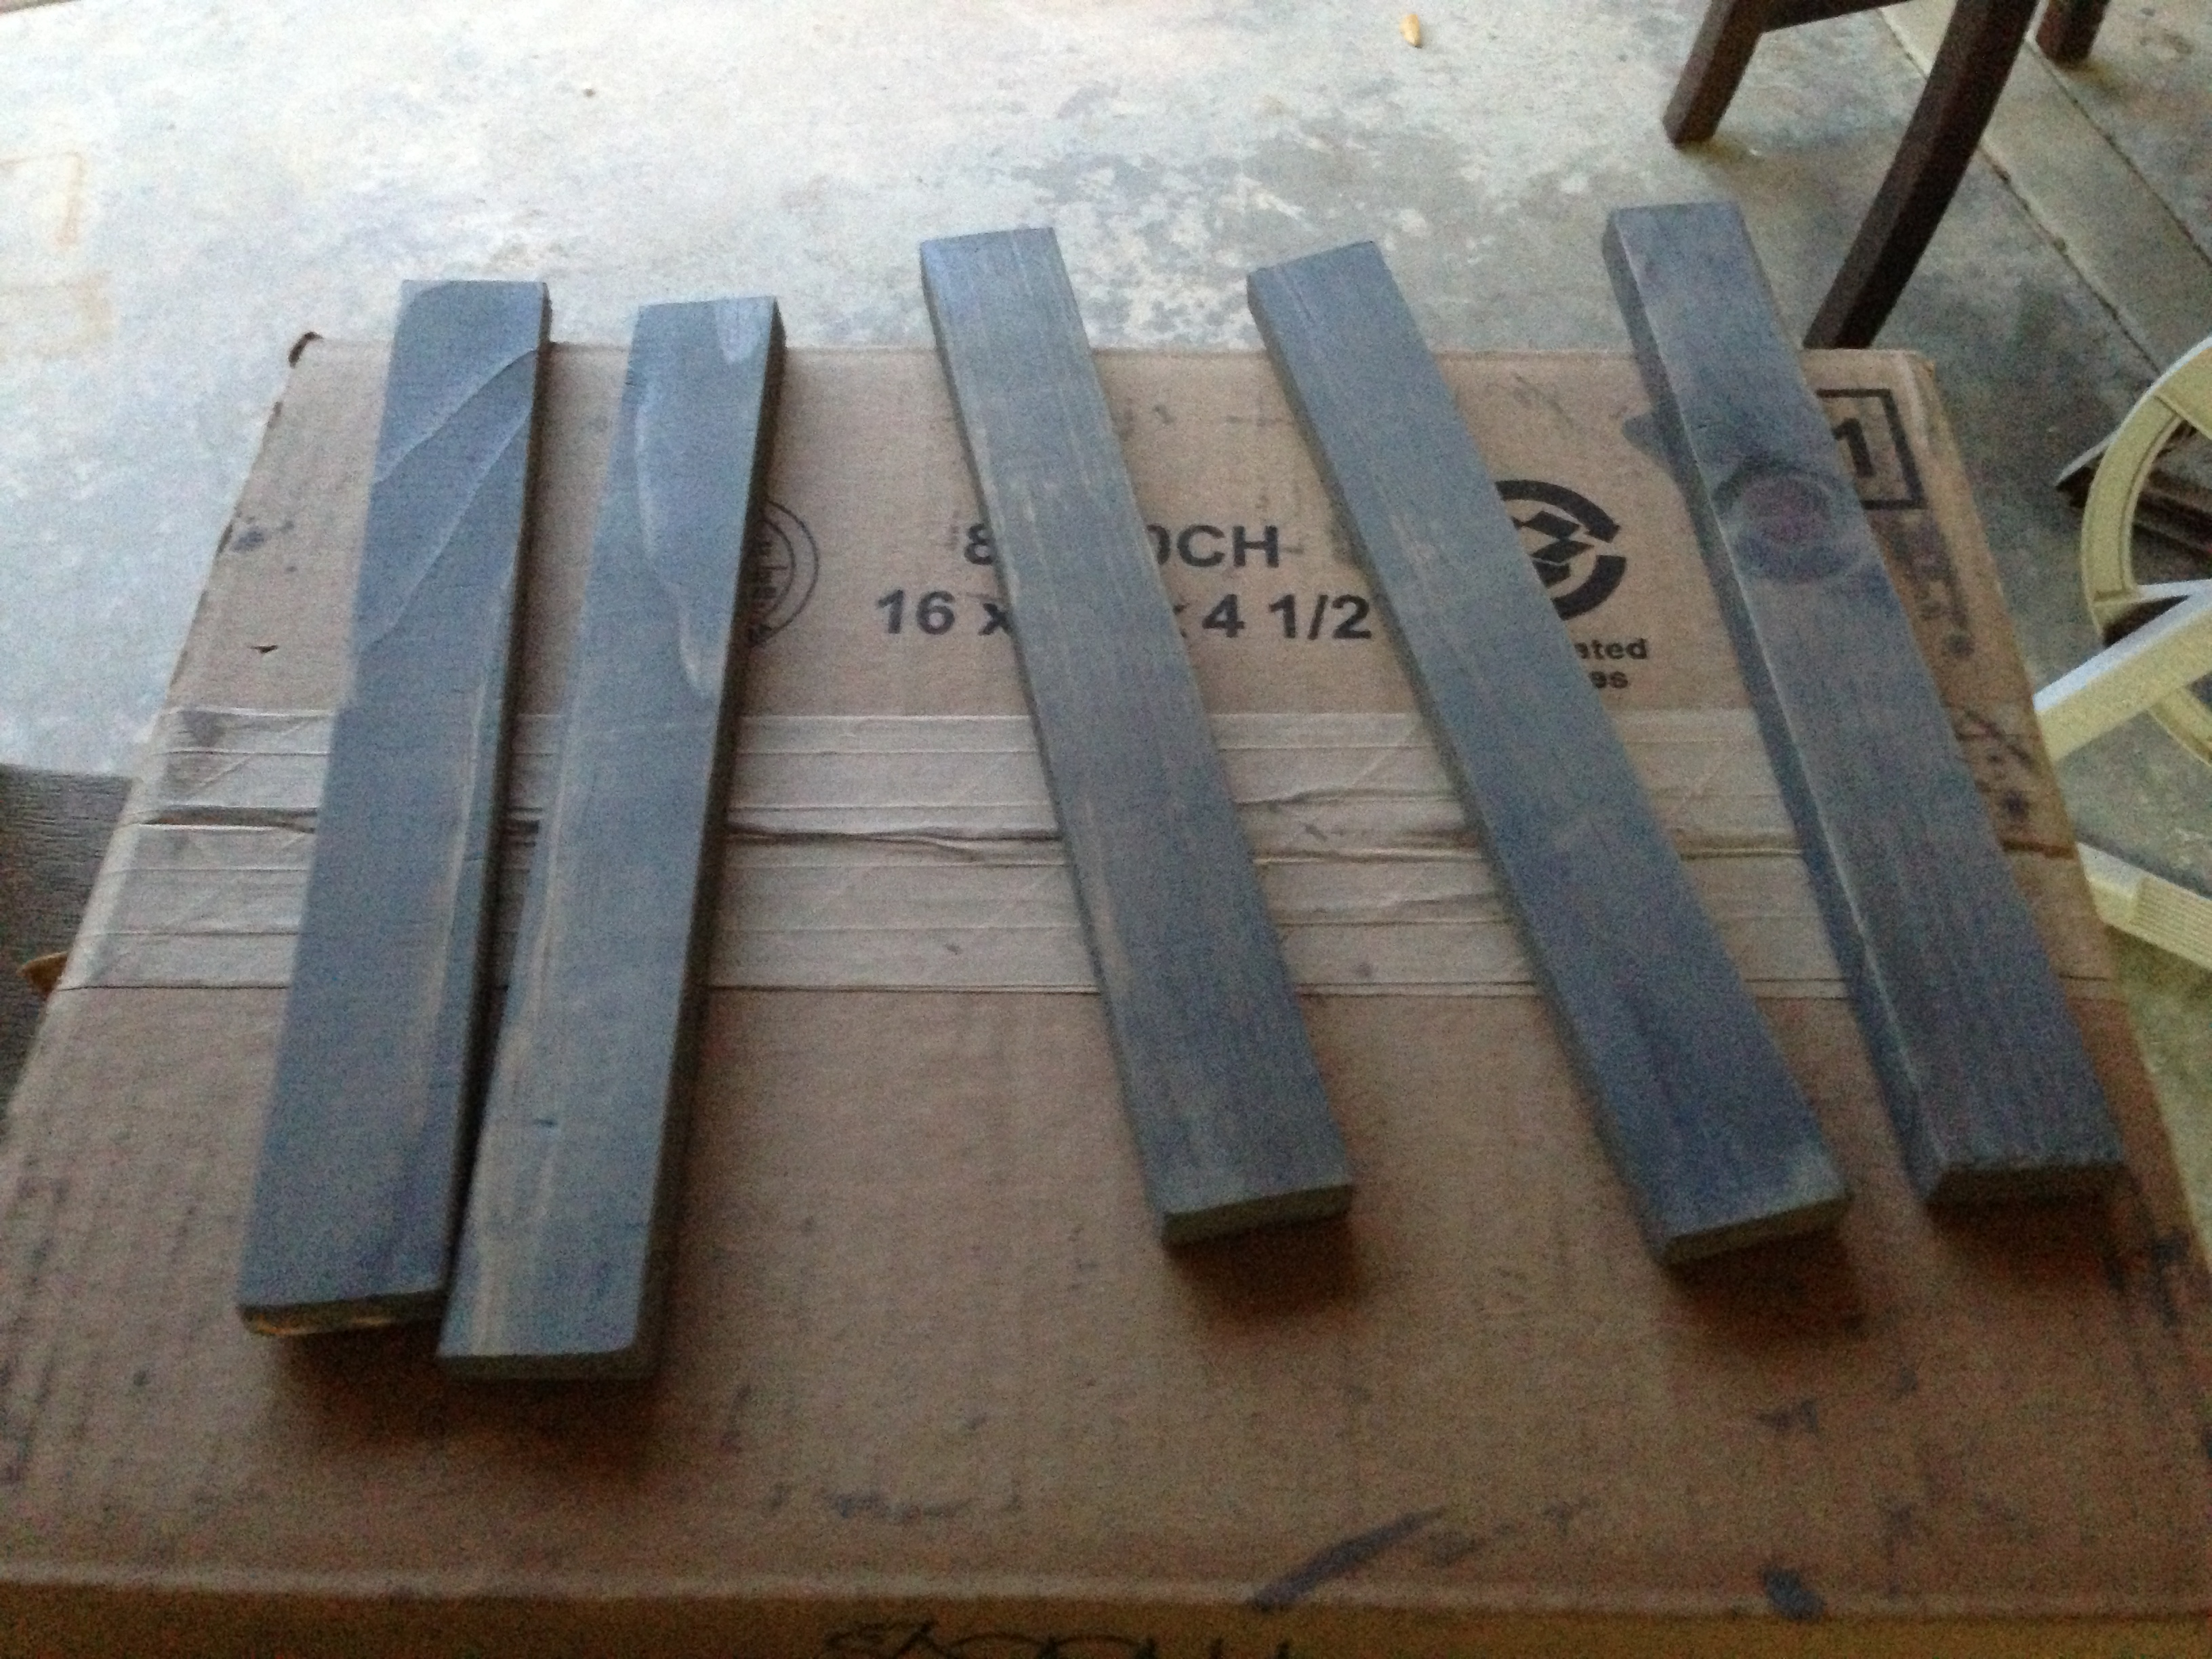
- 1×2 pieces for the box edges
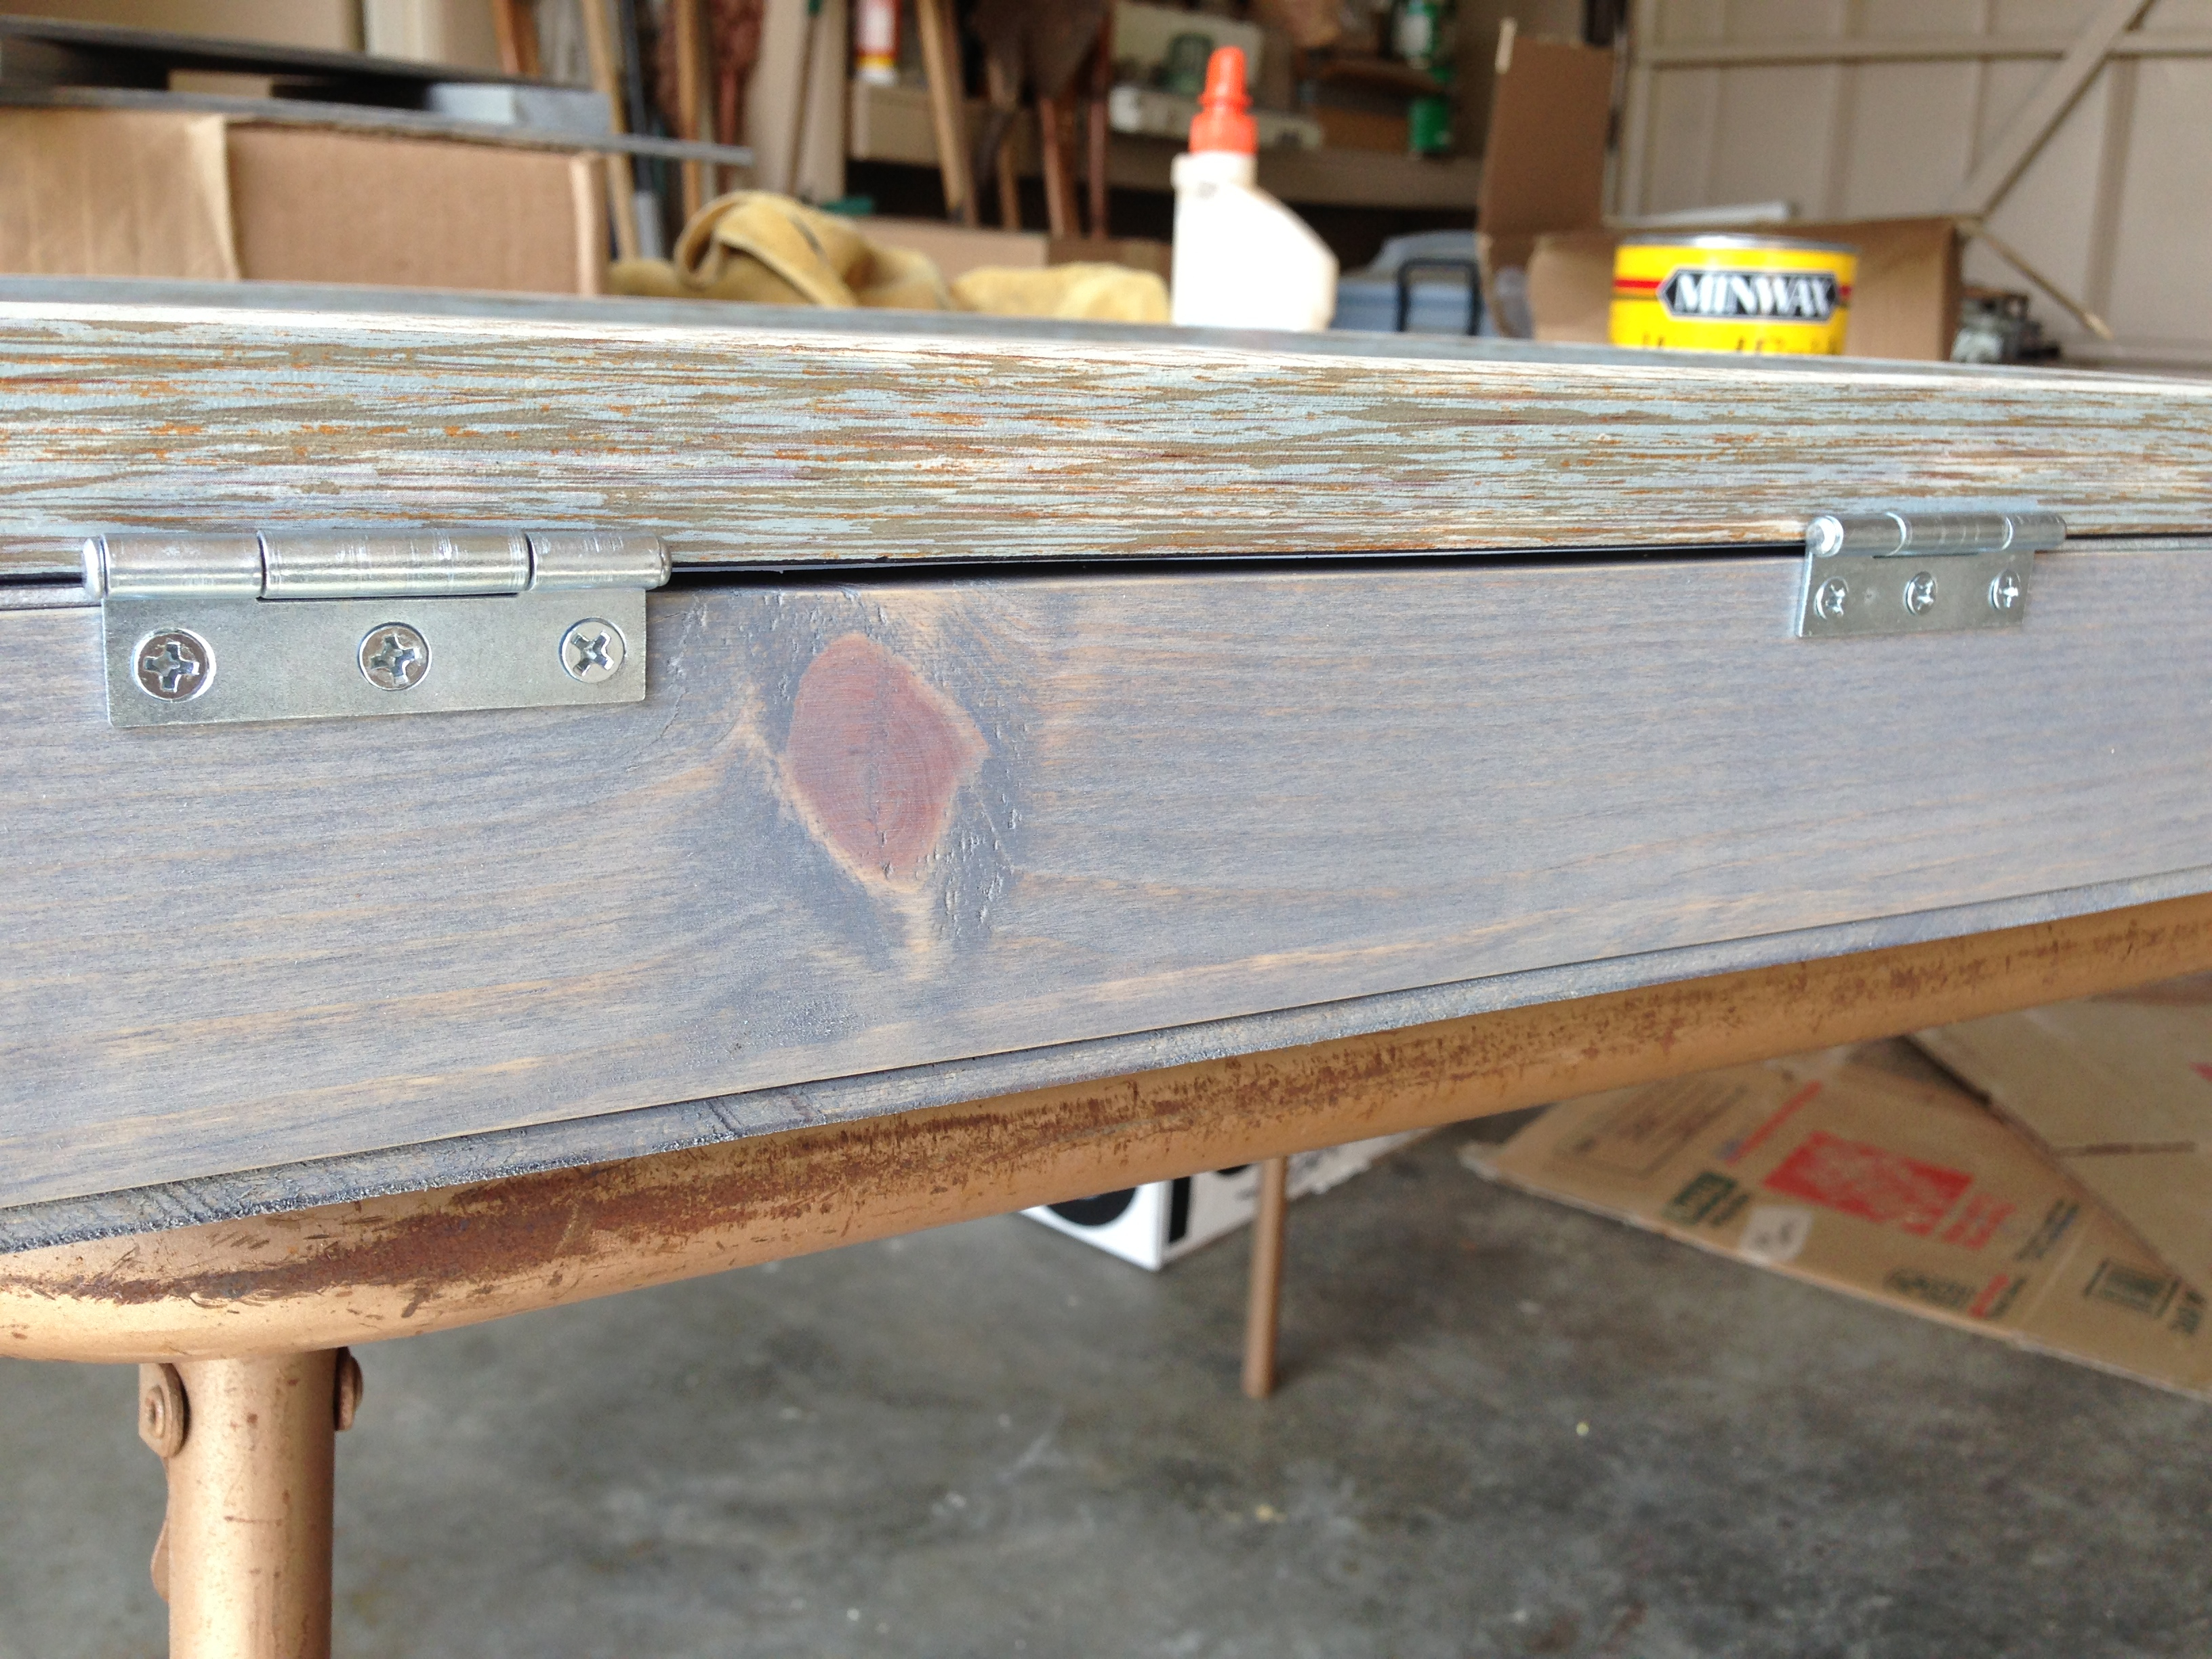
- hinges
- magnet closure
- cabinet knob/pull to open the box
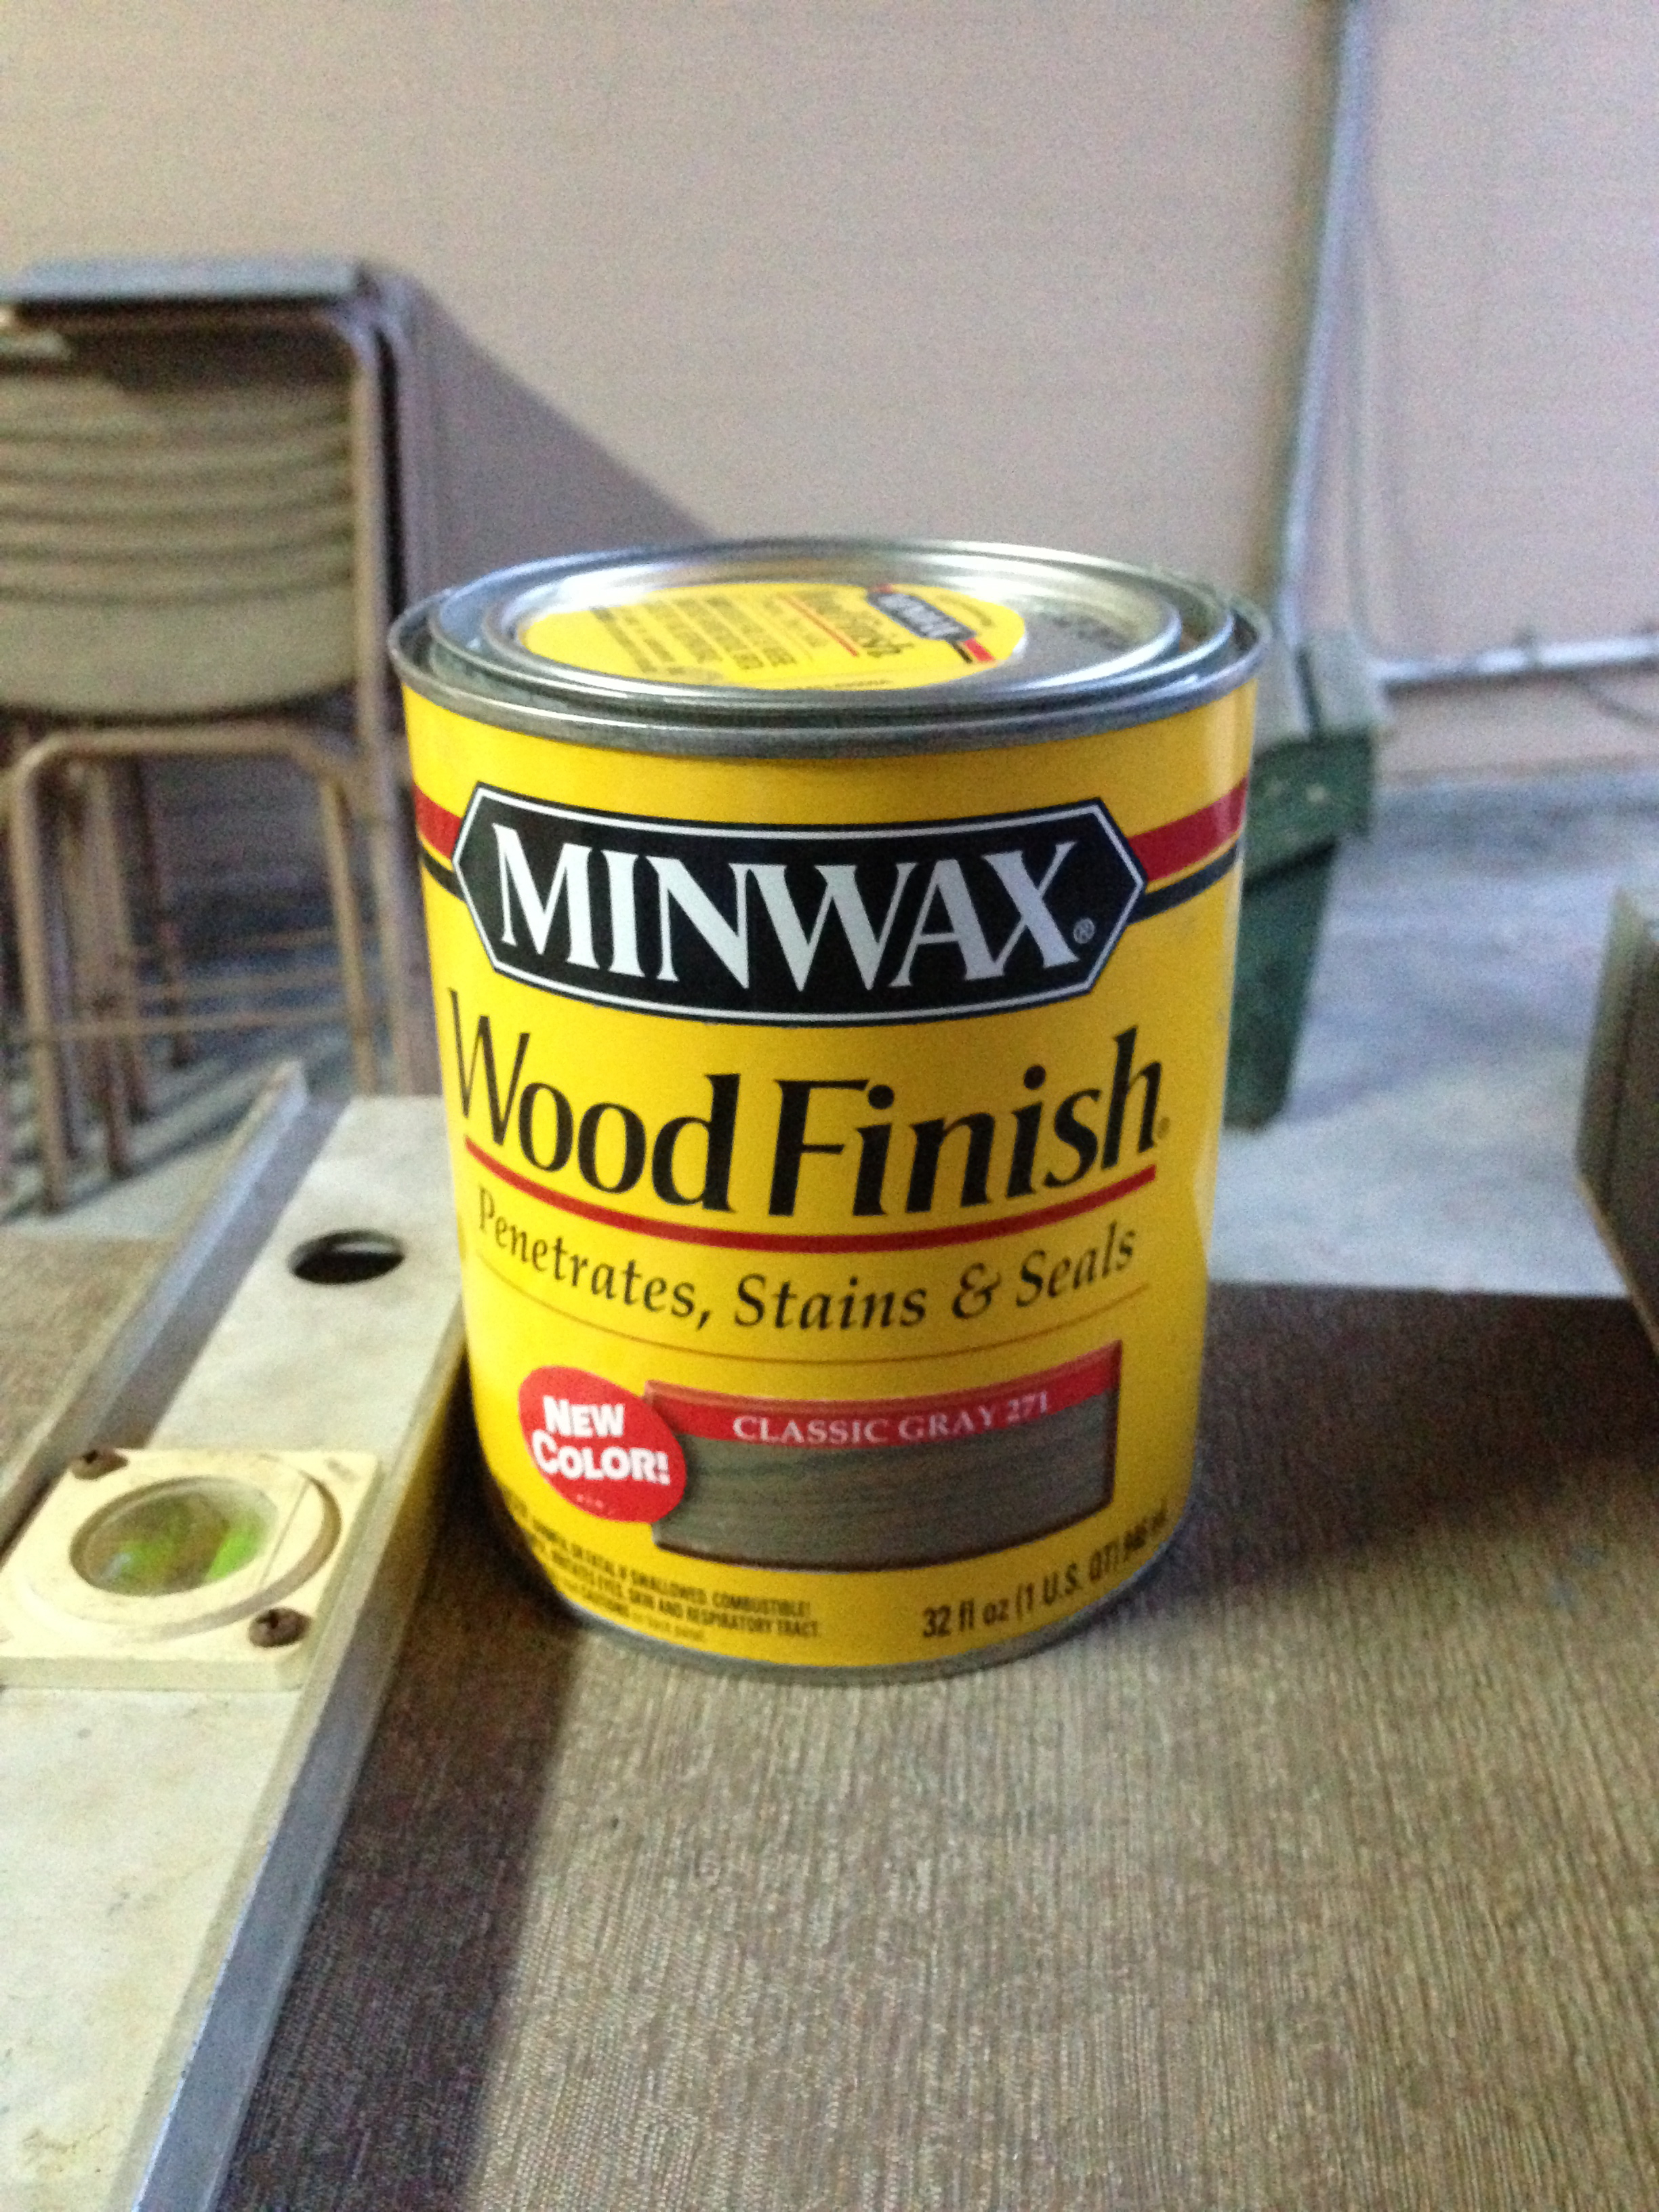
- wood stain
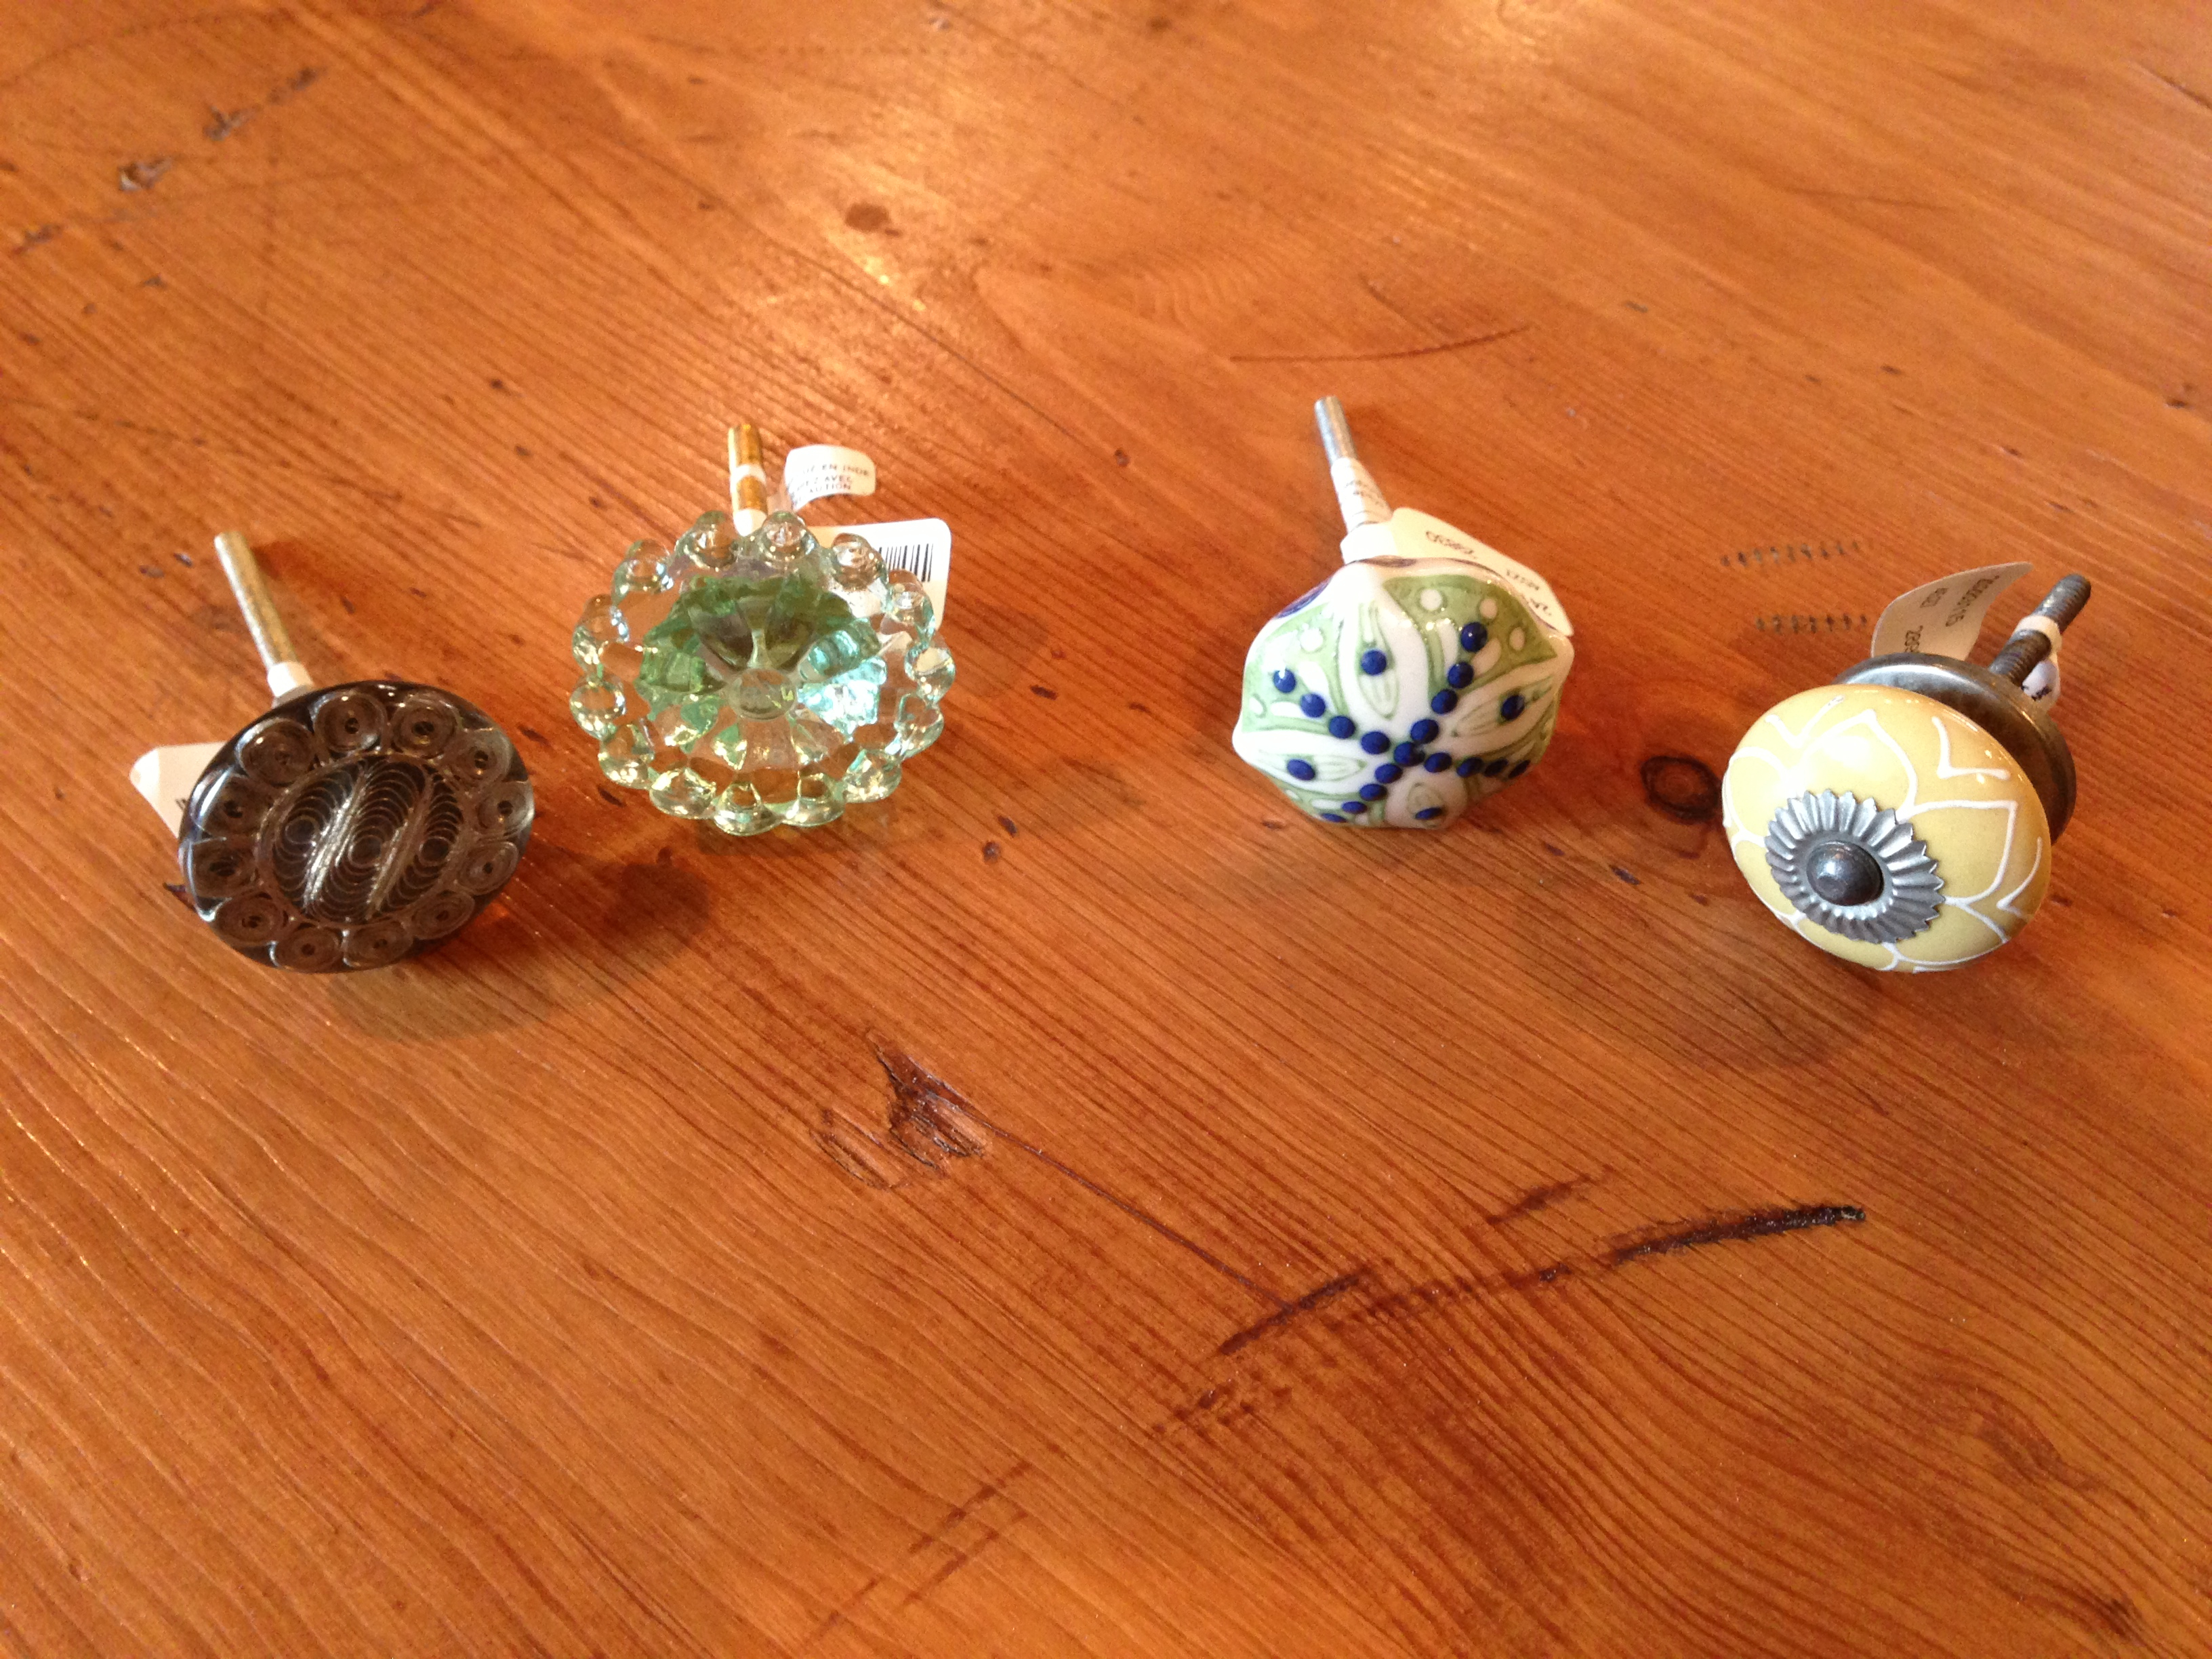
- decorative cabinet knobs
- small pieces of scrap wood (I cut up more 1×2’s)
- hook screws
- picture frame of your choosing!
I bought the wood and parts at the local Home Depot (my fave), and luckily had some gray stain from my shelf project that matched wonderfully! I also had my wife head to Anthropologie (her fave) for some overpriced-yet-cool cabinet knobs, which would later become the necklace holders.
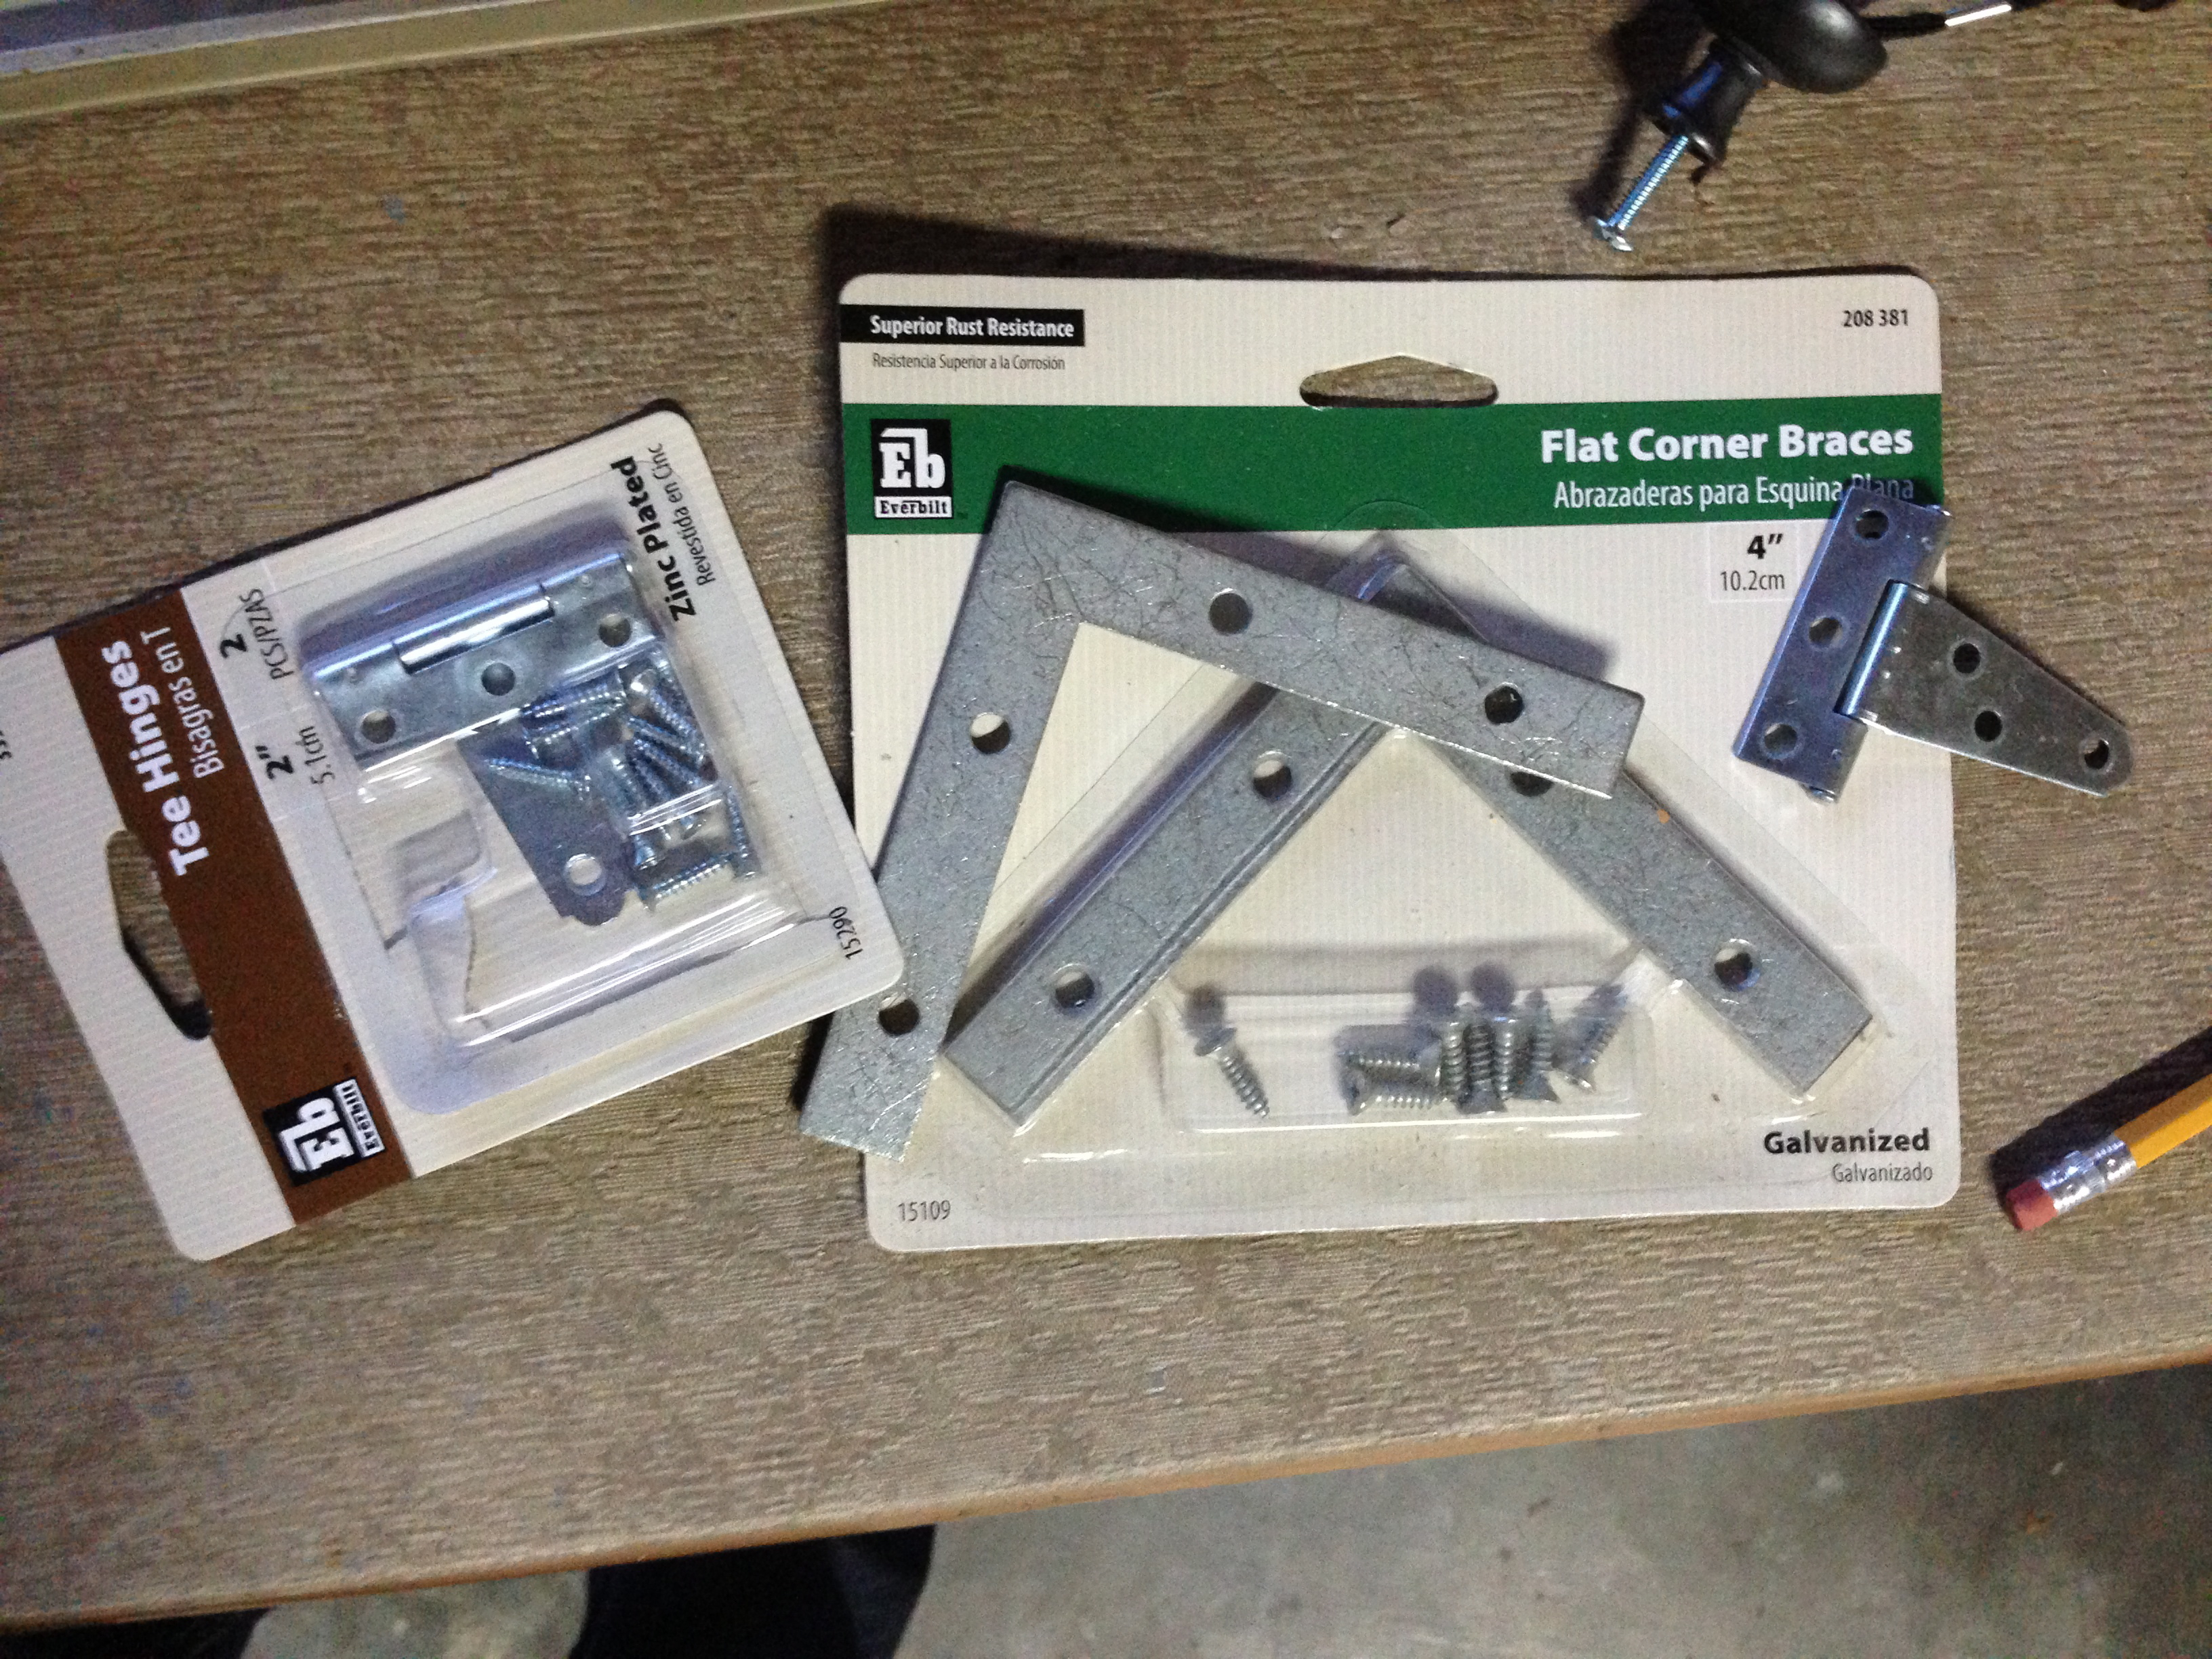
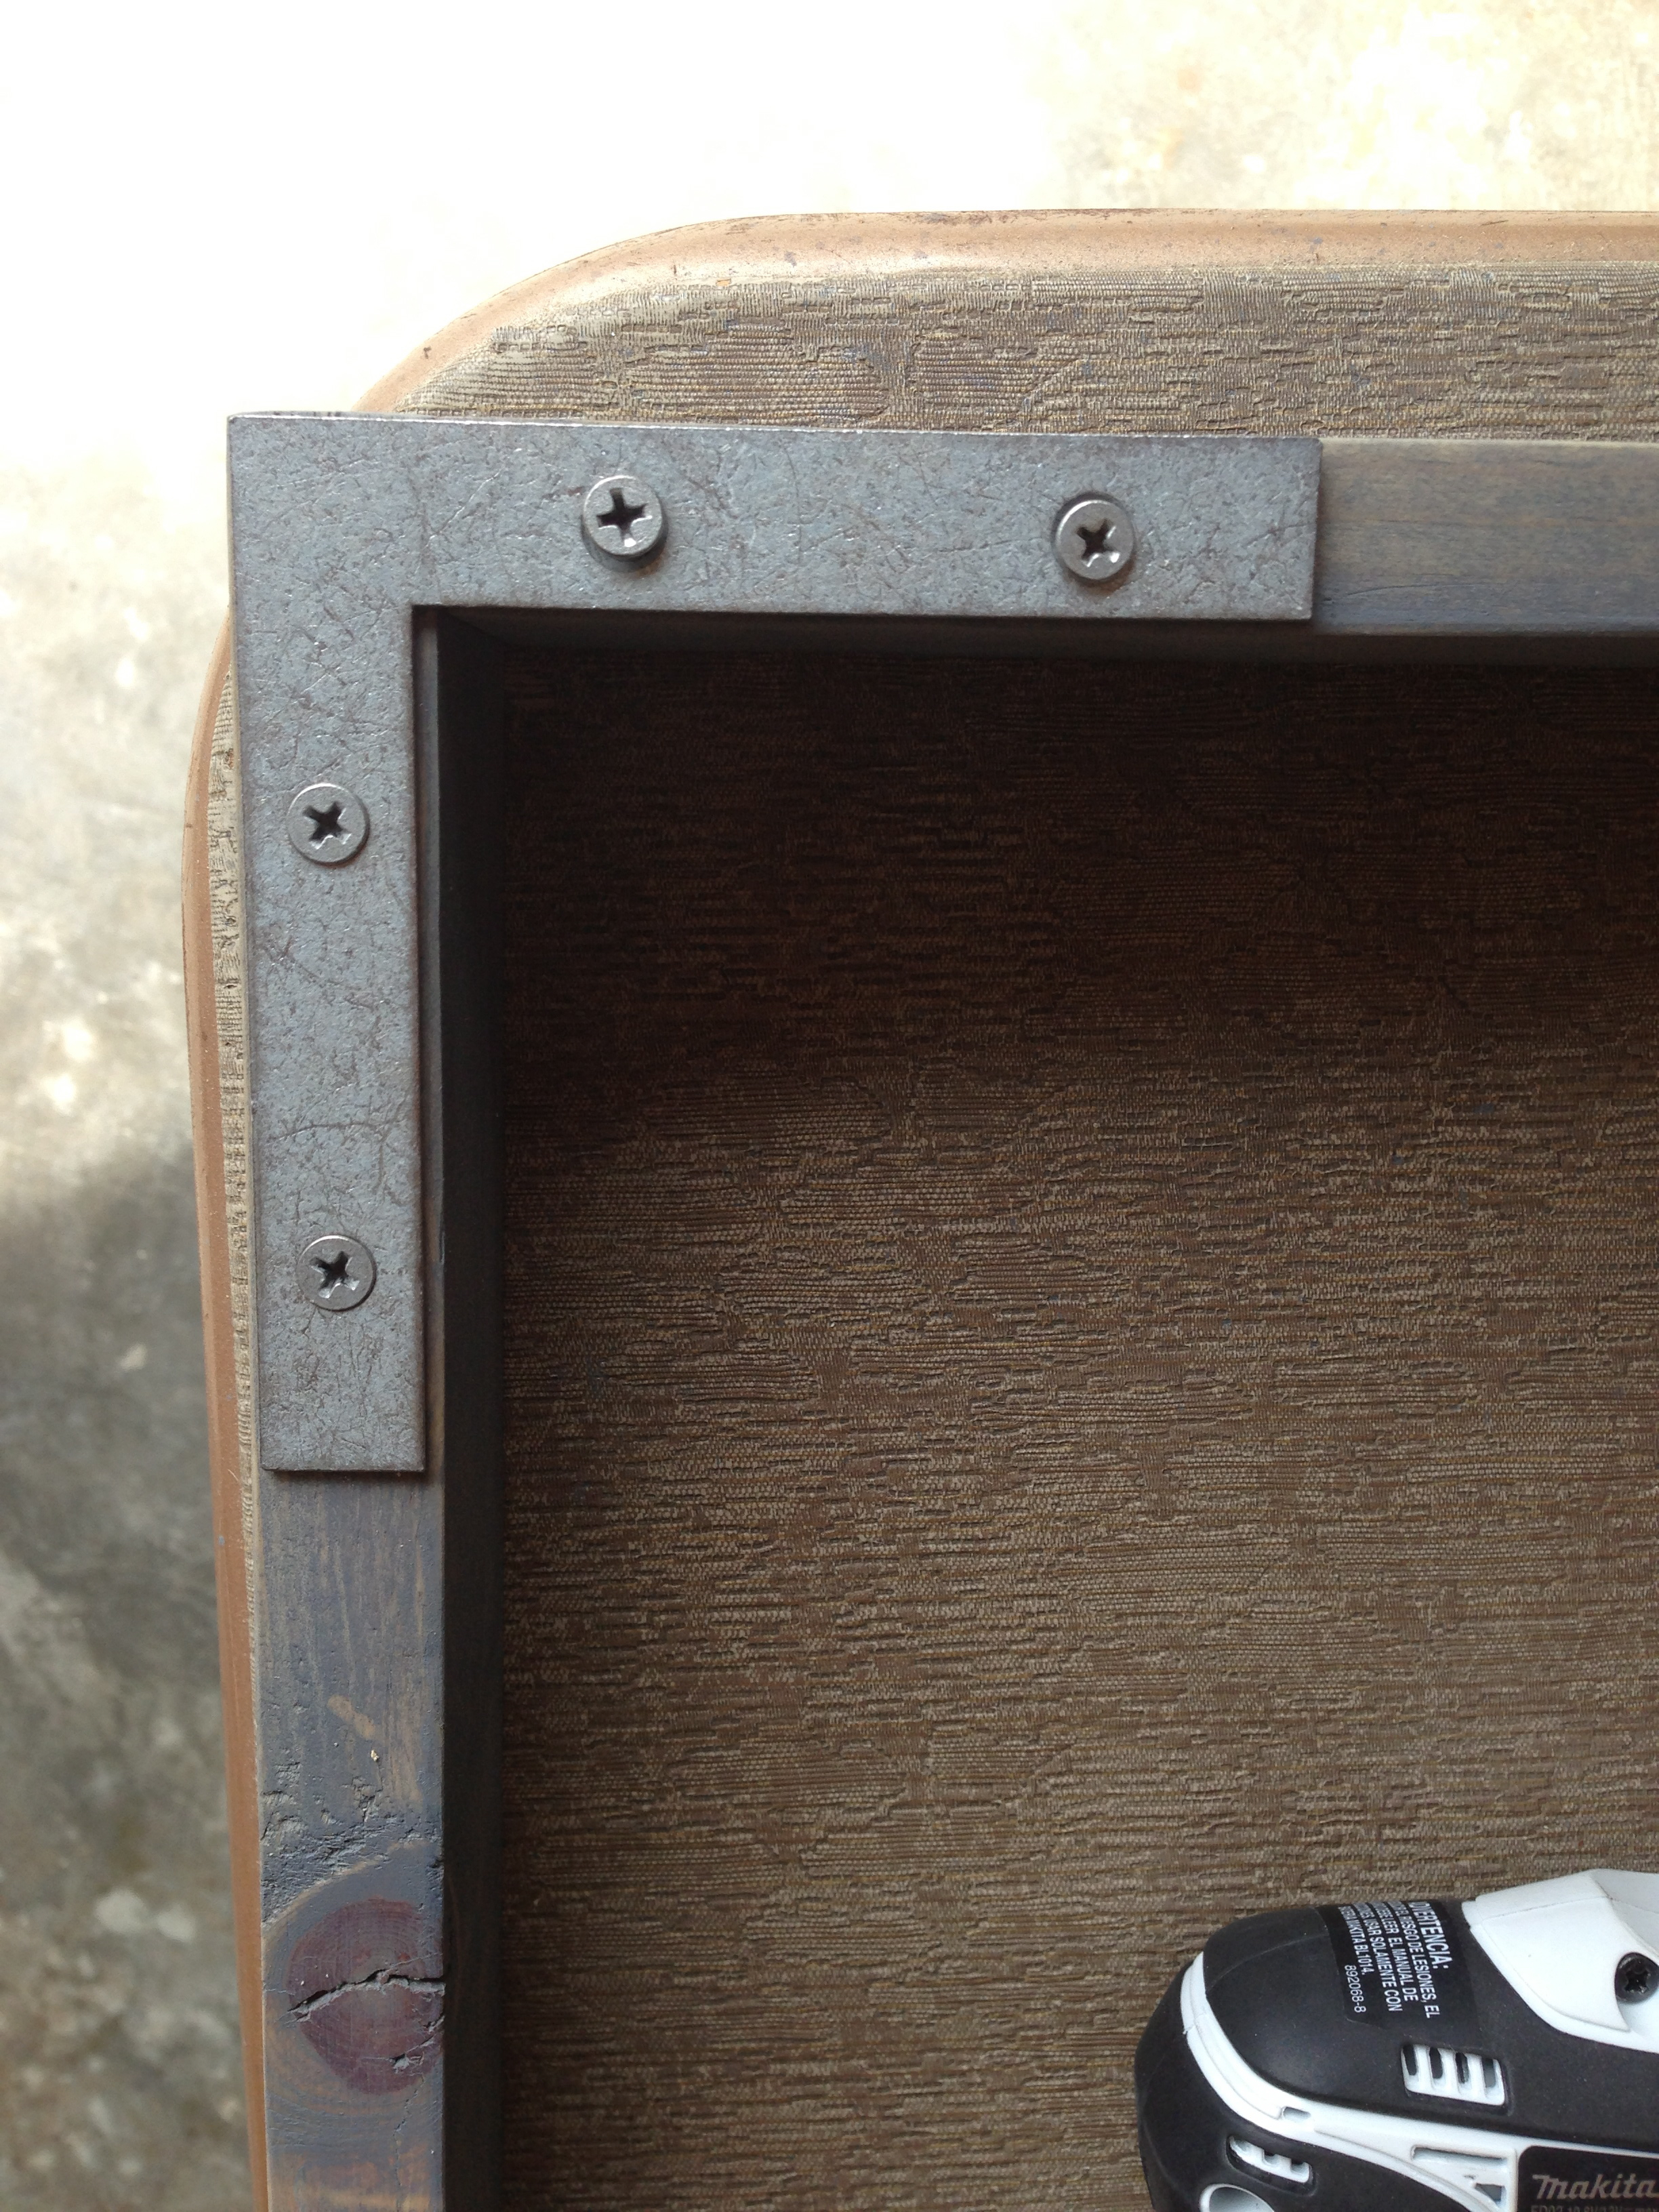
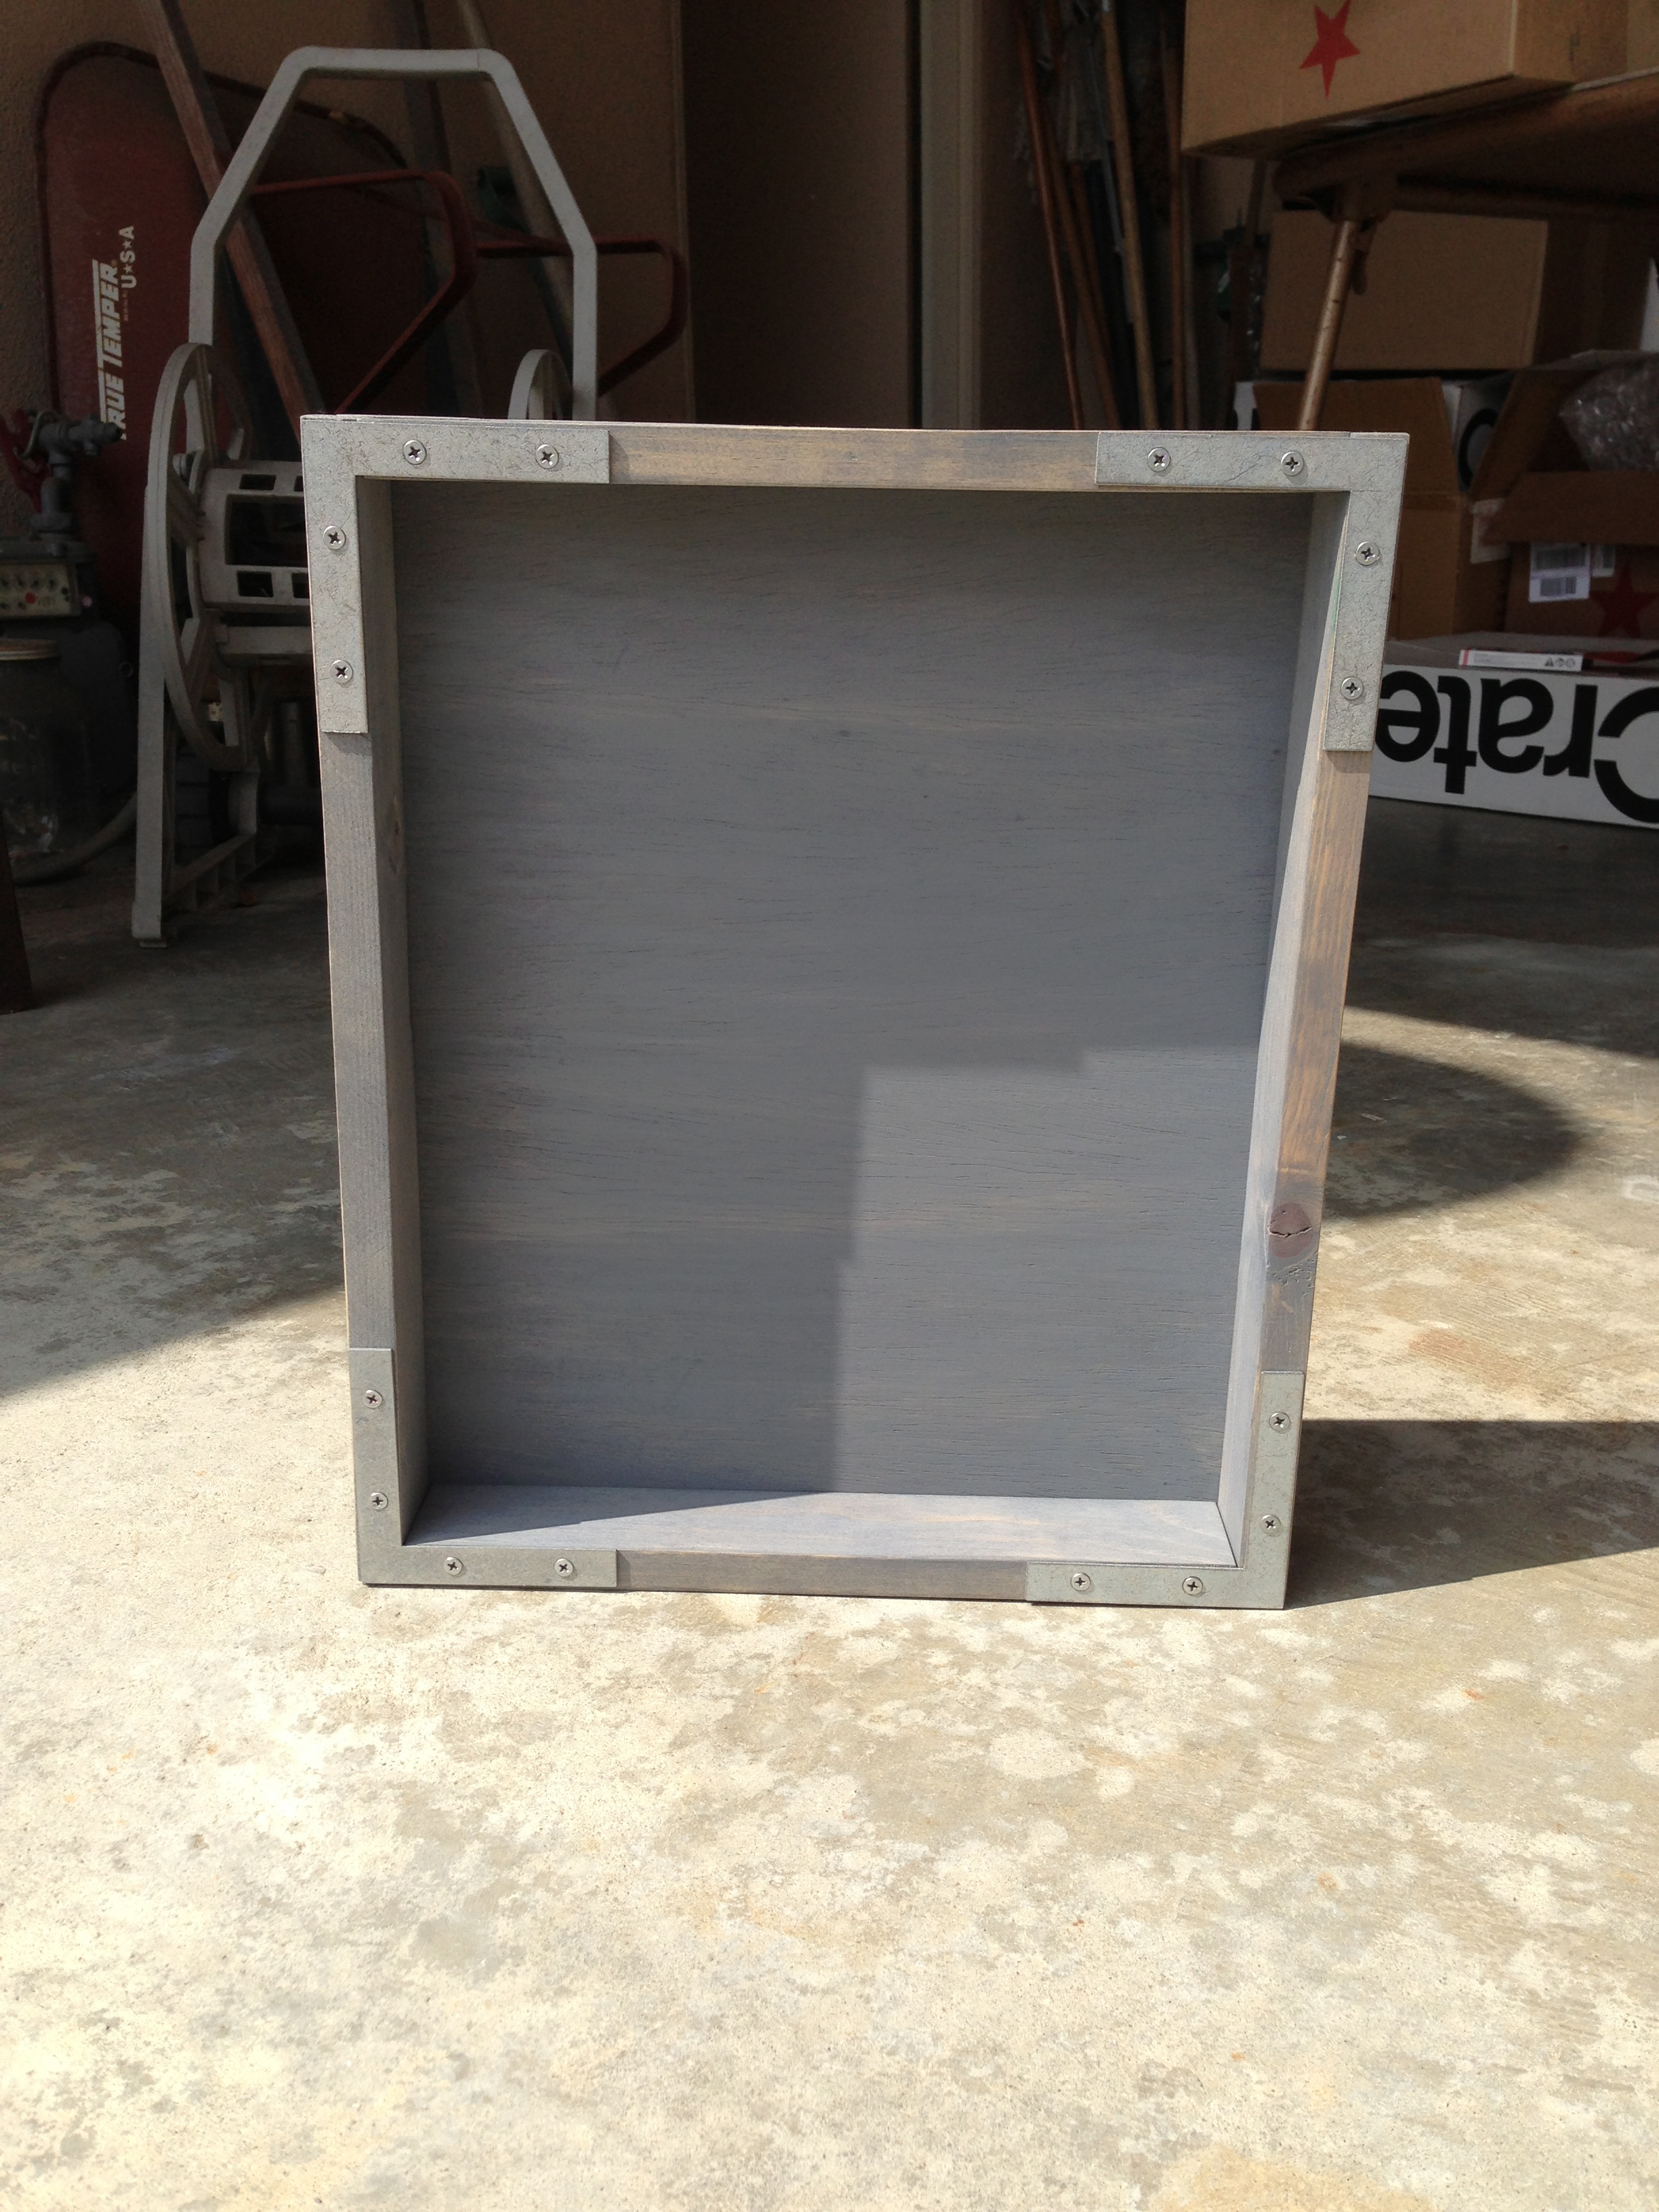
Up until now, it’s all pretty easy. You have to be precise, but a little error wouldn’t effect you too much. The next step (corner braces) however, is very important. Be focused and channel your inner carpenter. The wood is thin, so you don’t have margin for error. Make these braces straight! If you don’t, you may not be able to notice now, but you will definitely see it later!
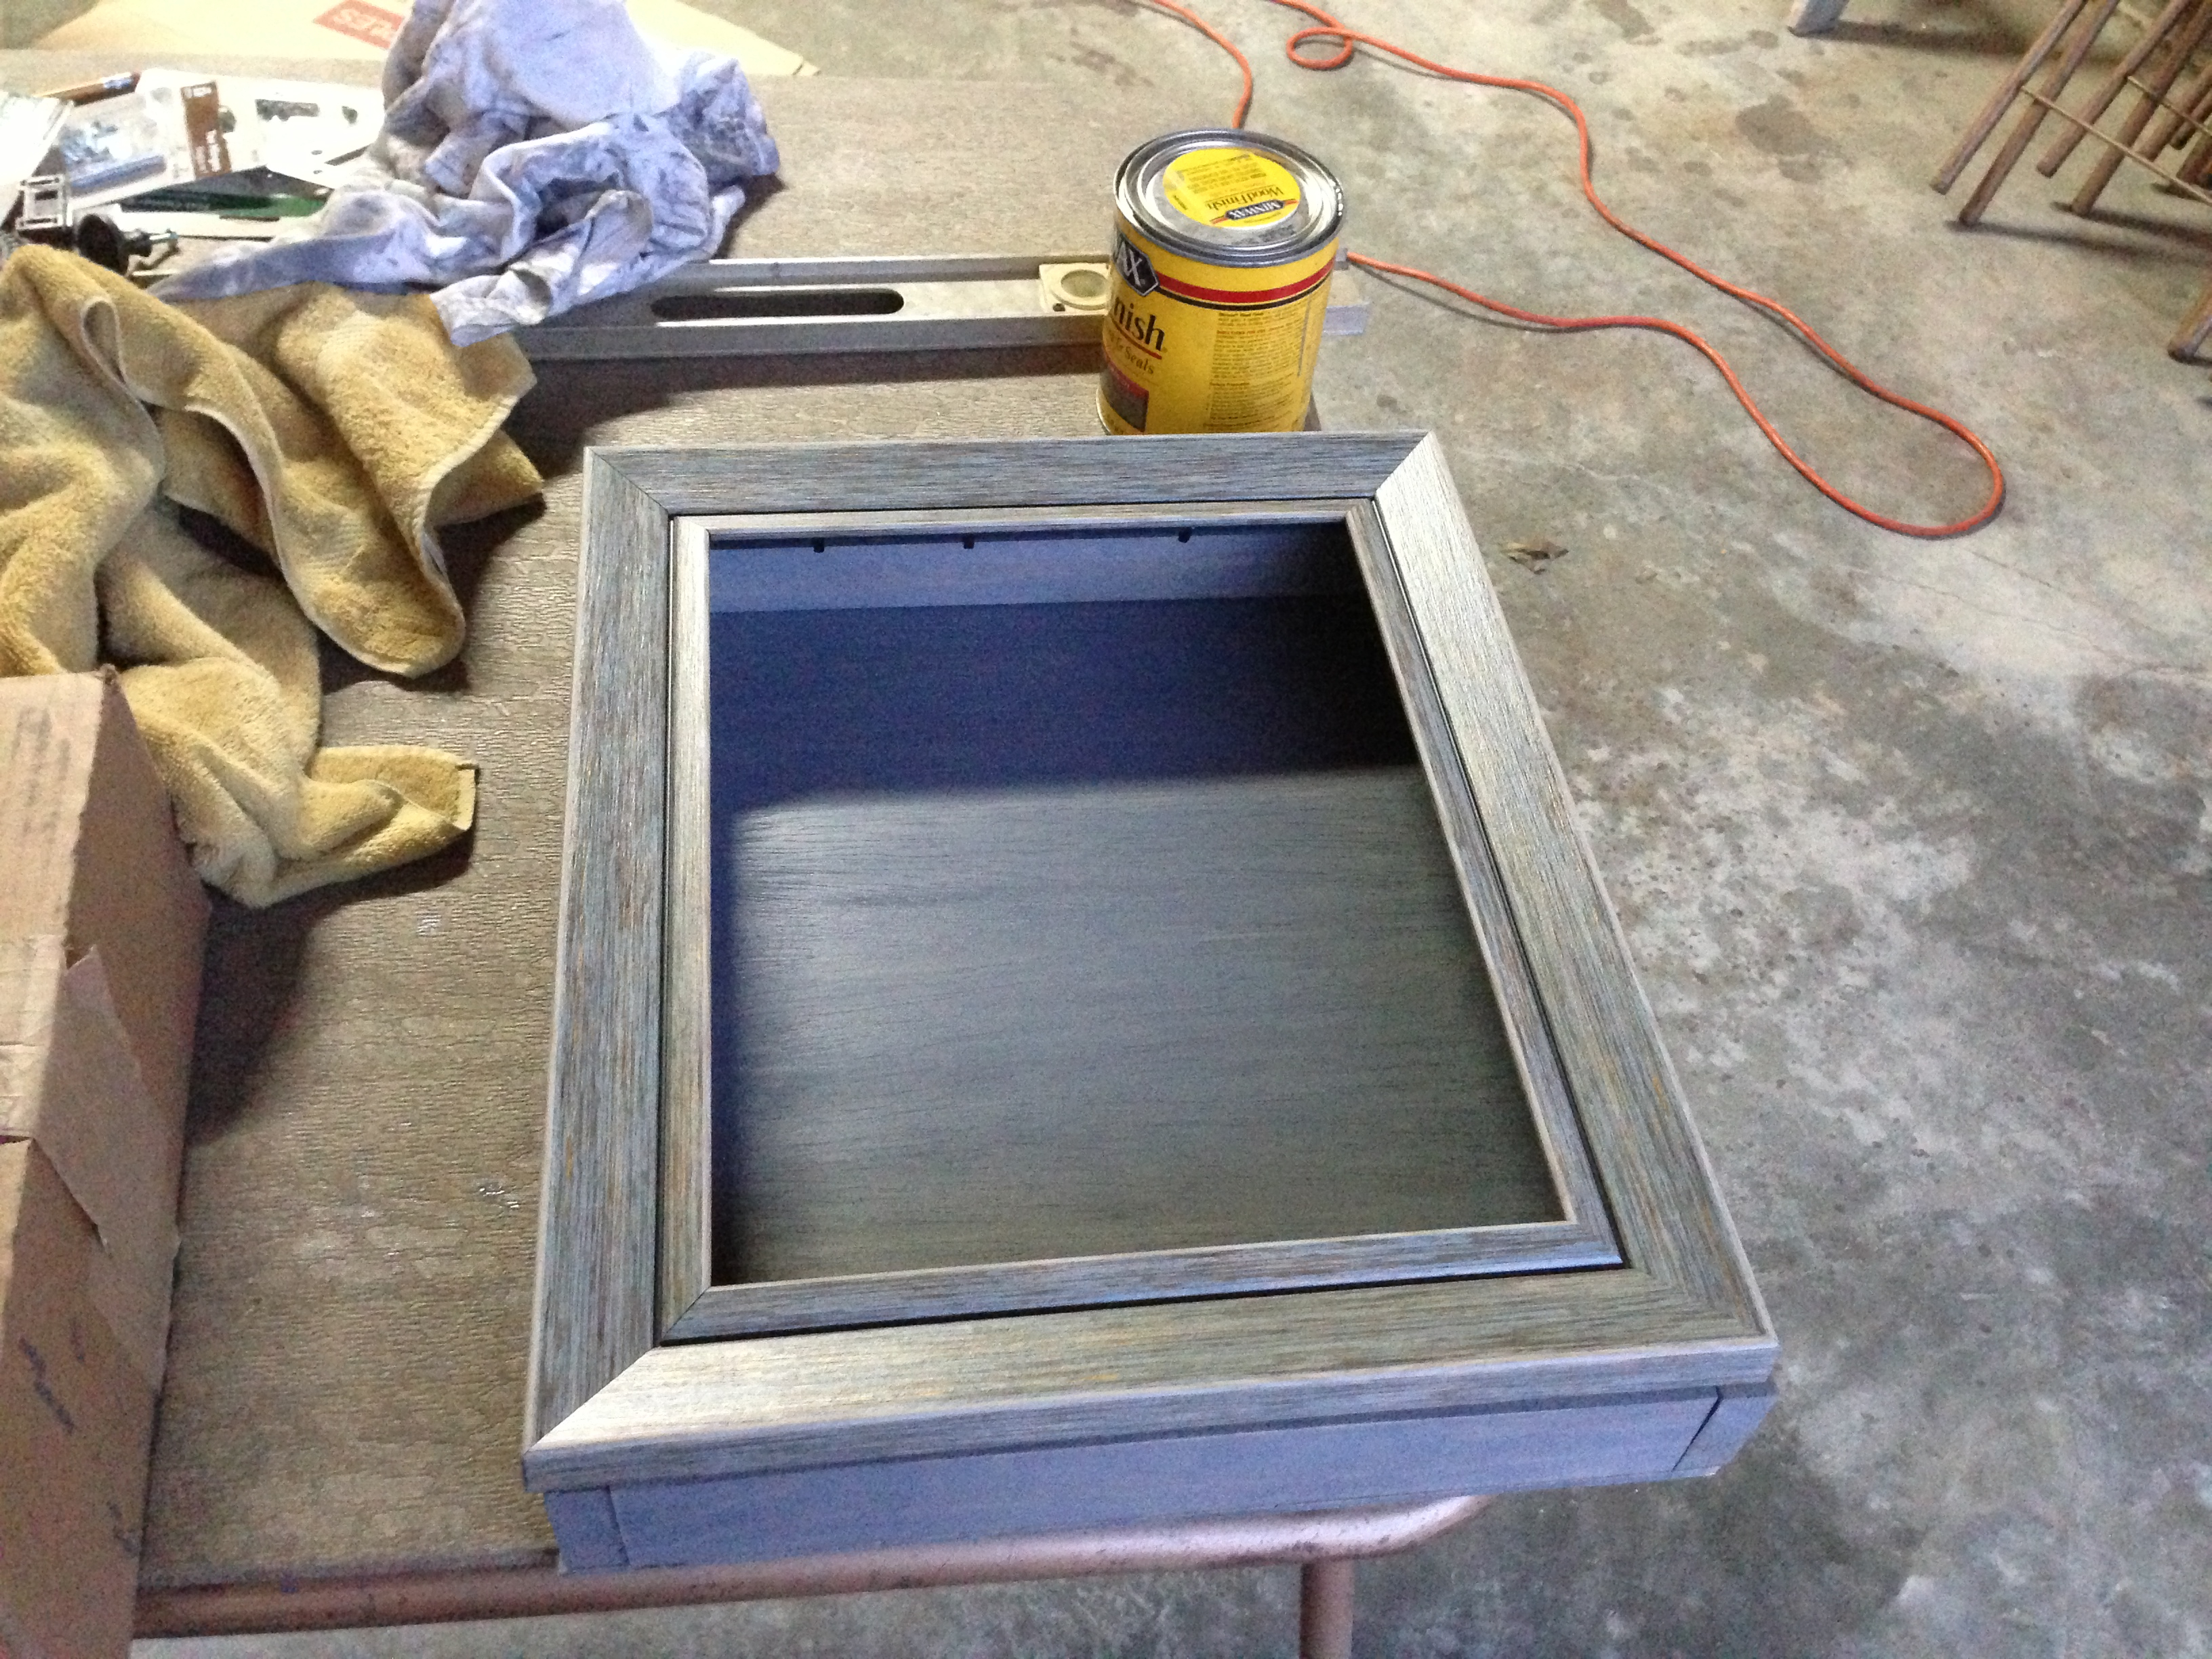

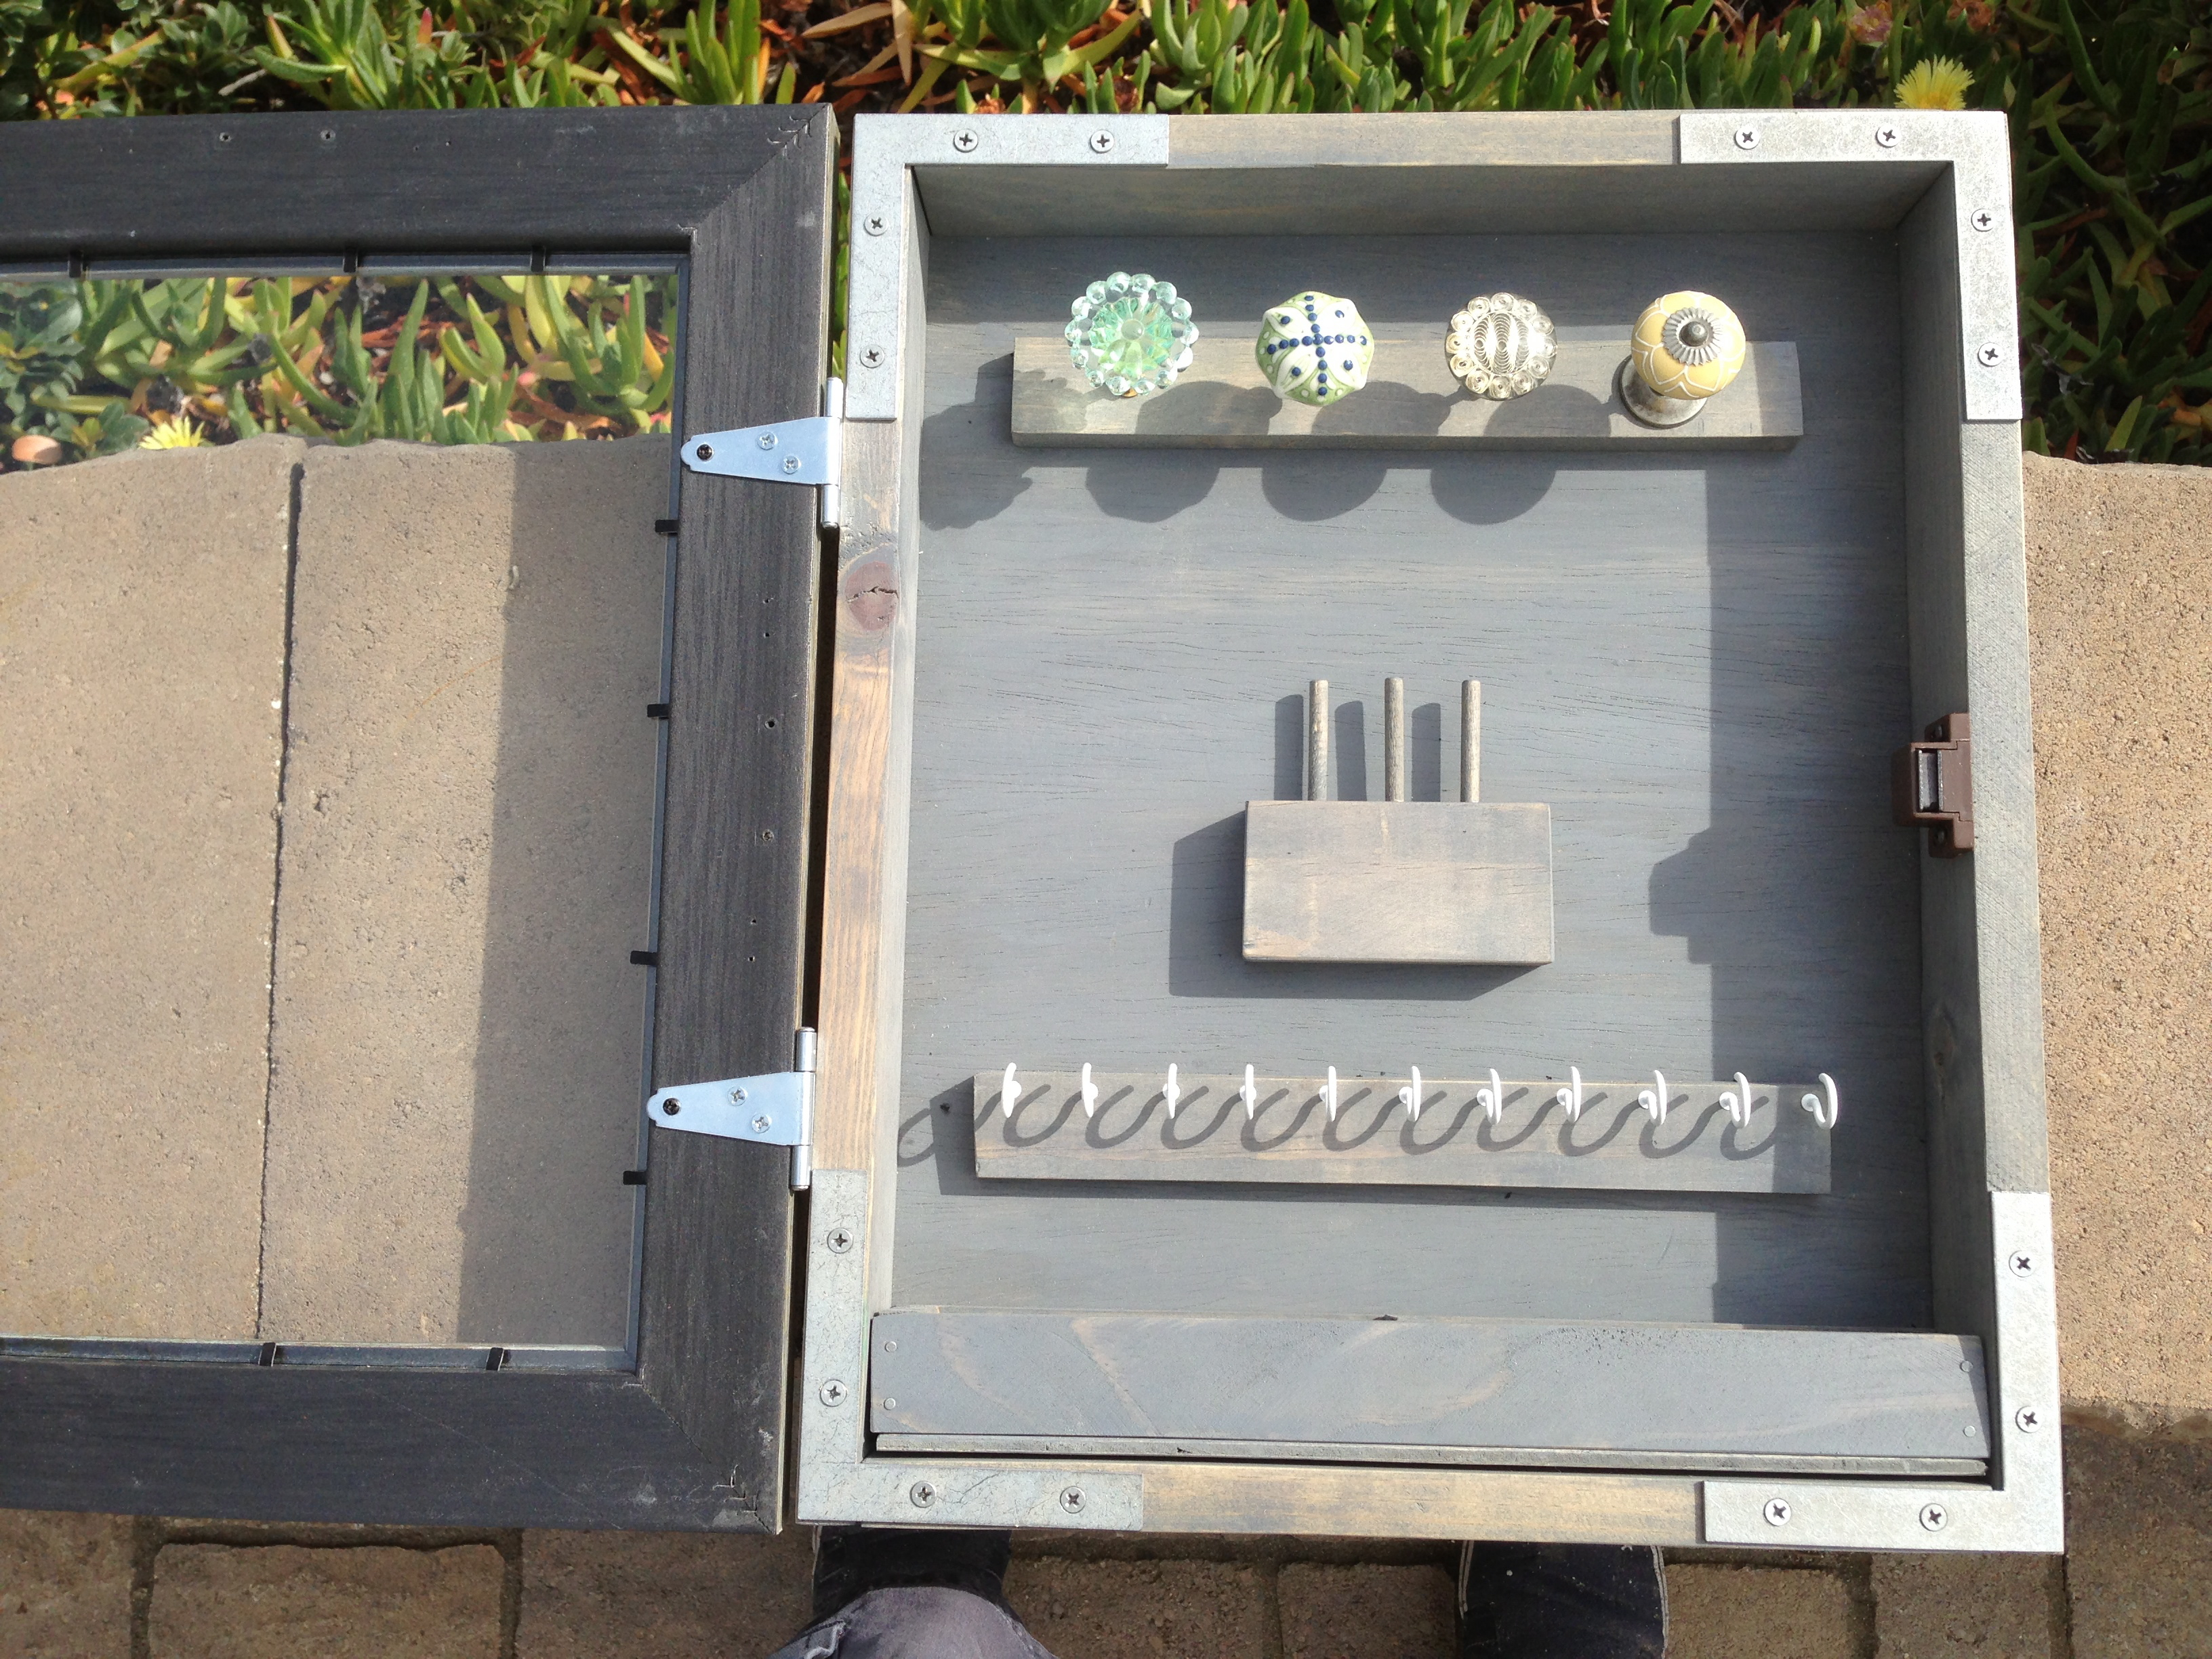
With the basic jewelry box is done, I could get started on the decorative details. This is the fun part – bringing it all together. All these details really help to make this feel like a creative piece rather than a utility one. I chose to let the wifey pick out some cabinet knobs so that she could add more of her sense of style to this. She stopped by Anthro and chose some great colorful pieces.
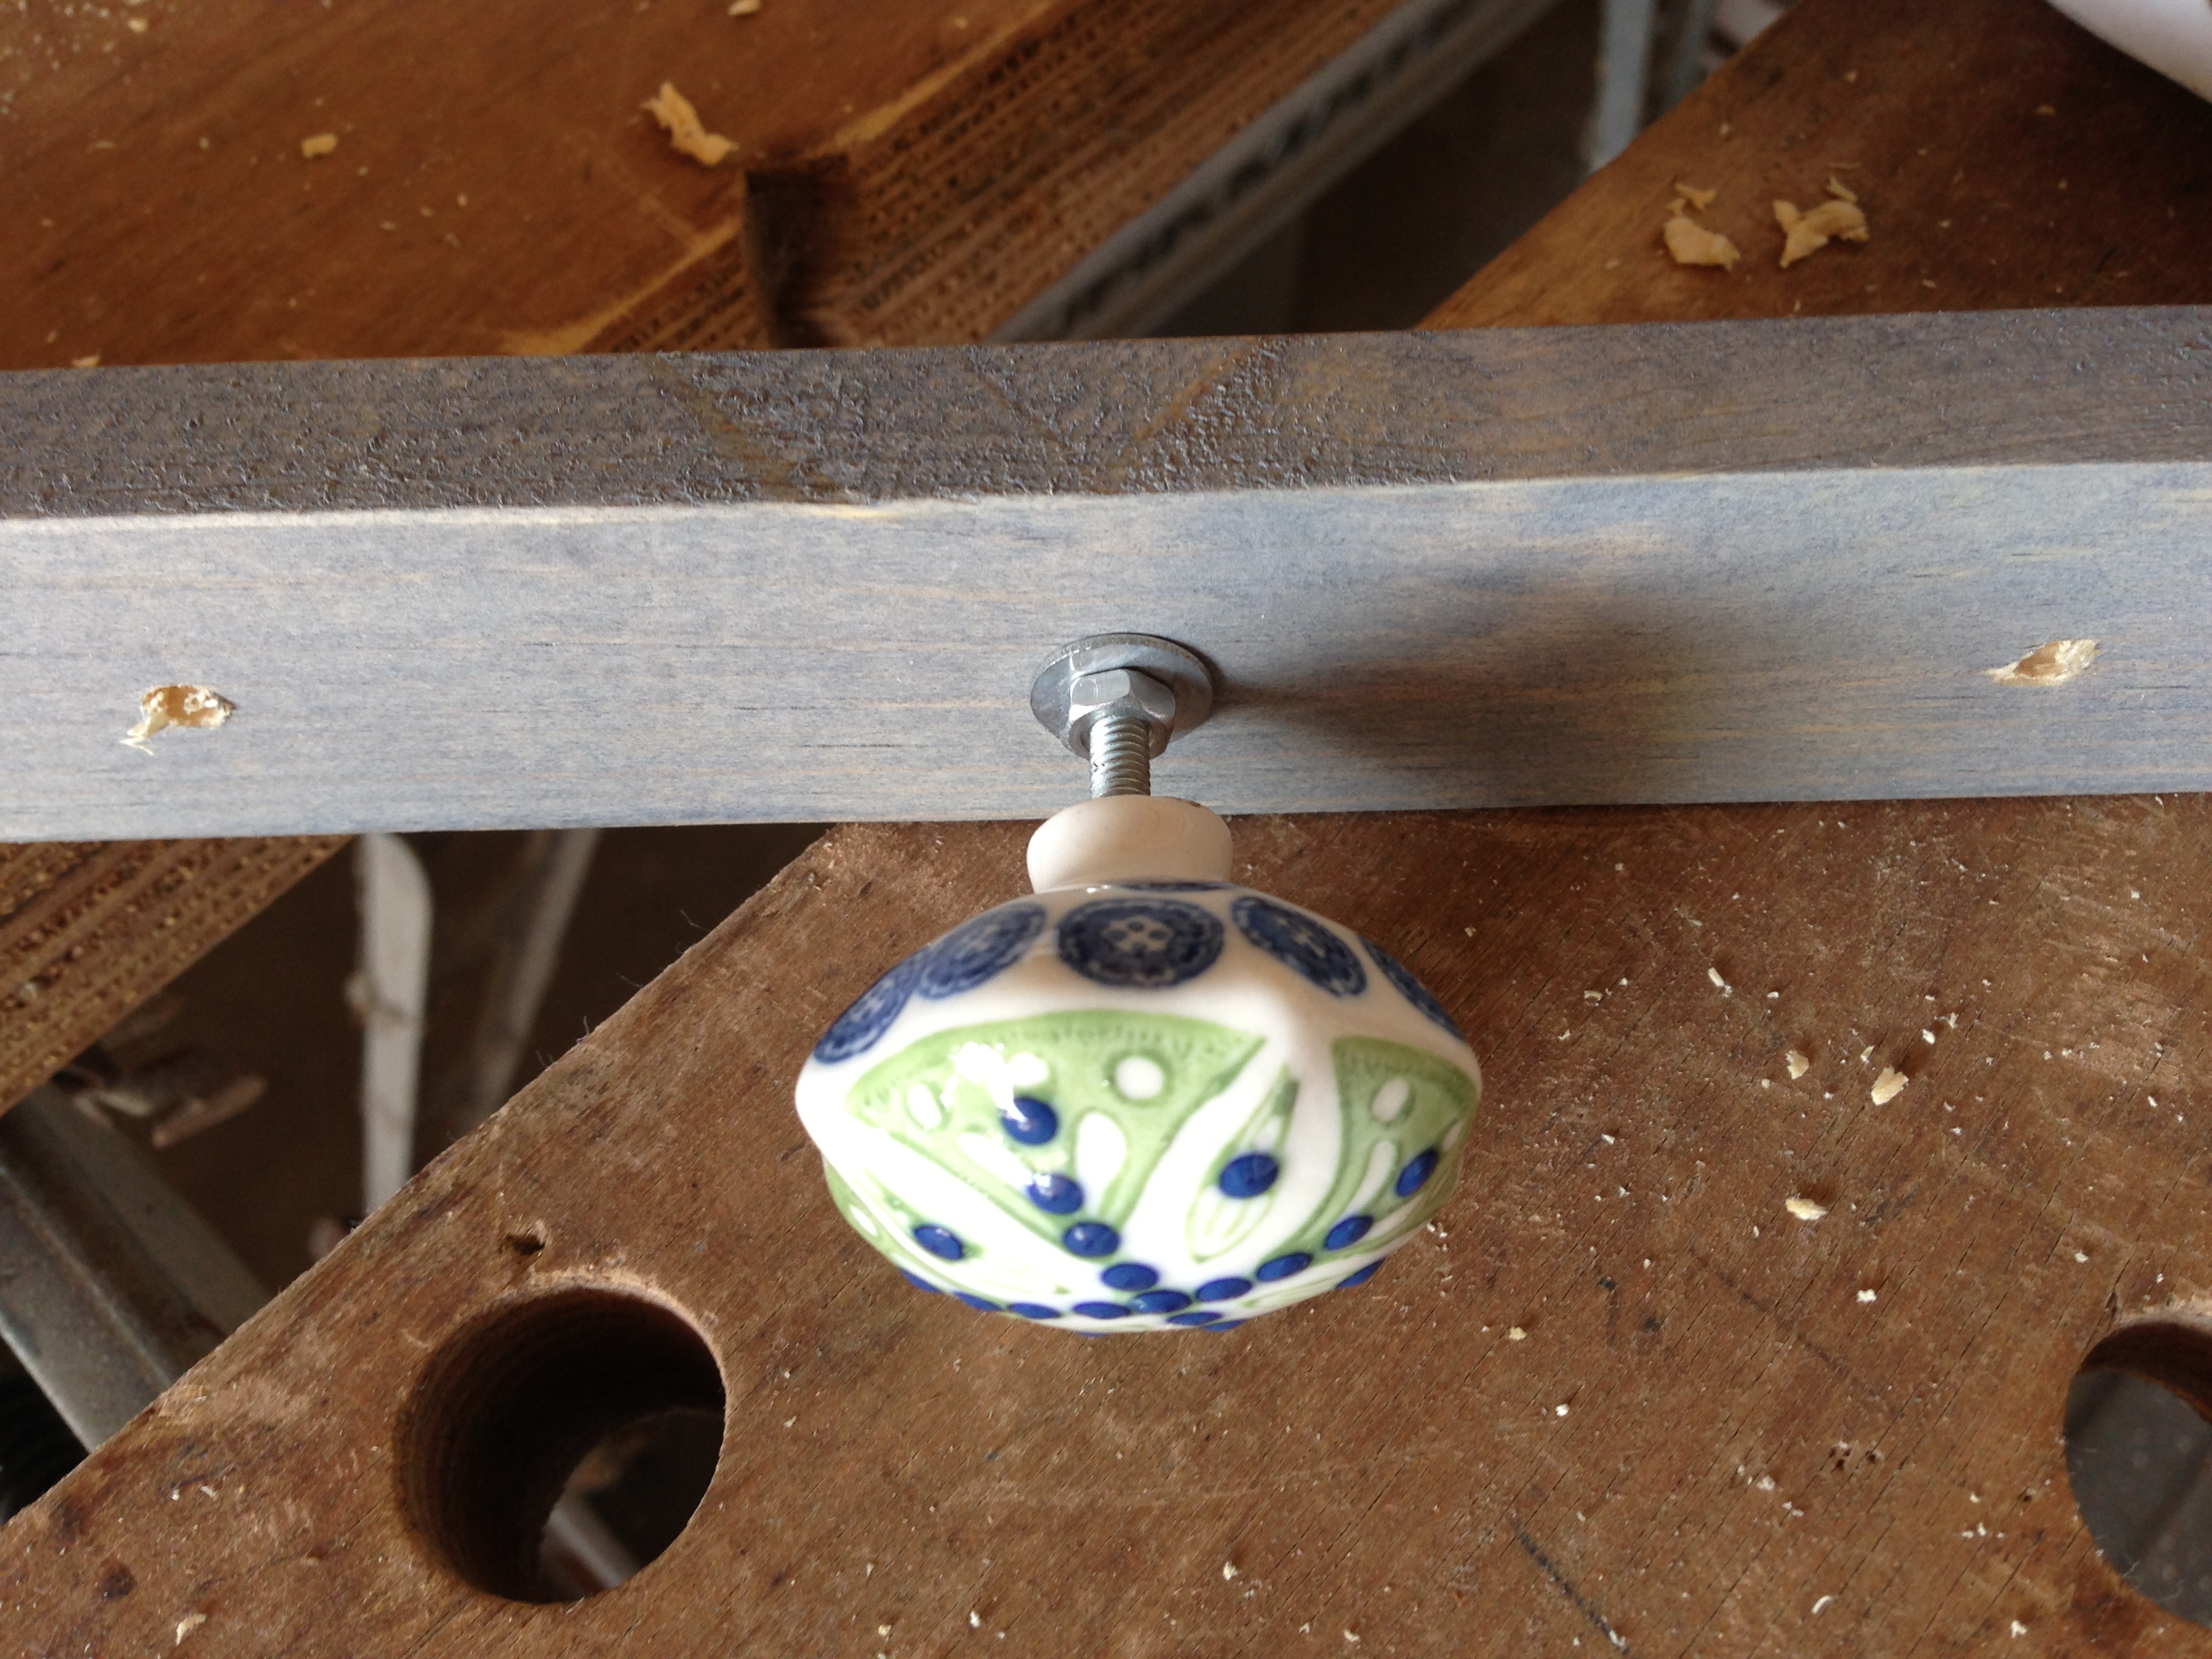
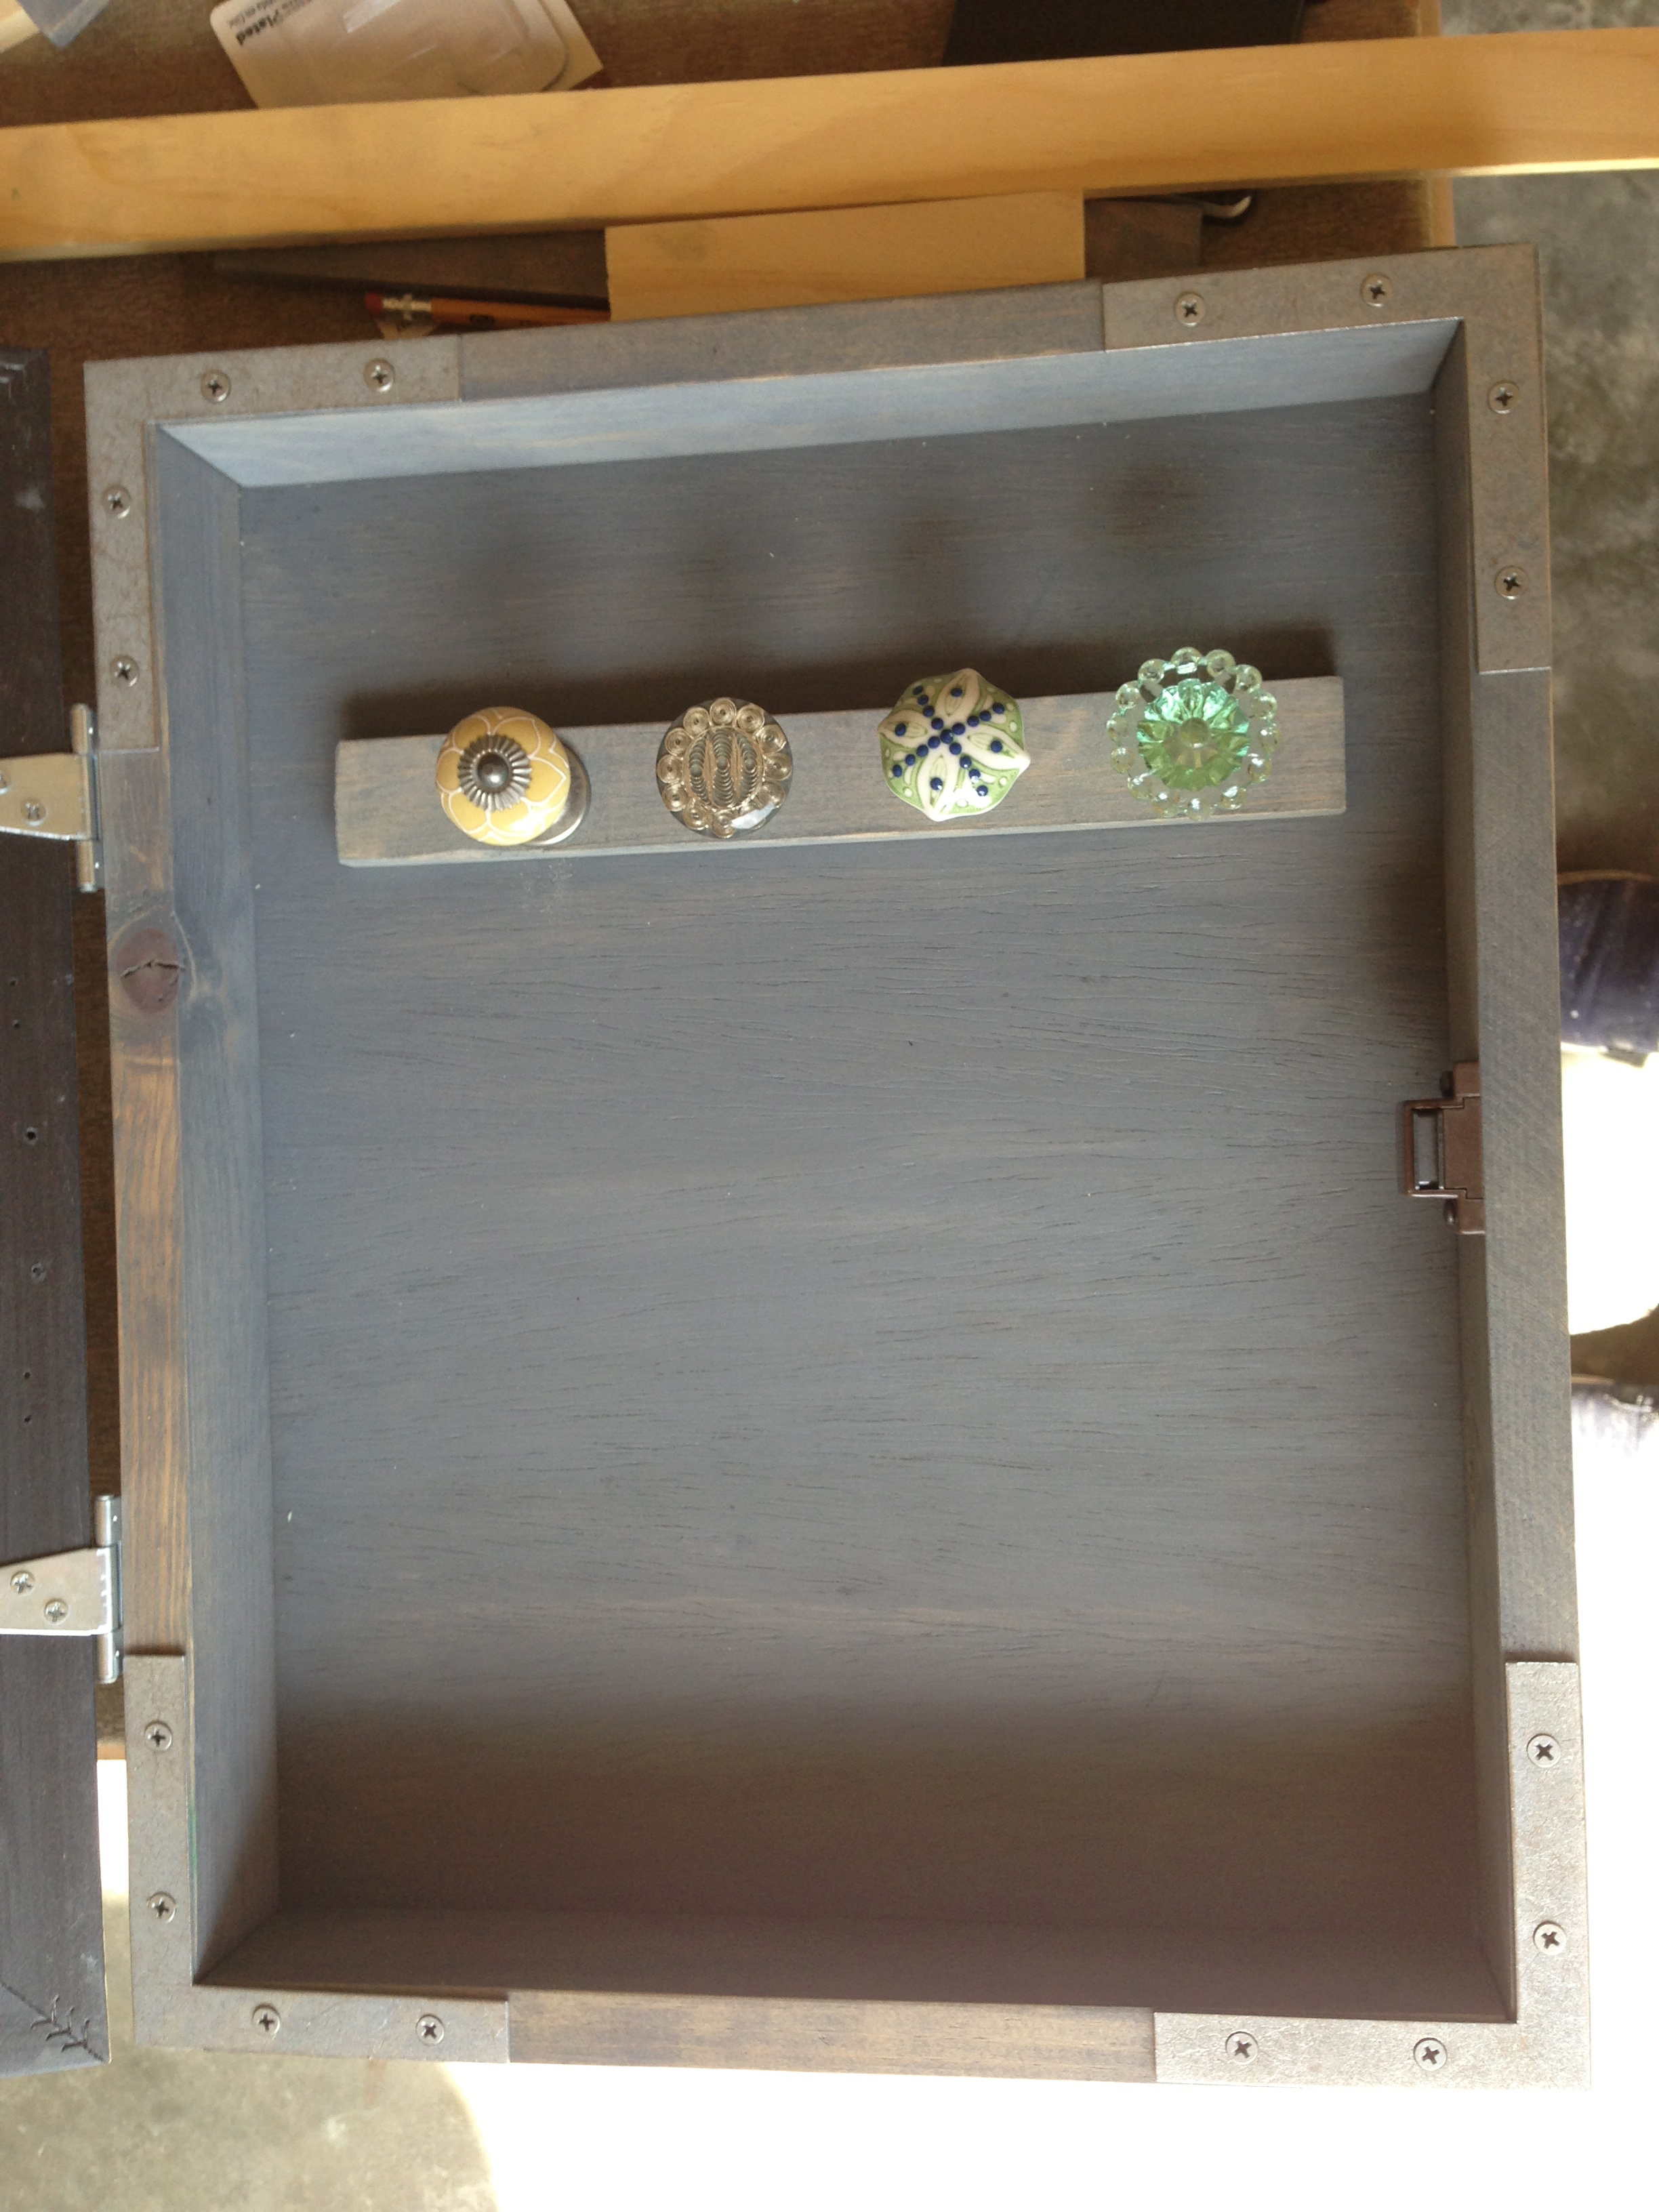
The knobs were great, but when she brought them home, I realized a slight miscalculation. Since the knobs were for doors and cabinets, the bolt shaft of the knob was long (enough to fit through the width of a door). Since the back of my jewelry box was going to be flush, and the depth of the box was only about 3 inches, this bolt had to be shortened. I grabbed a piece of stained 1×2 scrap and cut it to fit the 4 knobs, then drilled holes in them to fit each knob.
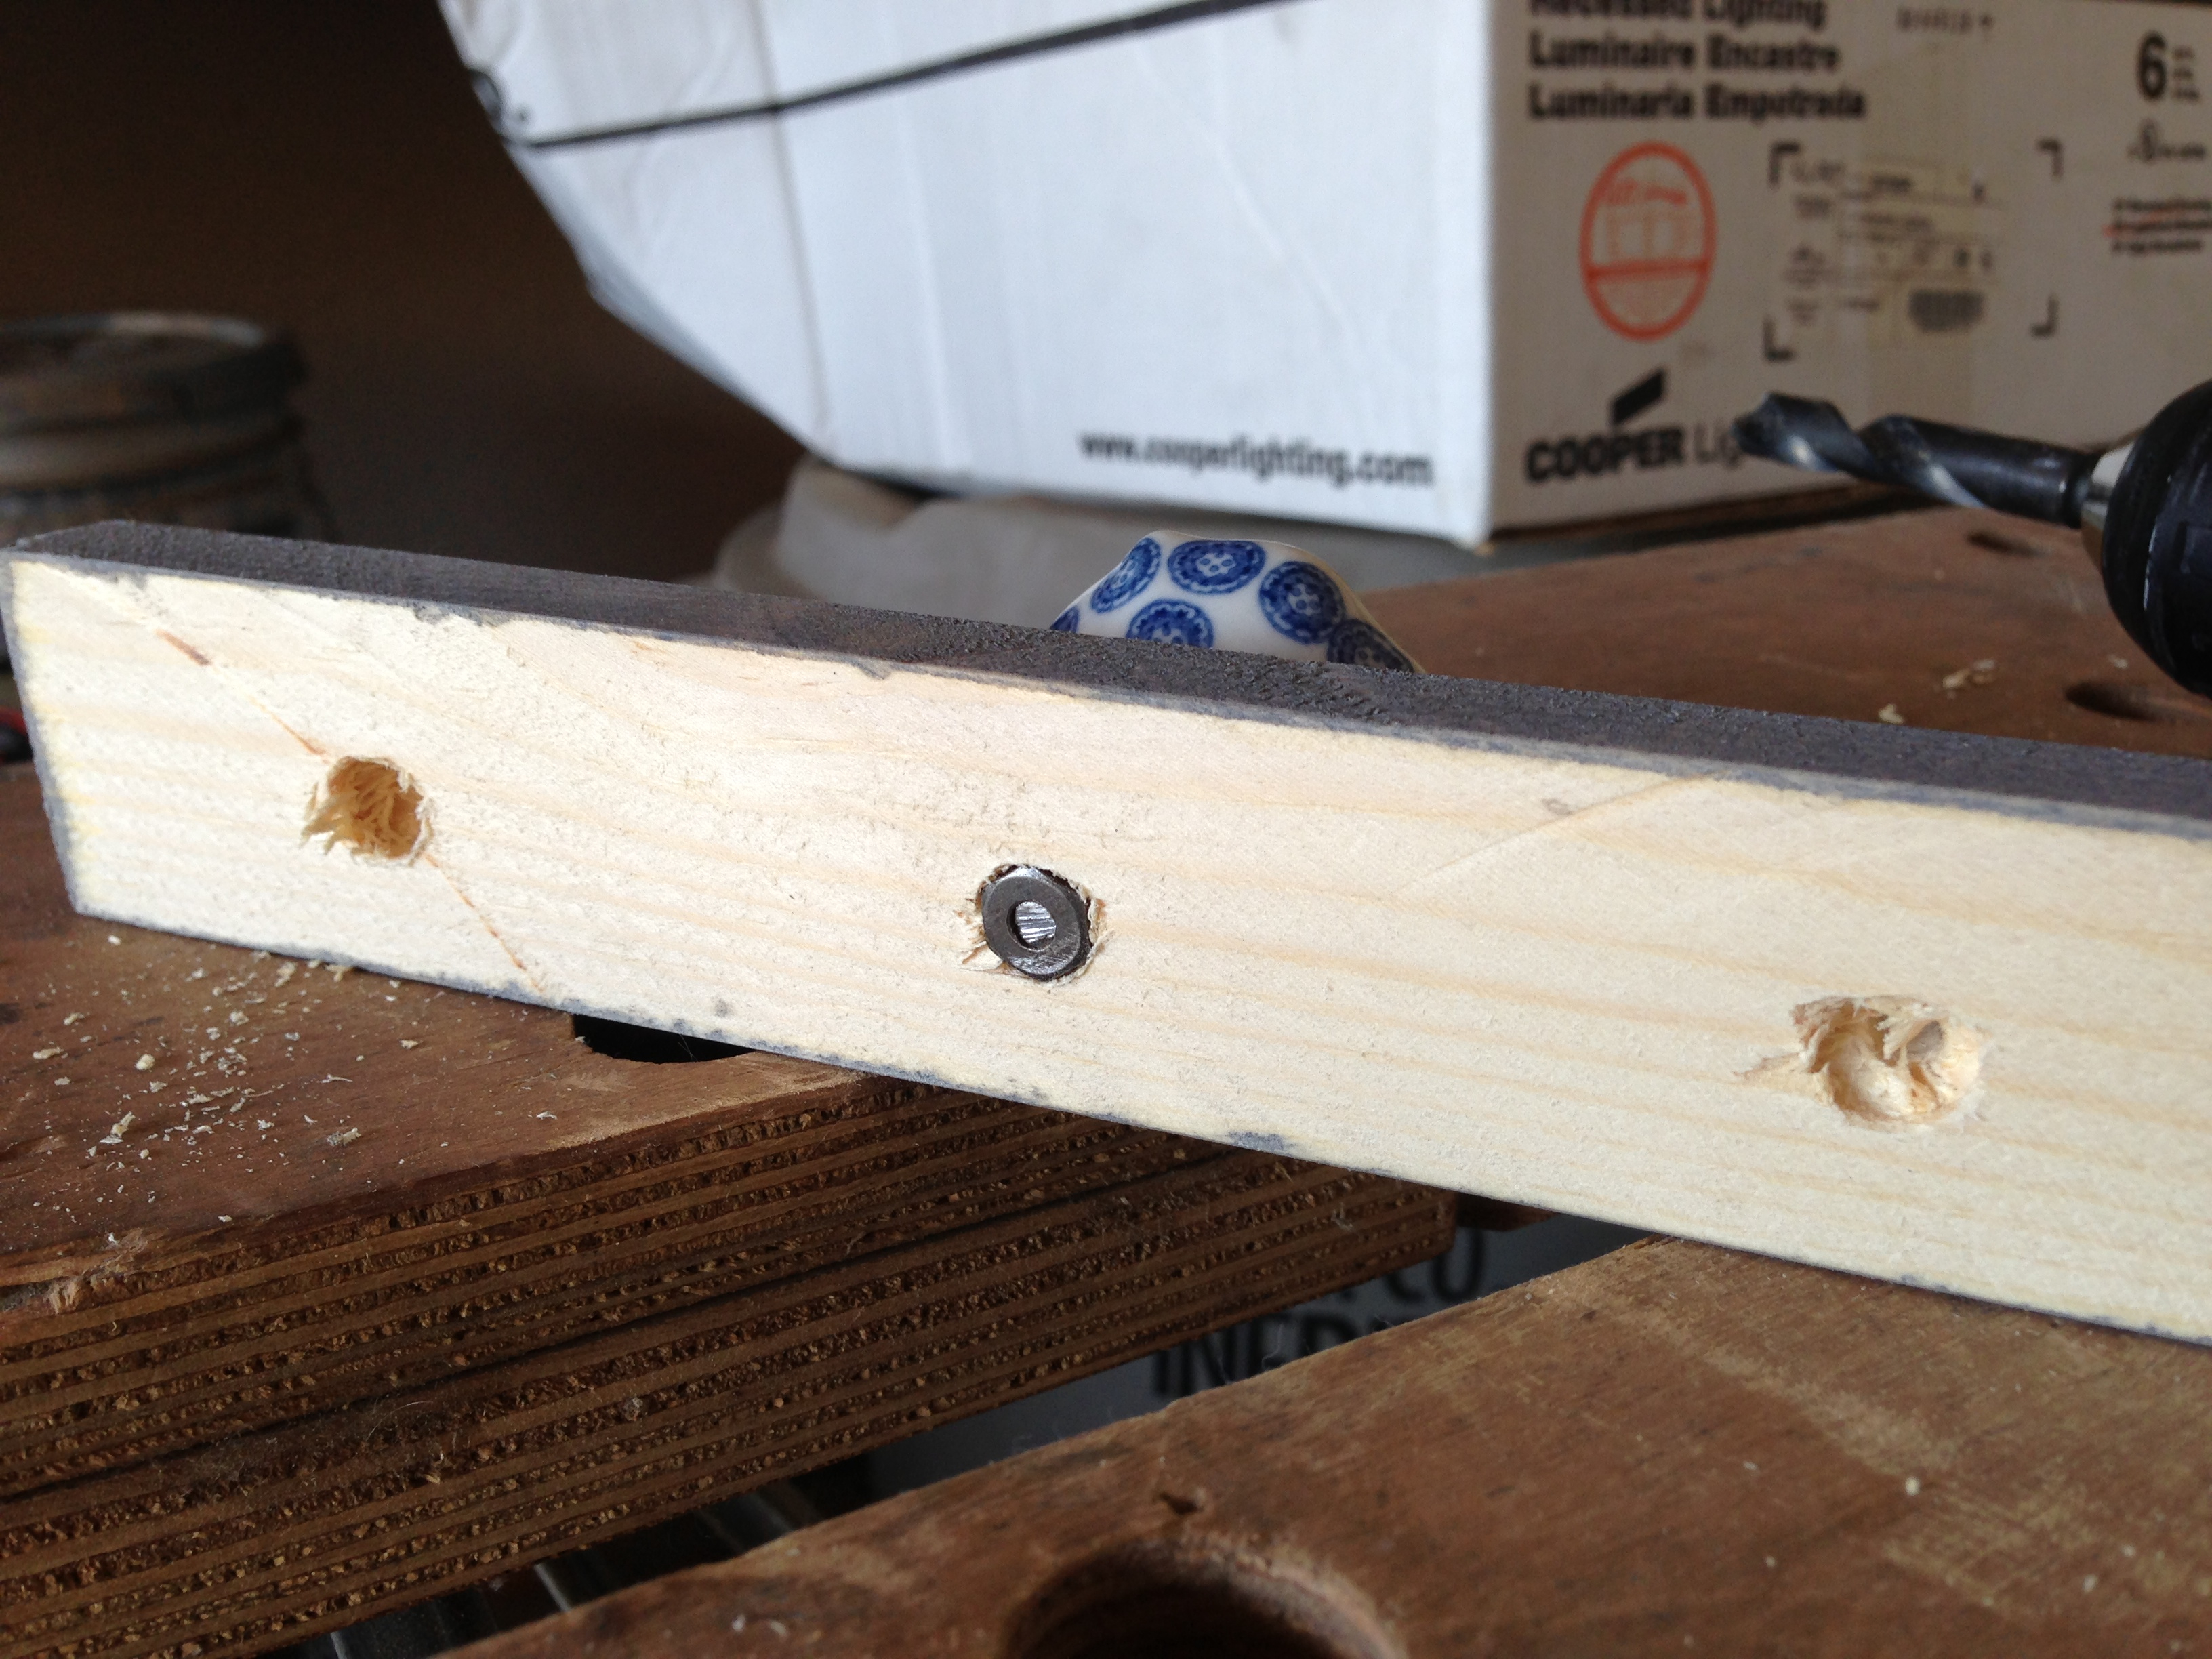
I grabbed a hack saw and cut the shaft in half. Then, I used a metal grinder to tame down the edges so I wouldn’t slice my finger. With a bit of drill-work with my trusty Makita, I made some countersink holes so that the nut could sit flush on the underside of the “knob-strip”. NOTE: most knobs don’t come with 2 nuts, so you will need some extras if you’re going to do what I did here.
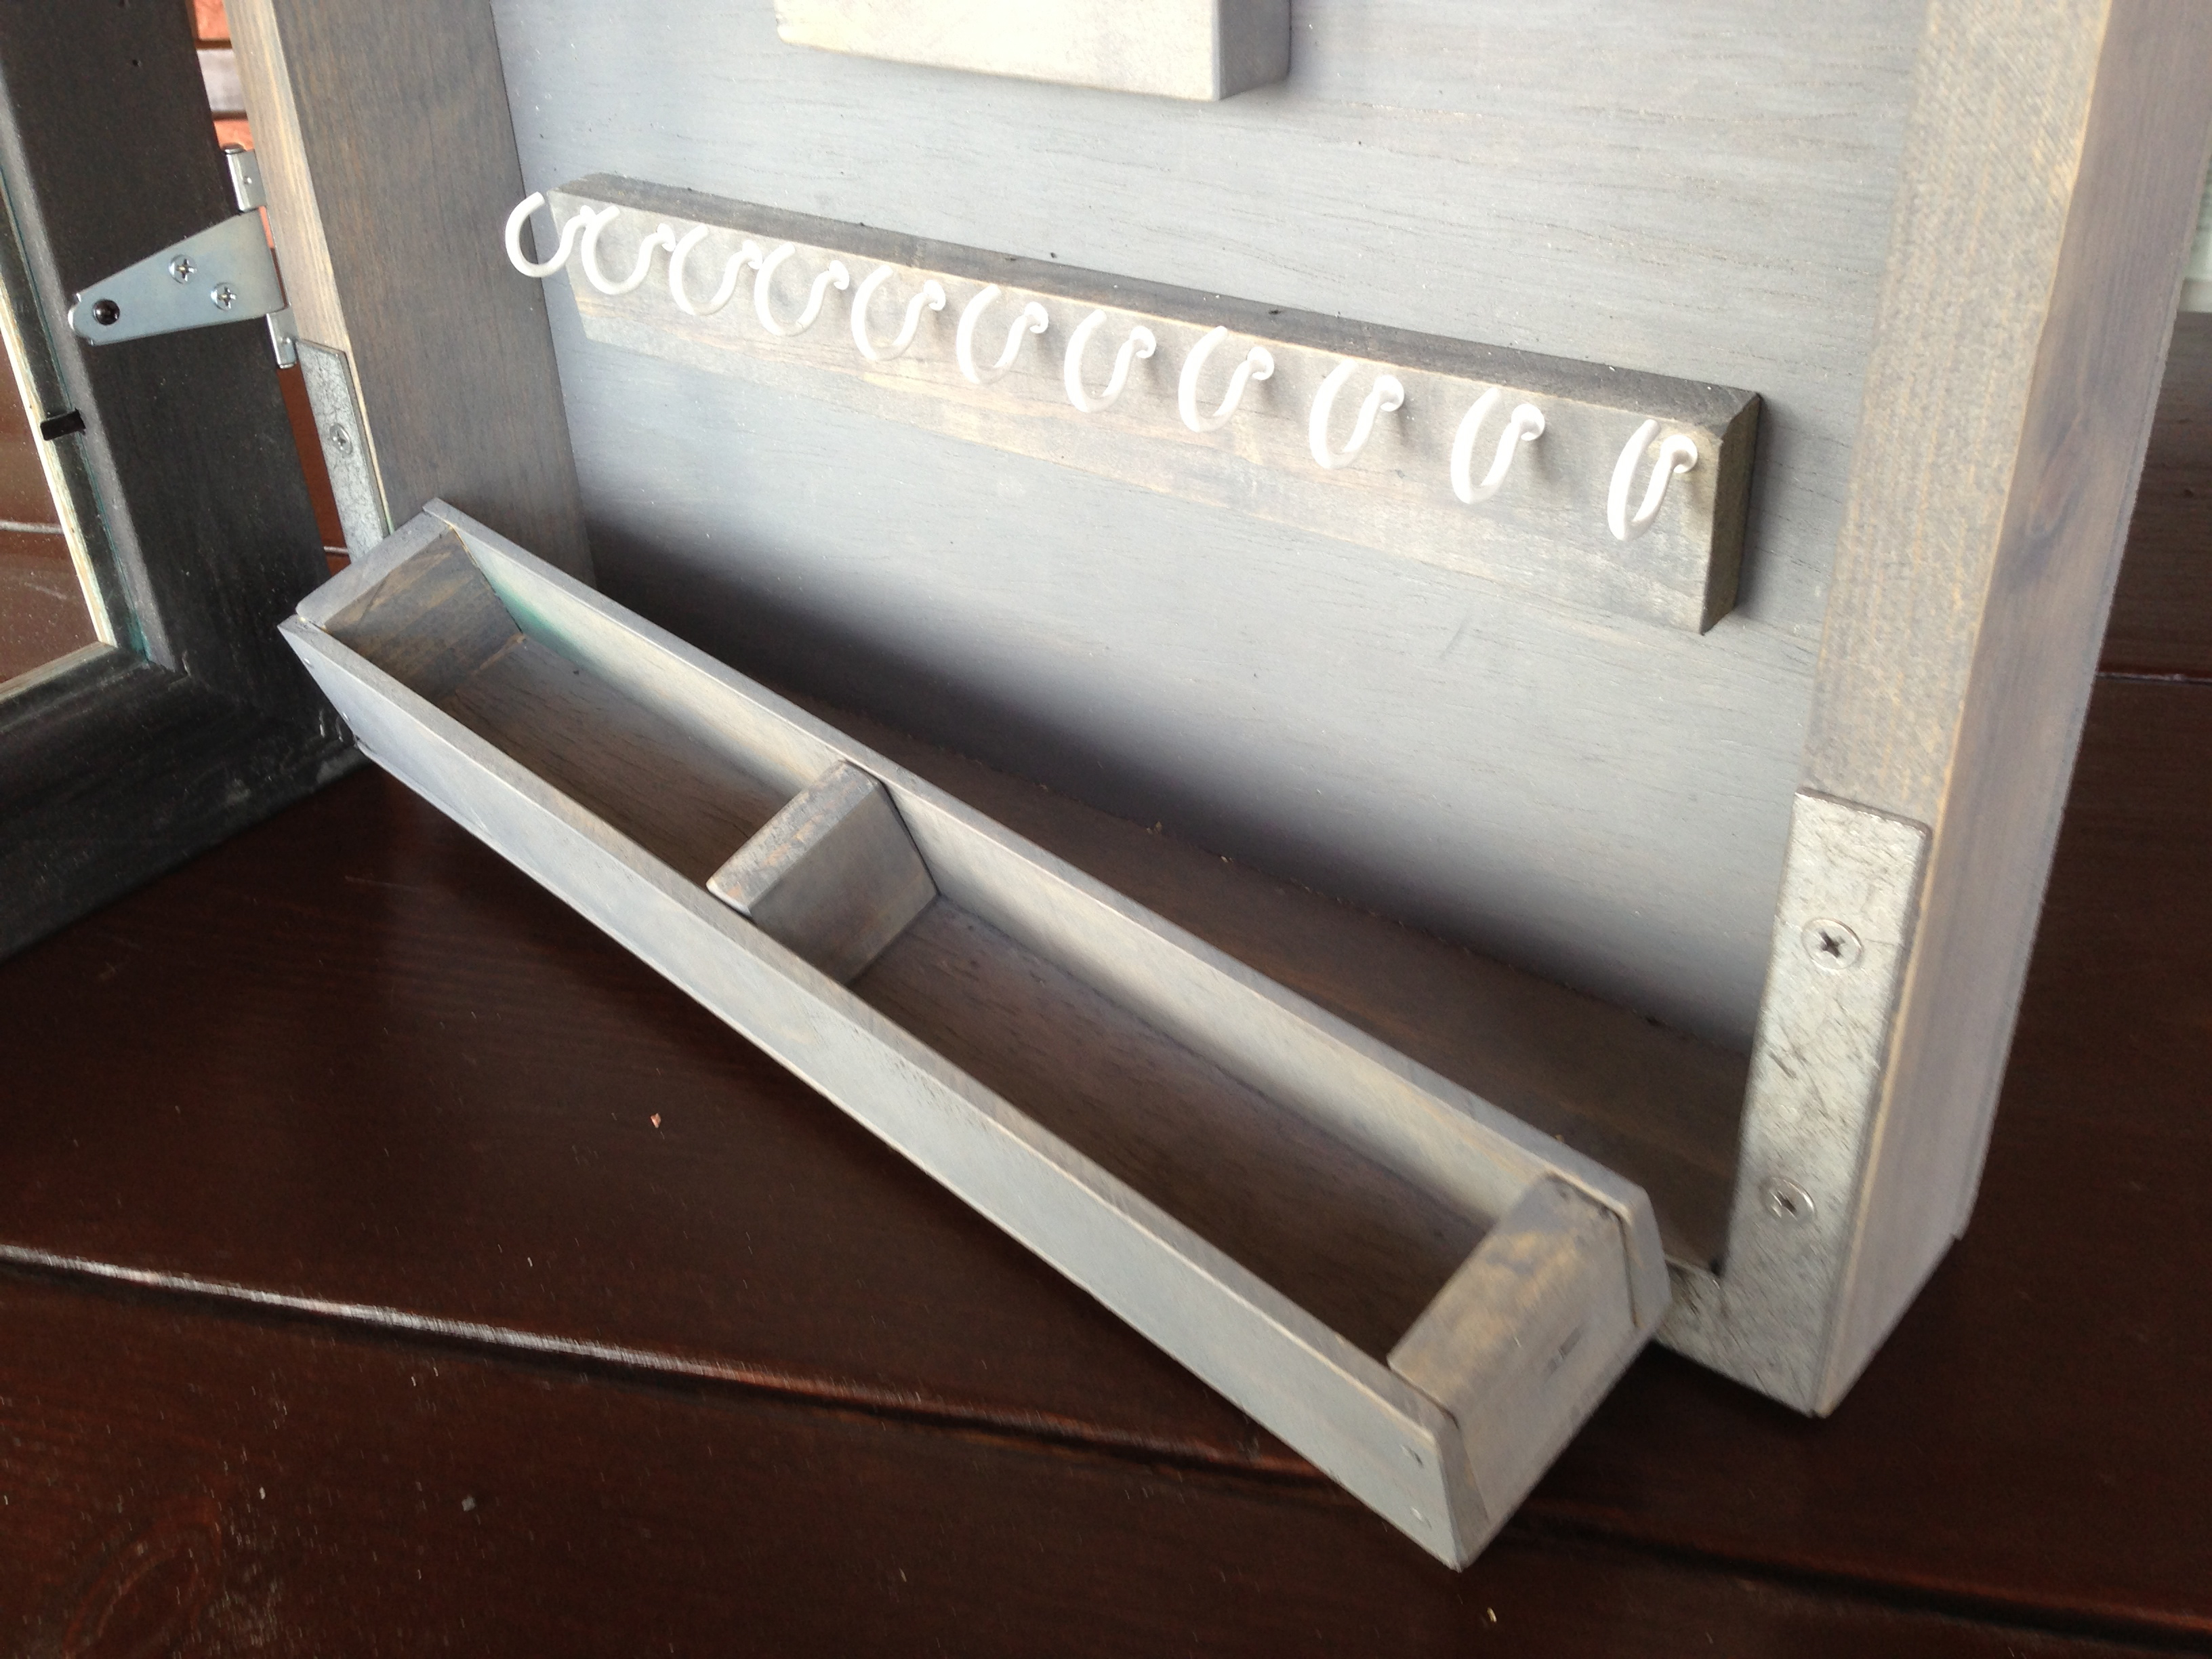
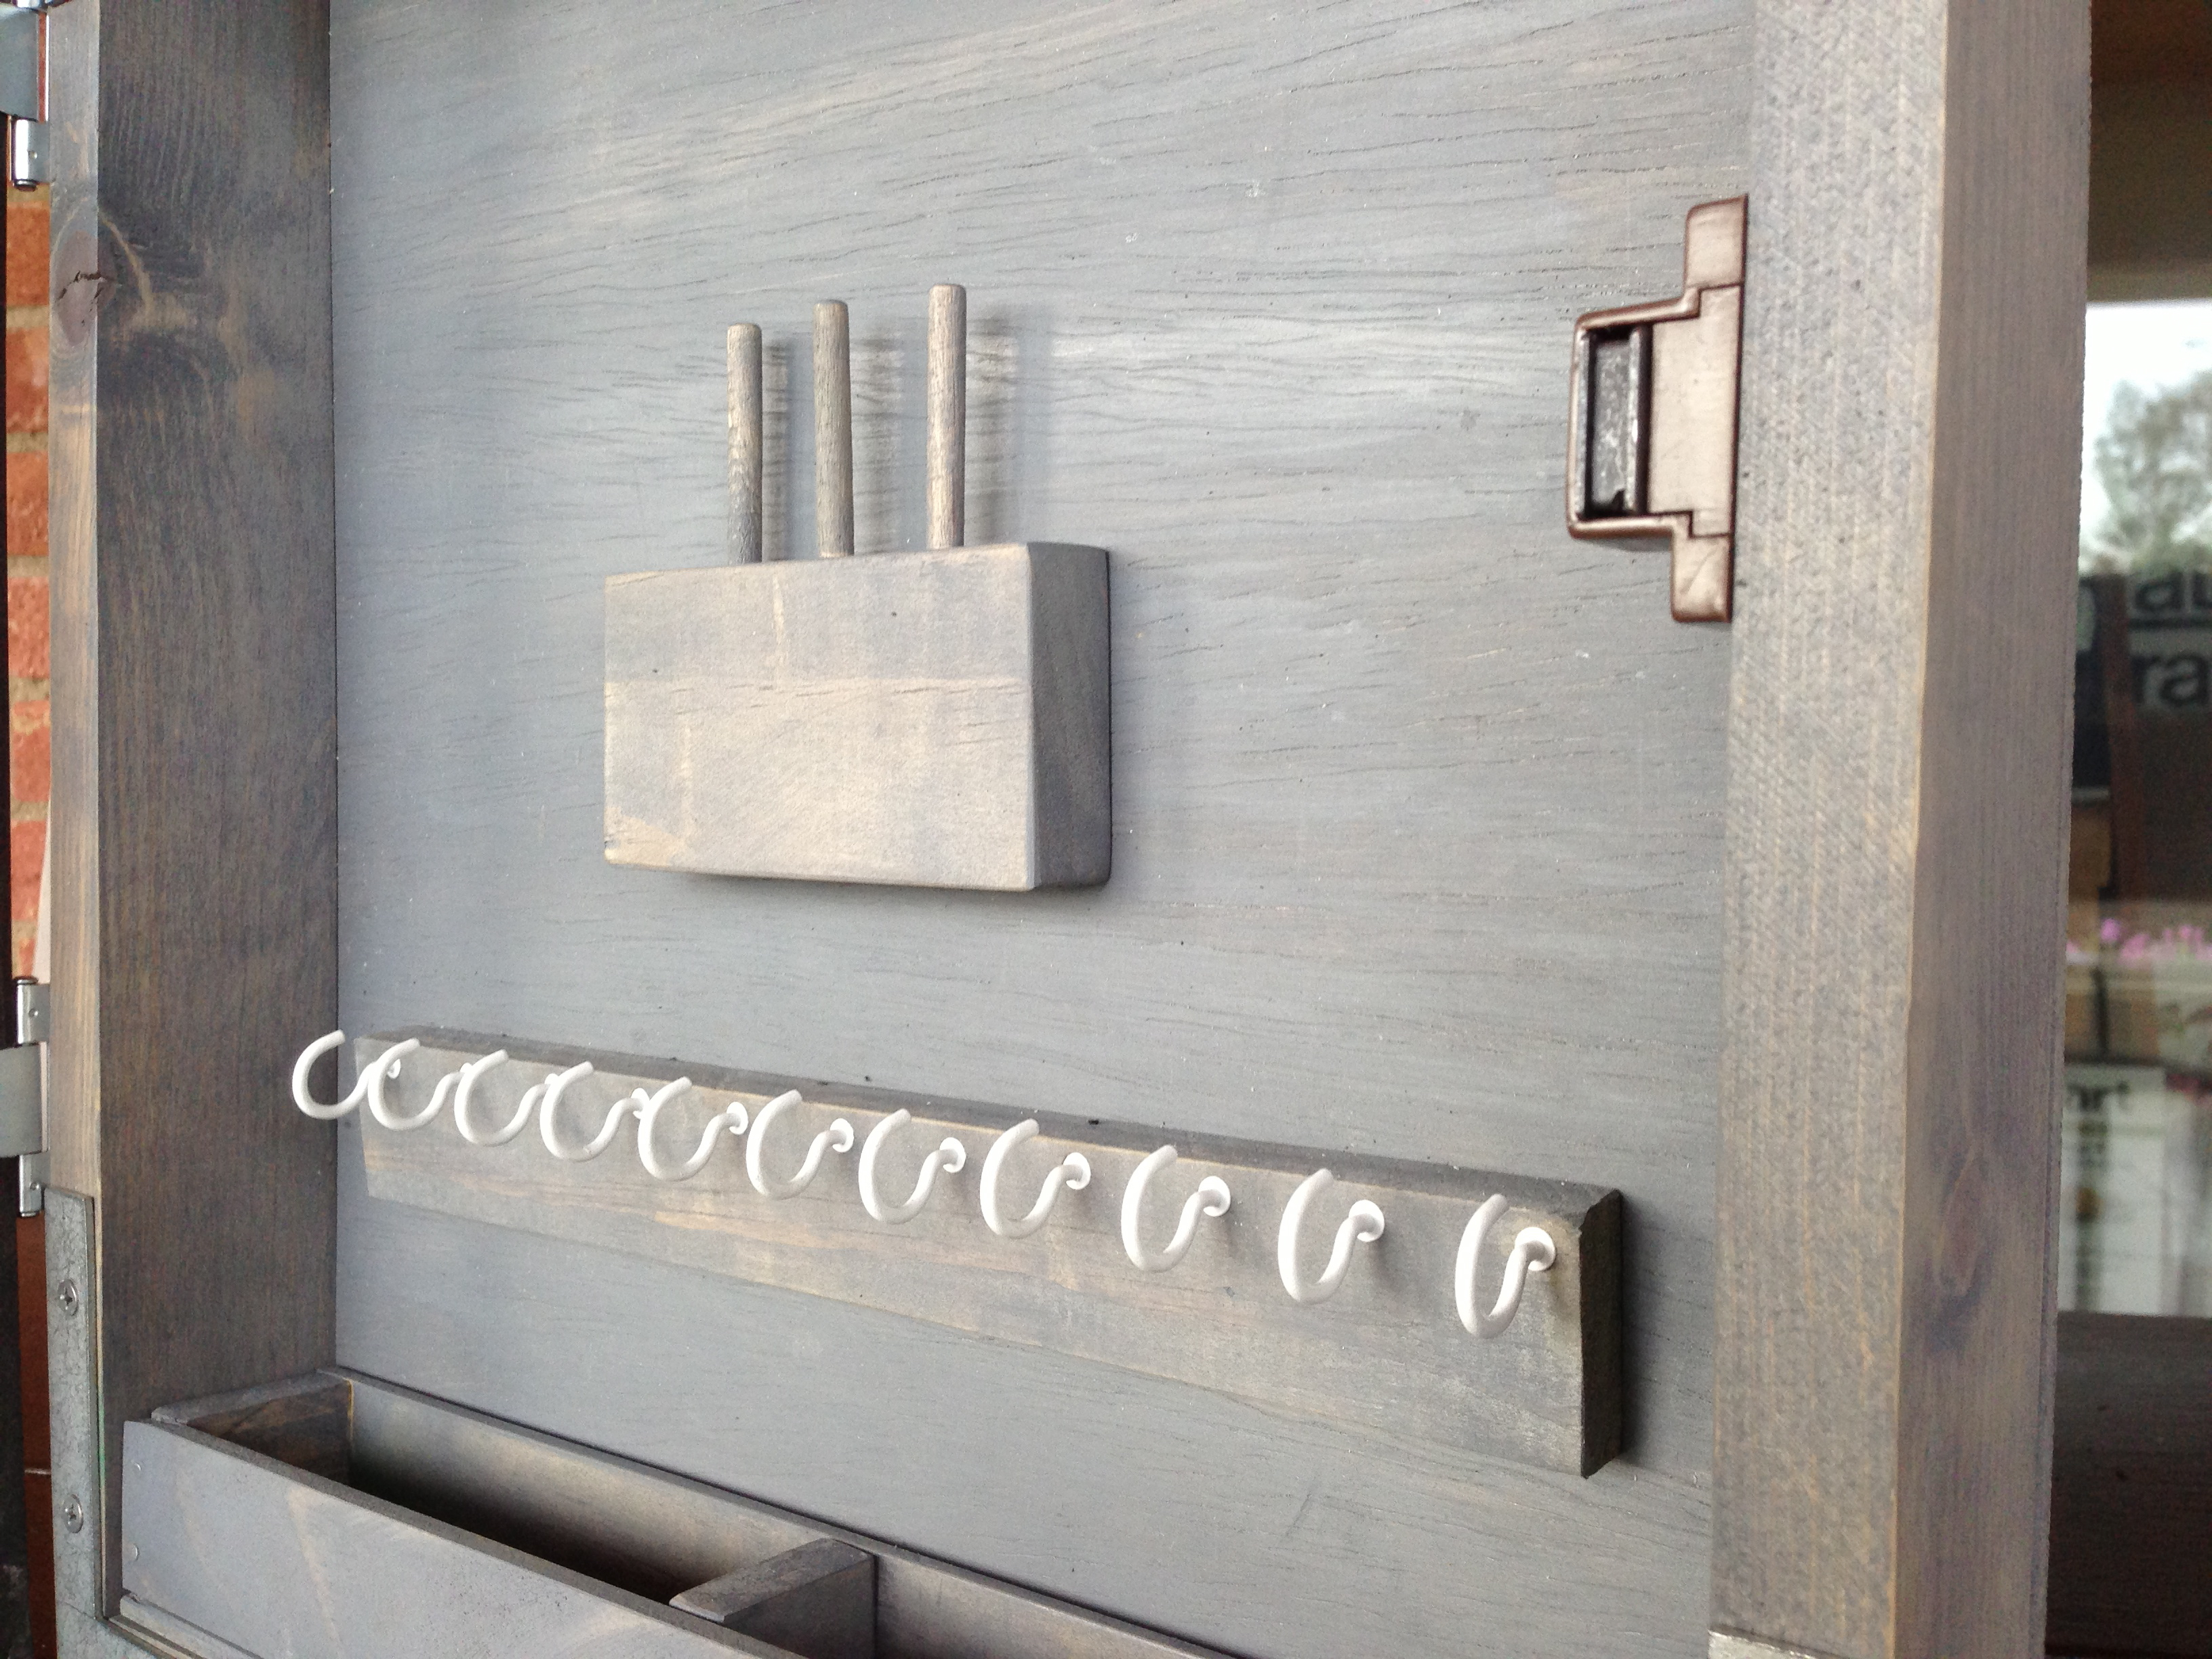
Next, I wanted something to hold earrings. I’ve seen other jewelry boxes use loops or hooks, so I found some old hooks I used to hang Christmas lights, and made a row of them to carry a legion of ear-jewels! I also knew that with a hanging jewelry box was a sure-fire way to lose jewelry. Things would get dropped and potentially lost on clumsy mornings or drowsy evenings. My solution was to create a small “drawer” to carry/catch loose jewelry. It’s removable, and the divider in the center can be taken out if desired.
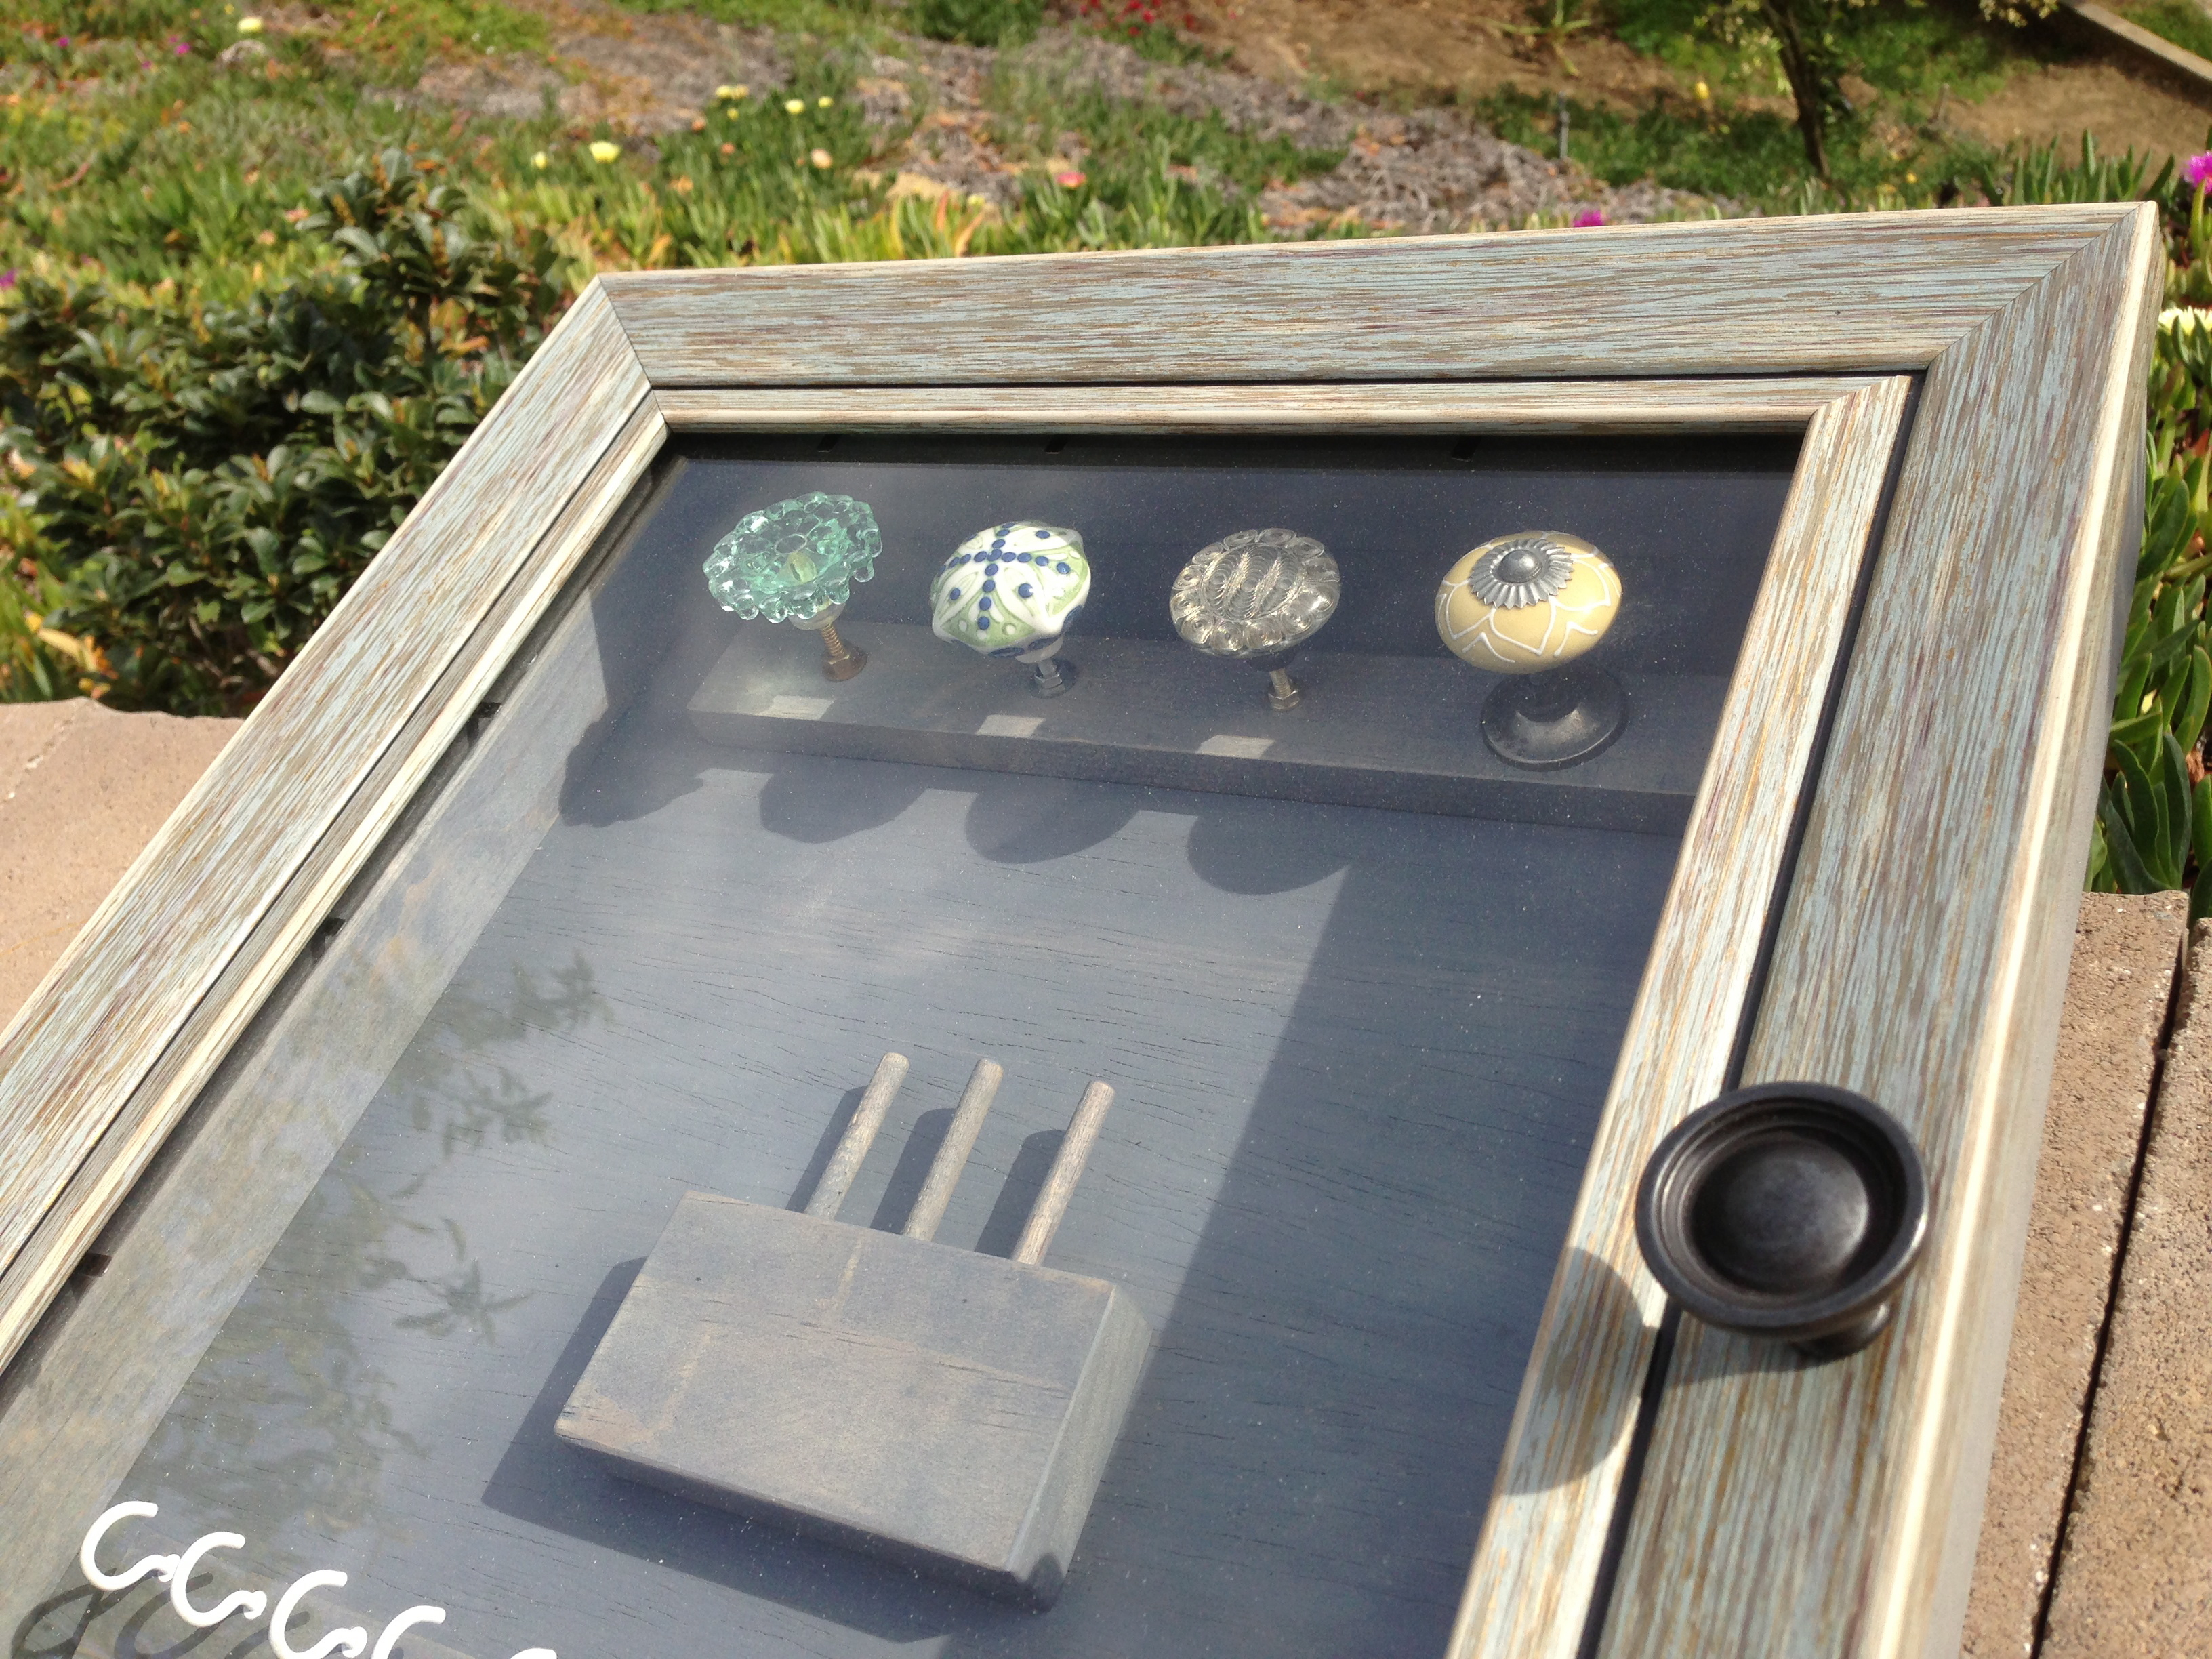
The last and (perhaps most important) part was to create a place for rings. I wanted her engagement ring and wedding band to be the centerpiece of the box… the few times they aren’t wrapped around her finger. I used the old pegs from those cheap wooden Ikea picture frames then stuck them in a piece of 1×2. Voila! Ring holders!
I decided to put the glass from the frame back on. This made the door a lot heavier, but I like that it keeps jewelry from falling out the front. It looks good without the glass too, so I guess this is a matter of preference. Since the magnet to keep the door shut is so strong, I also needed a knob for opening the box. Home Depot had a great distressed metal one for pretty cheap!

In doing this project, I discovered how just a little imperfection in attaching the door can make the whole box appear very crooked. After a moment of being disappointed in myself, I shrugged it off and told myself it added that “diy touch” to it. Haha. This project was definitely more difficult than I thought, but I still had a blast doing it. Hope this can inspire you to create something!
UPDATE:
After I made the box, I realized that the exact spot where my wife wanted to hang the box had studs in the wrong place. A quick trip to Home Depot (quickly becoming my favorite store), and I found these:

After the hanging, we also figured out that some of the necklaces were getting caught on the hooks, so we removed a few of them where necessary. The final result was great! Best of all, she loves it.


lovely! please ask your better half to let you post a photo of the box in use! i’m curious to see it with different types of jewelry hanging.
K! check out the updated post for a pic of the hanging box with hanging jewelry!