

At our wedding, our amazing photographer (Christine Farah) told us that she “chases light” on her shoots. She was always finding these amazing shots where the sun would light up our faces and the scenery around us, producing a phenomenal photograph. Light is a photographer’s best friend. Better light means better pictures. Light reveals things to us. It speaks to our eyes… communicating in colors, shapes, and textures.
While I am by no means a professional photographer, I like my pictures to look great… no matter if I use them for a graphic I’m working on, or just posting to Instagram. As I filter through the plethora of amazing design blogs online, I used to wonder how these designers got such amazing shots of the items they were posting. Why were their pictures coming out so good? How was it possible that it was always an overcast day when they took a picture? Did all bloggers live in the Pacific Northwest?
Enter the lightbox. I soon realized that this little tool could make all the difference in your pictures. Controlling your light source(s) in a miniature studio can give the picture that added touch… eliminating harsh shadows, lighting an object from all sides, and giving the picture an overall “clean” look that was pleasing to the eye.

Fellow blogger (and my good friend) Tina at Tinamadeit suggested we create our own lightboxes based off a few designs she’d found online. Tina had been working with a previous lightbox she whipped together using a cardboard box, but wanted something of higher quality that would be durable and easy to disassemble/store. We chose this one from Amanda at diyphotography that used PVC pipes, came up with a shopping list, then headed to Joanne’s Fabric Store and Home Depot for our project.
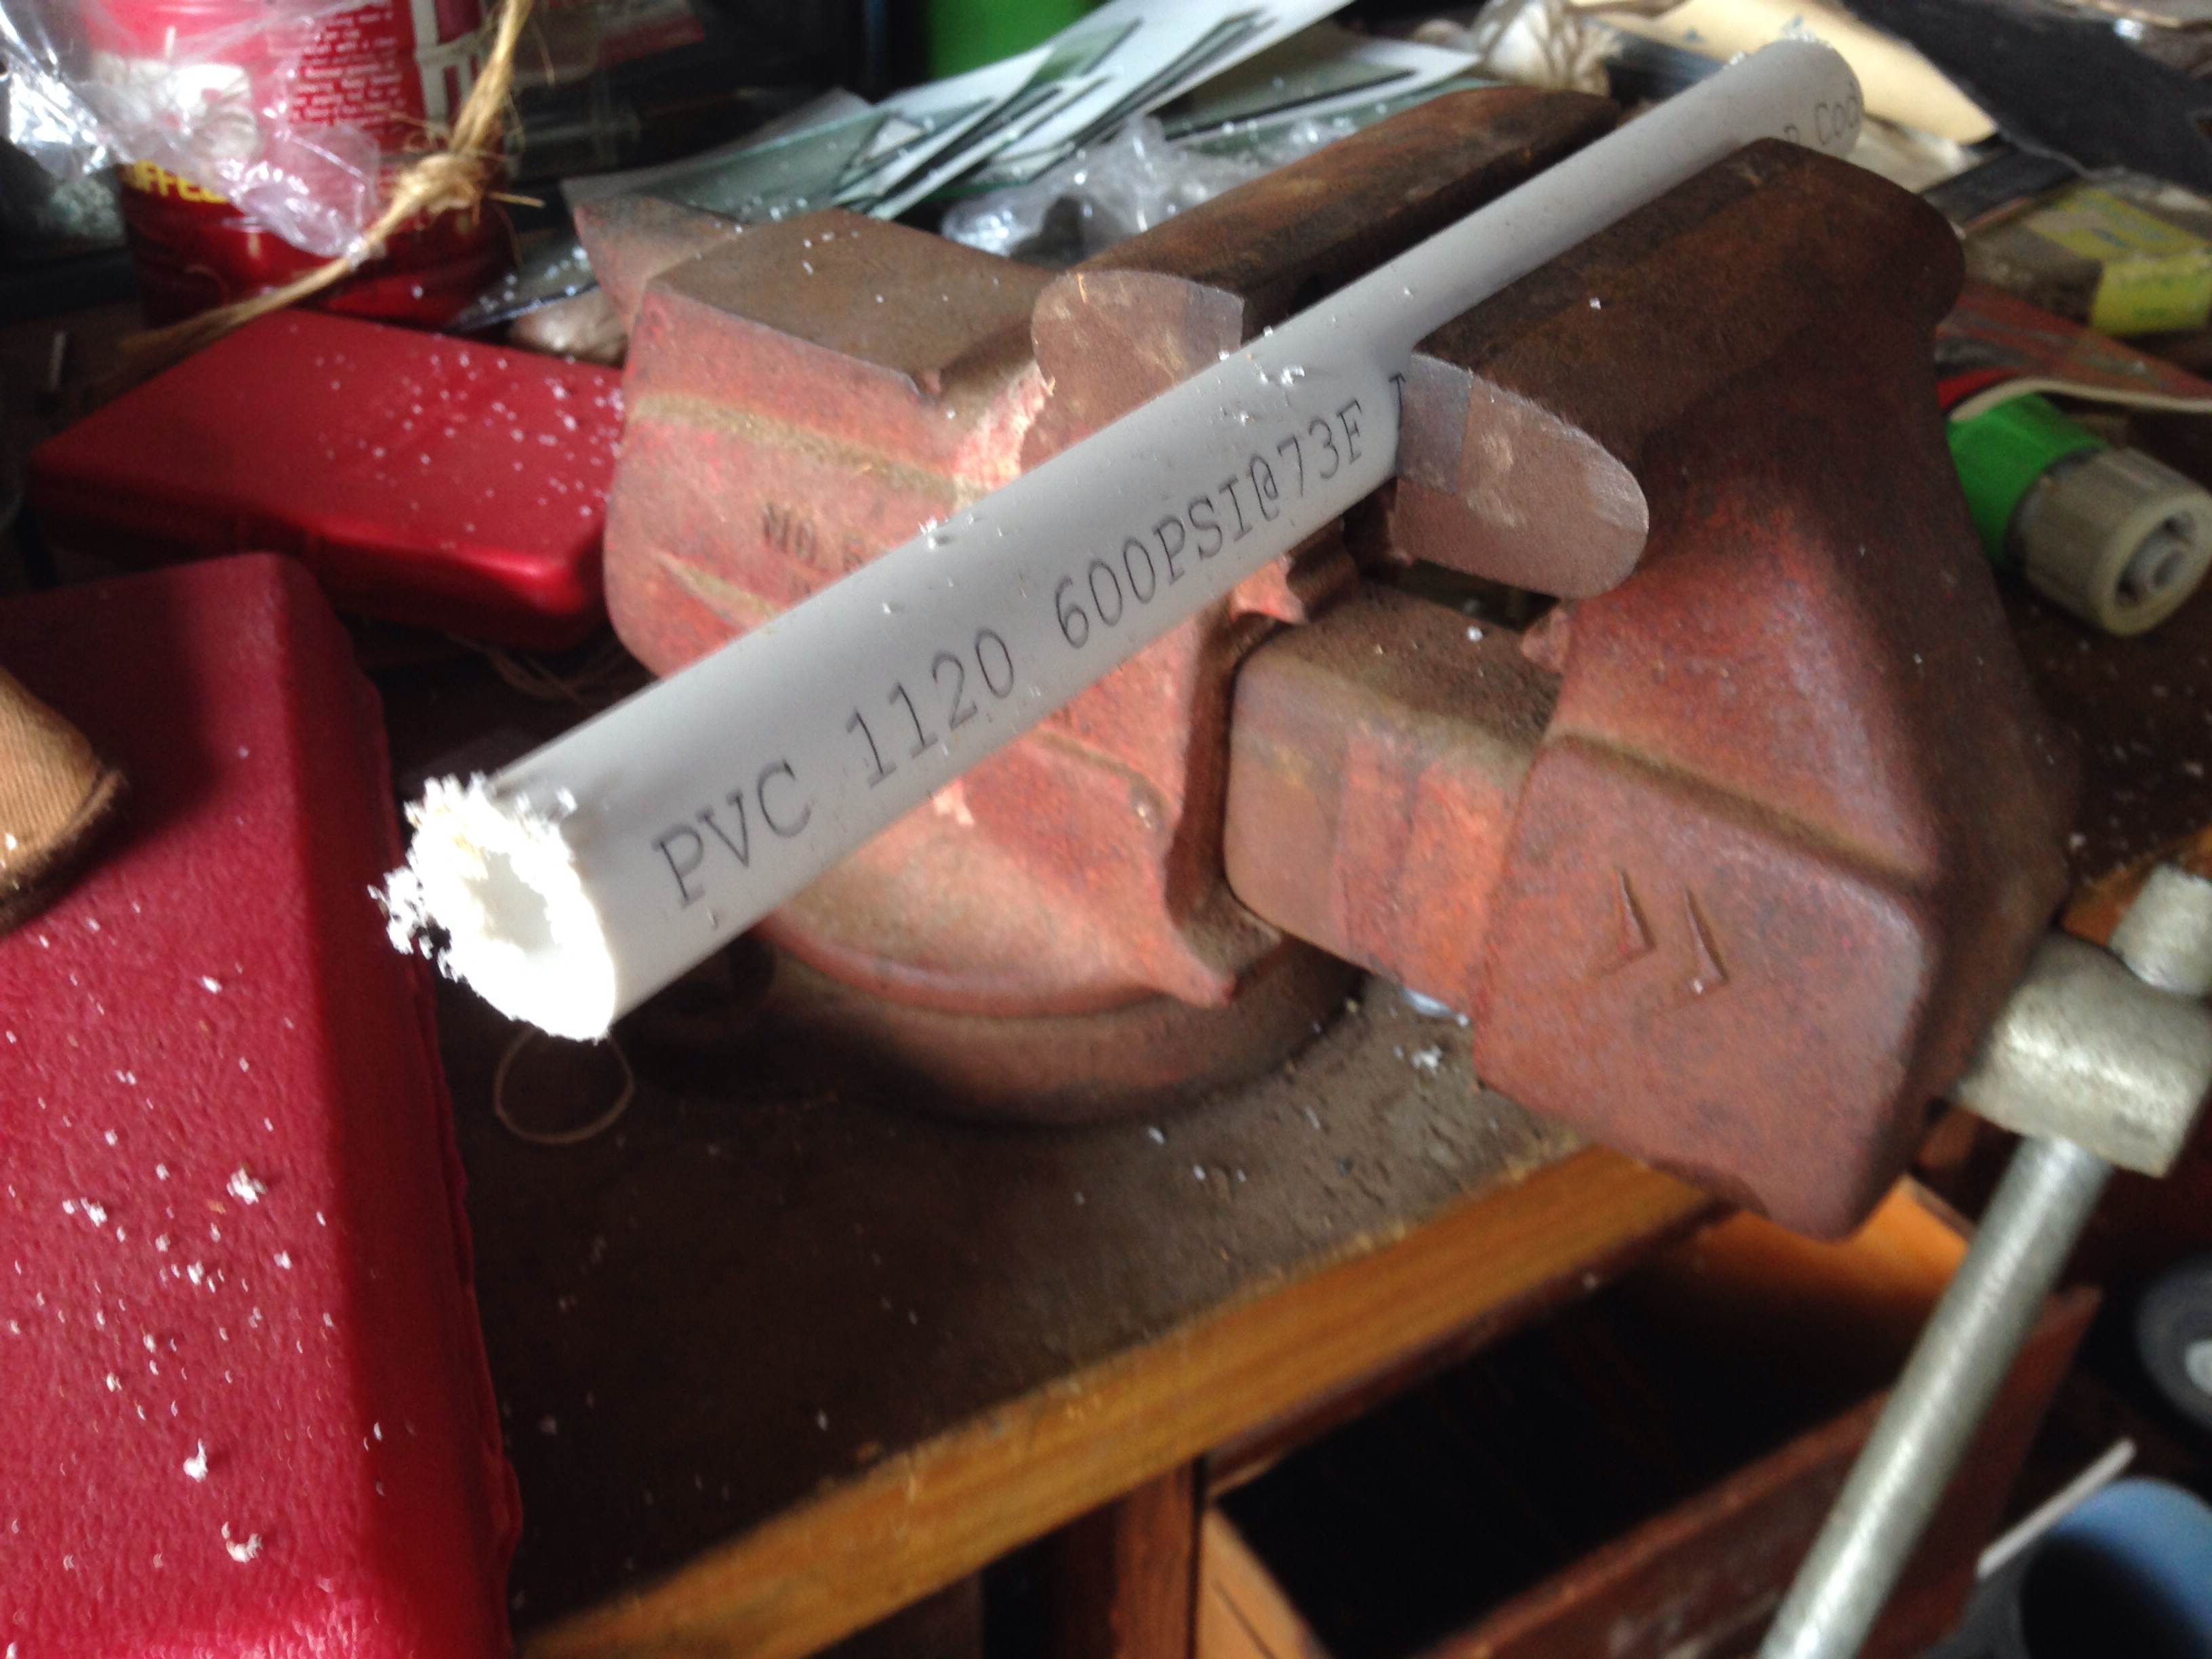
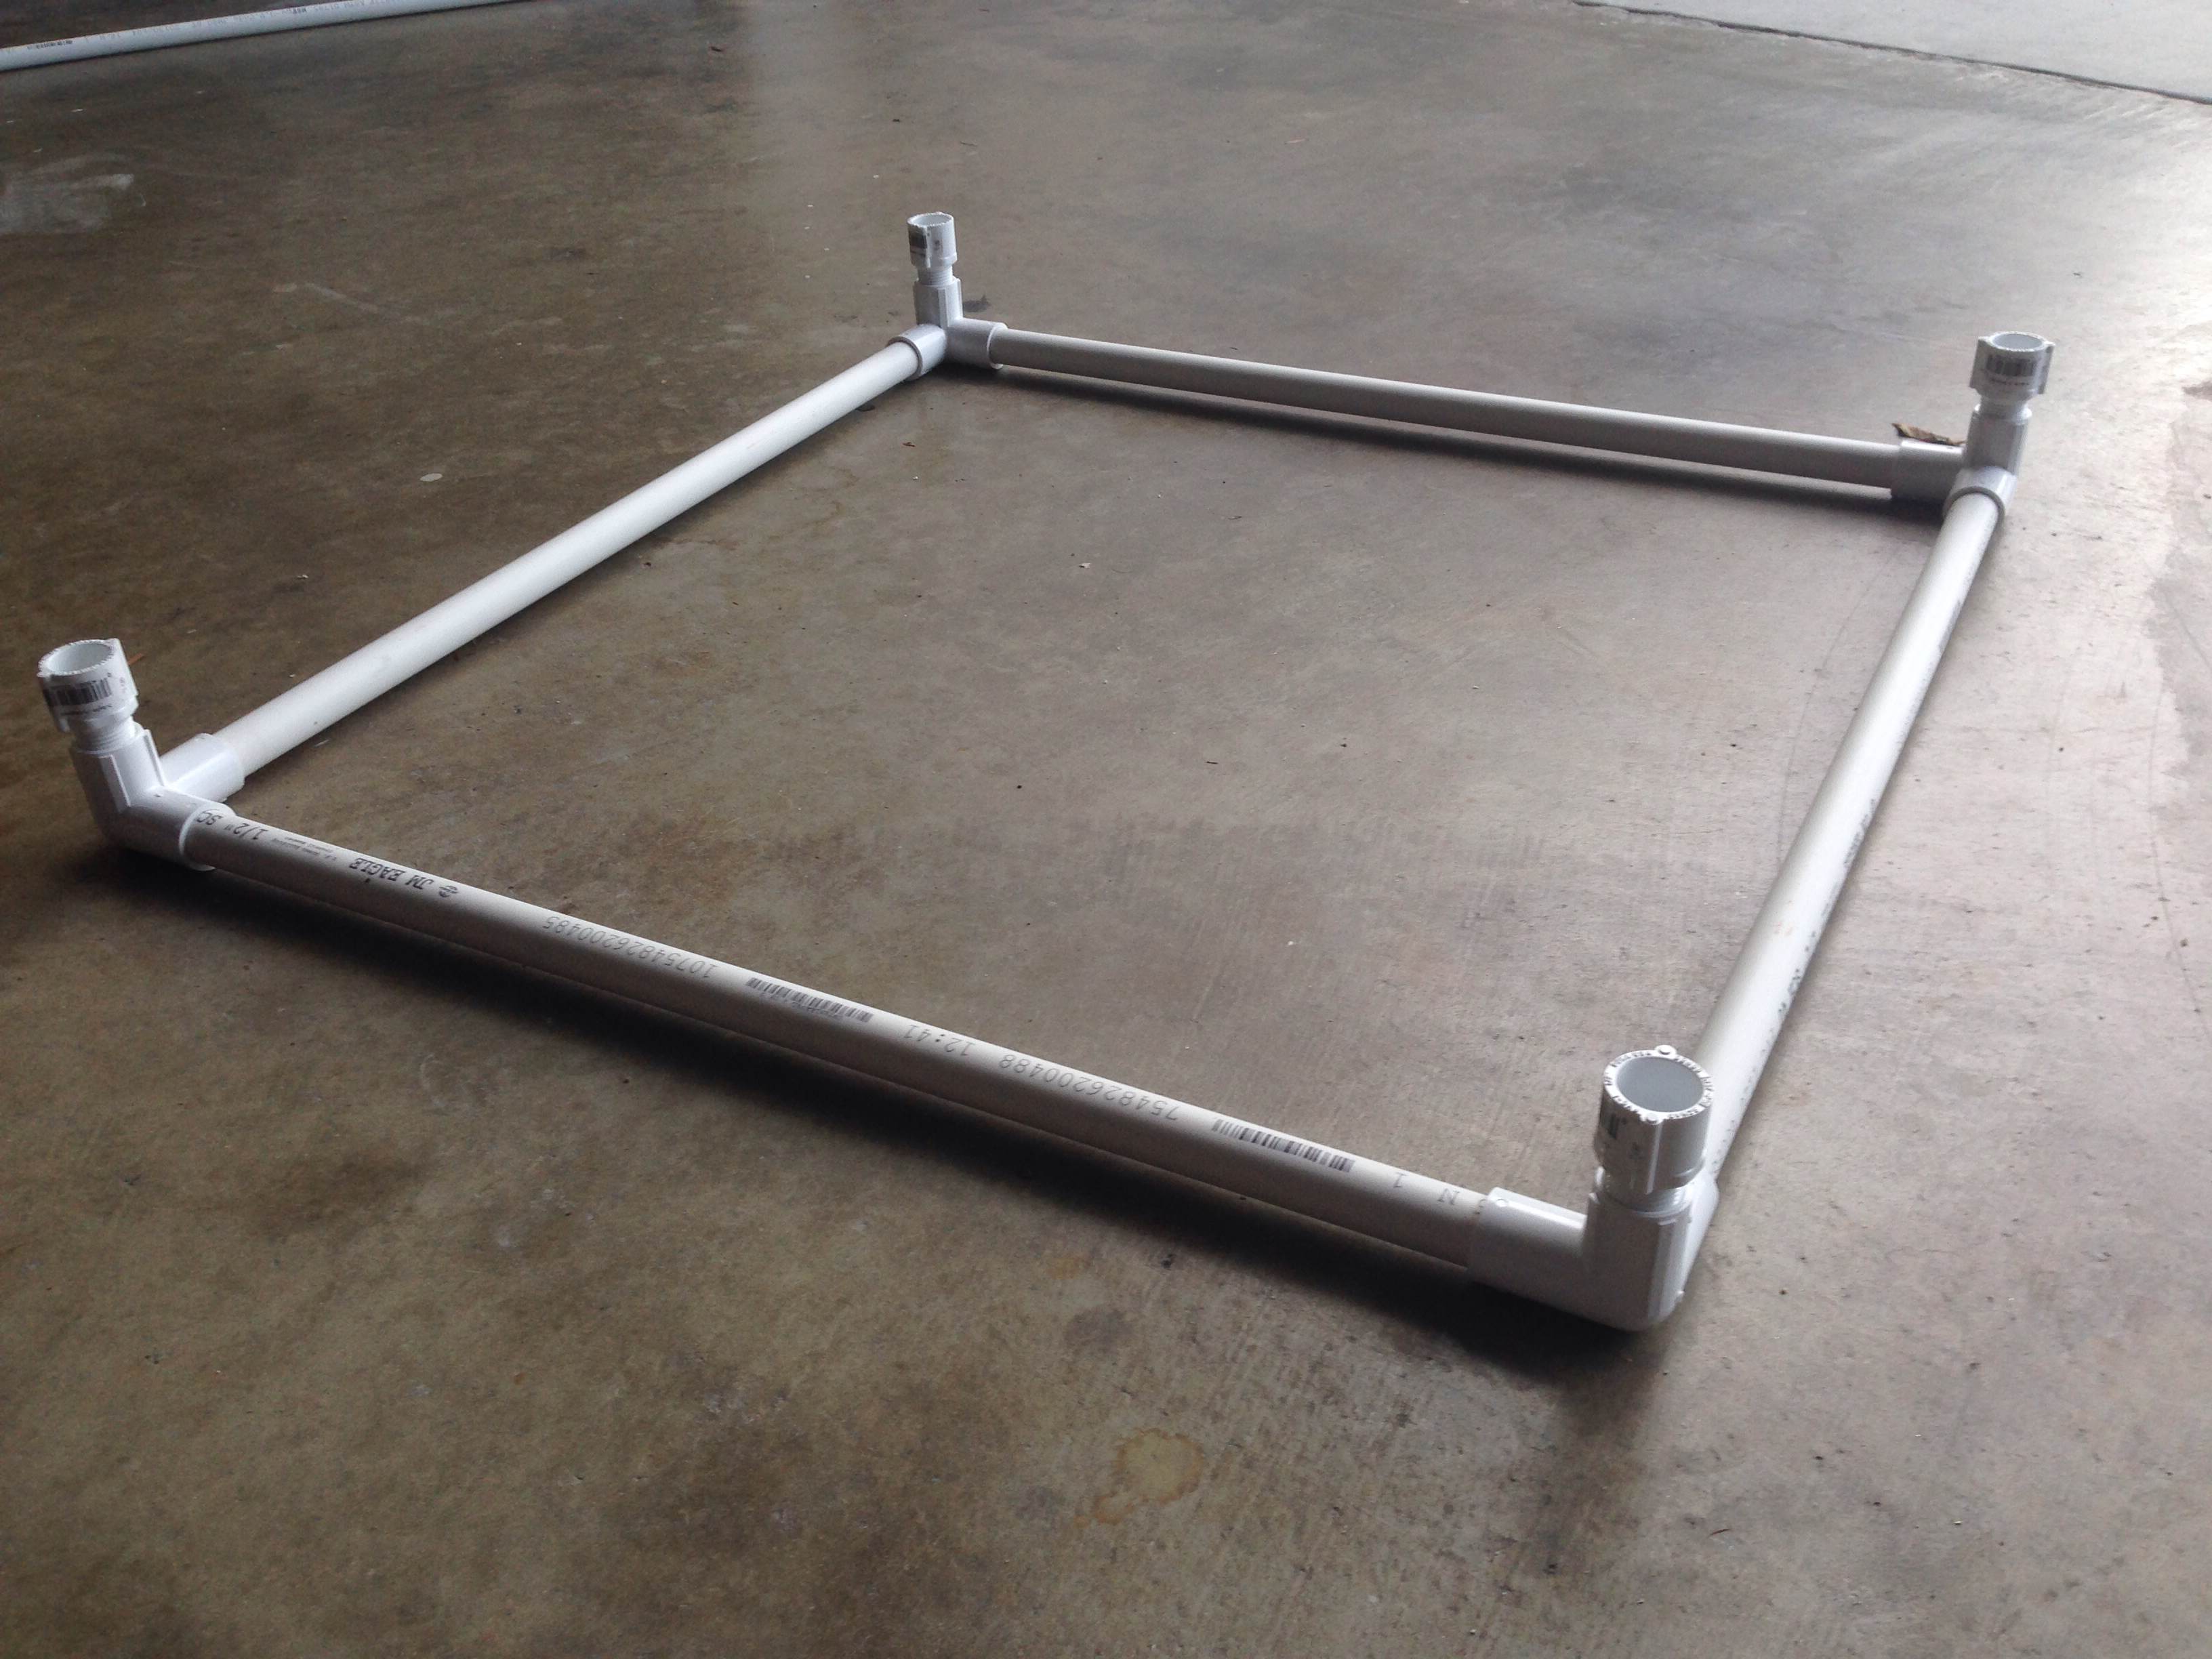
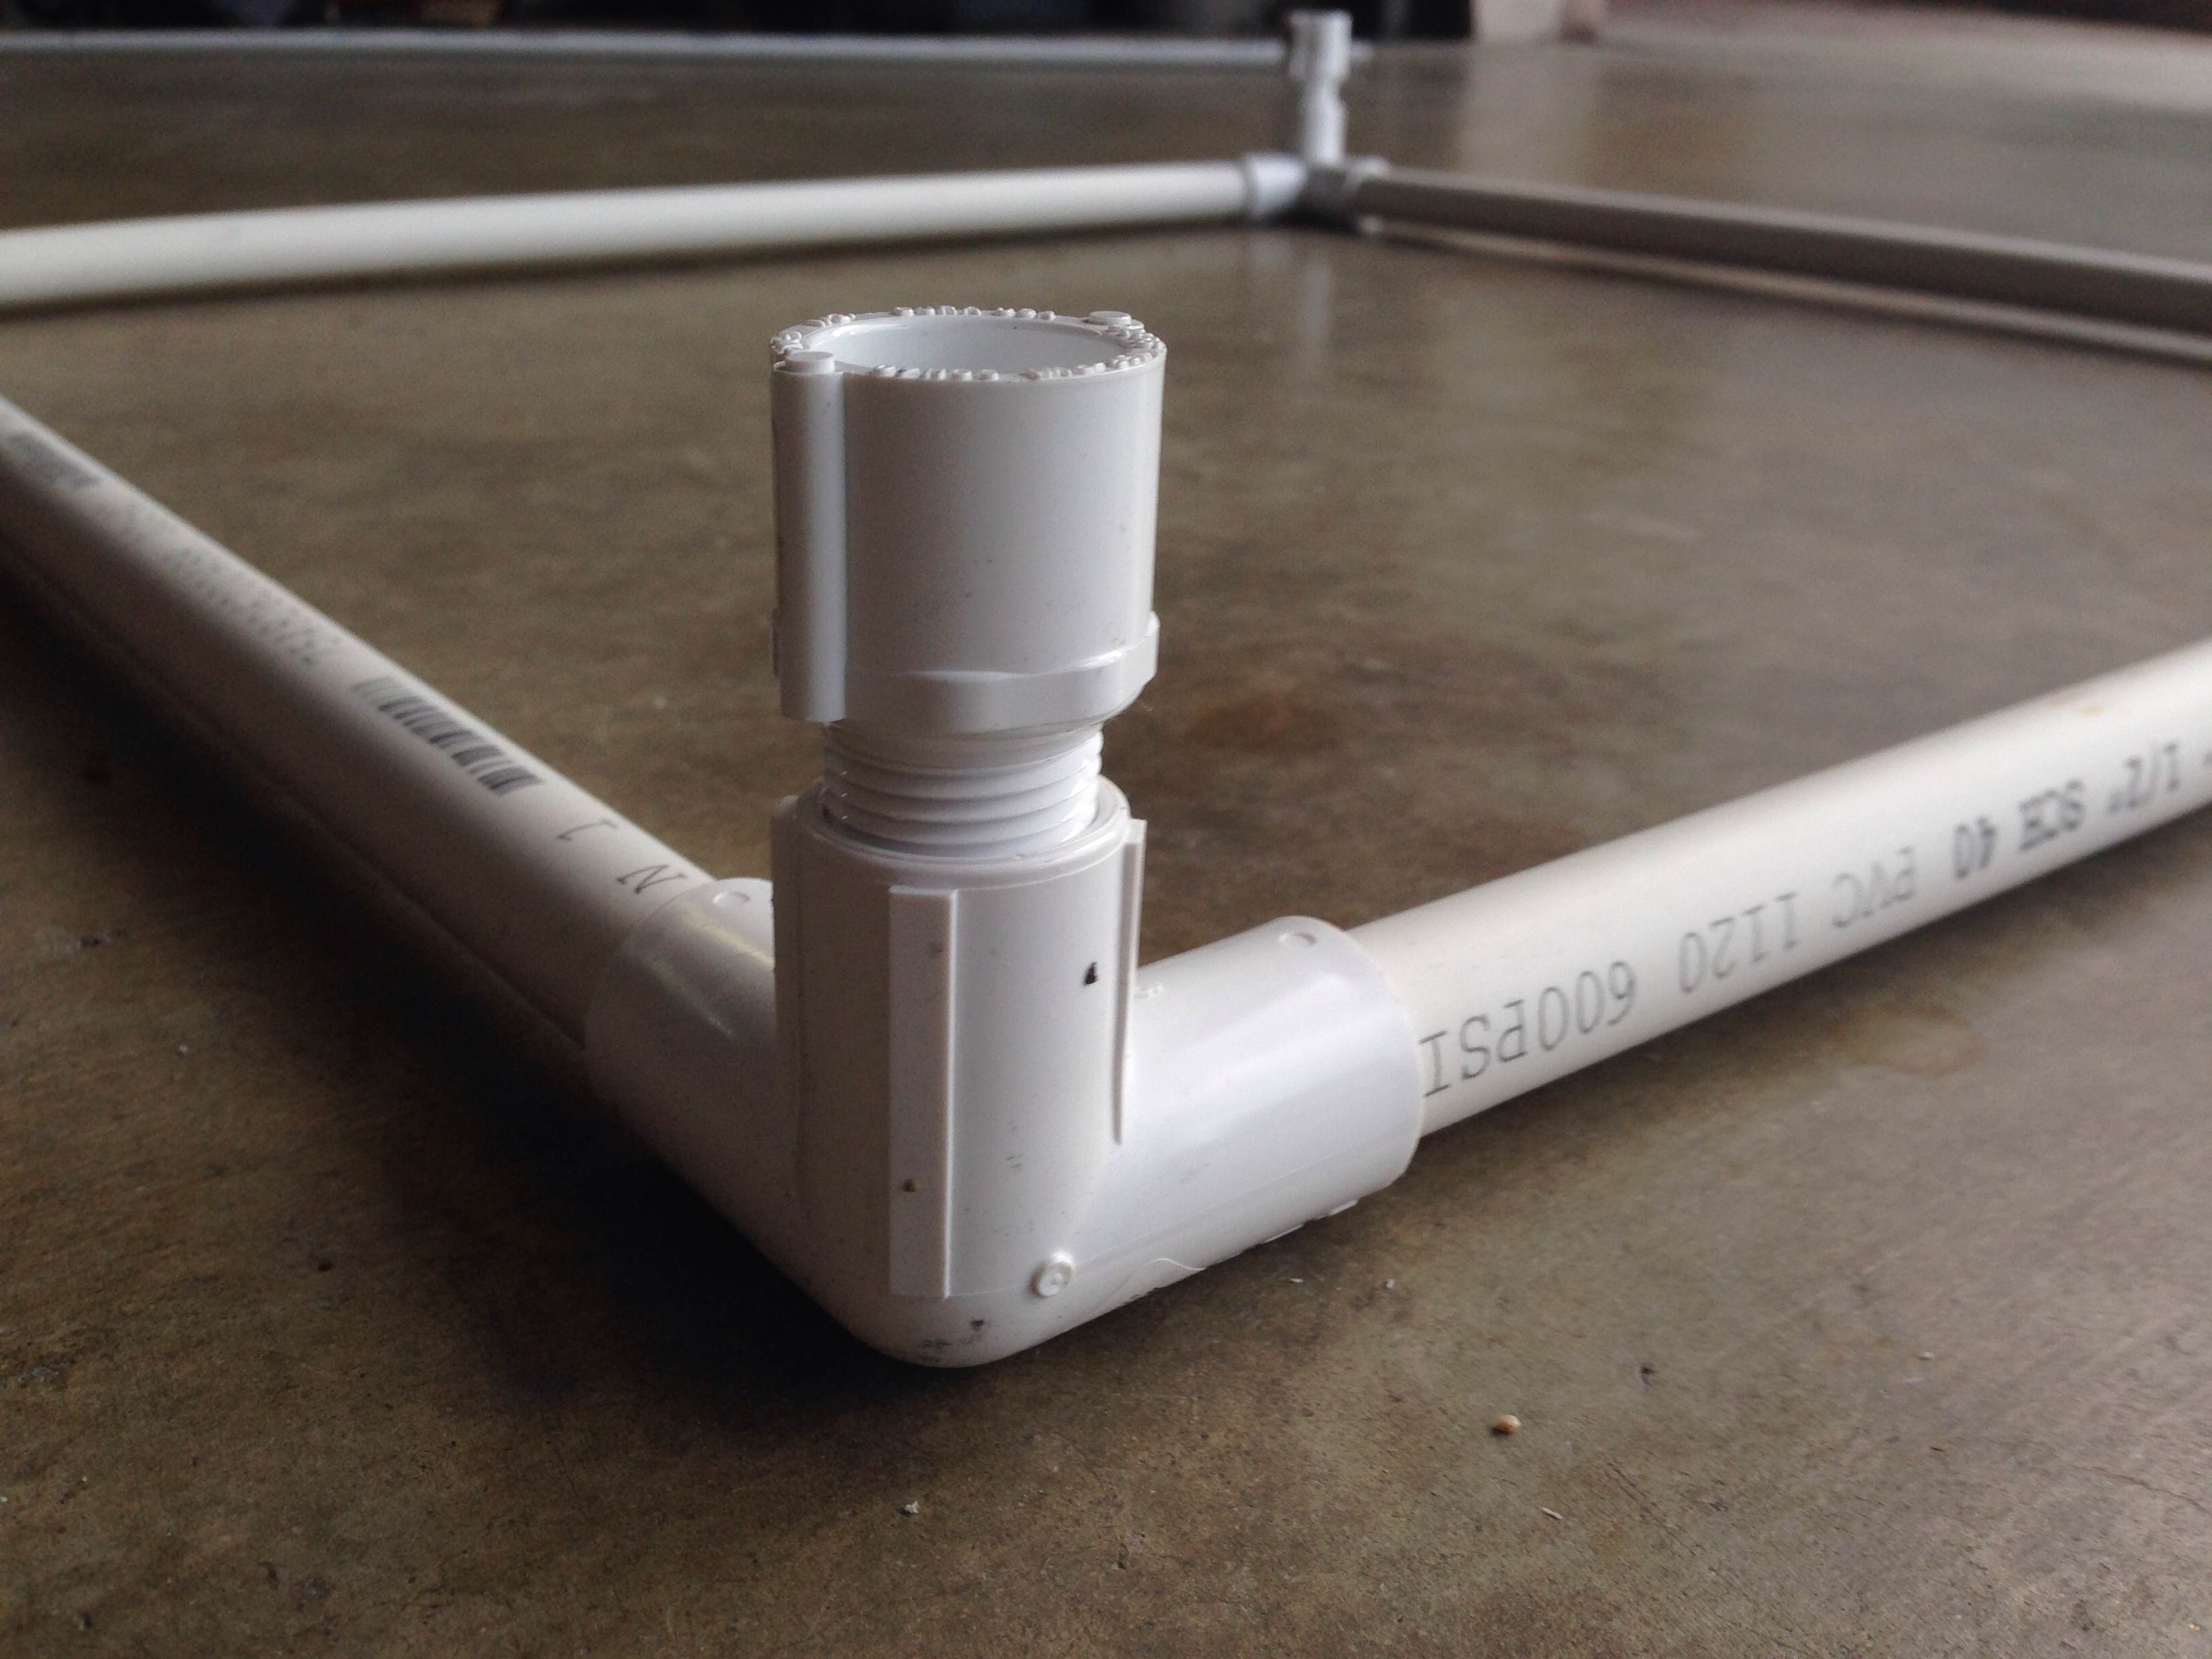
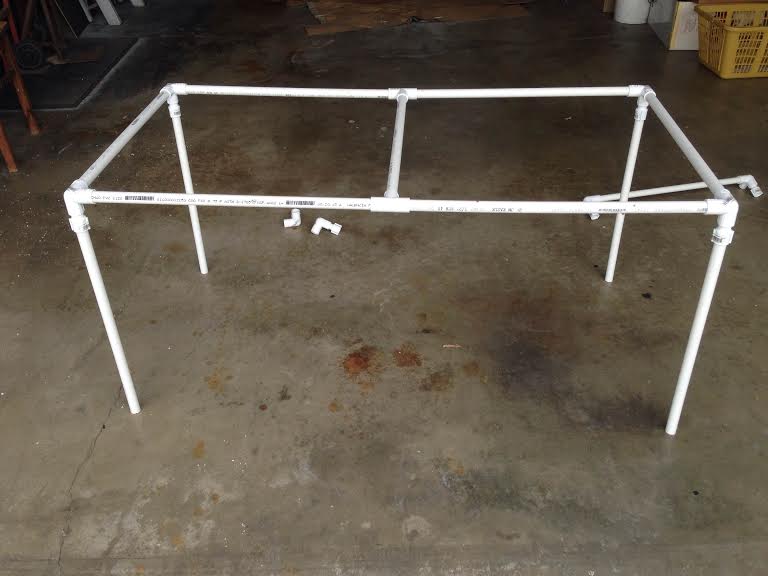
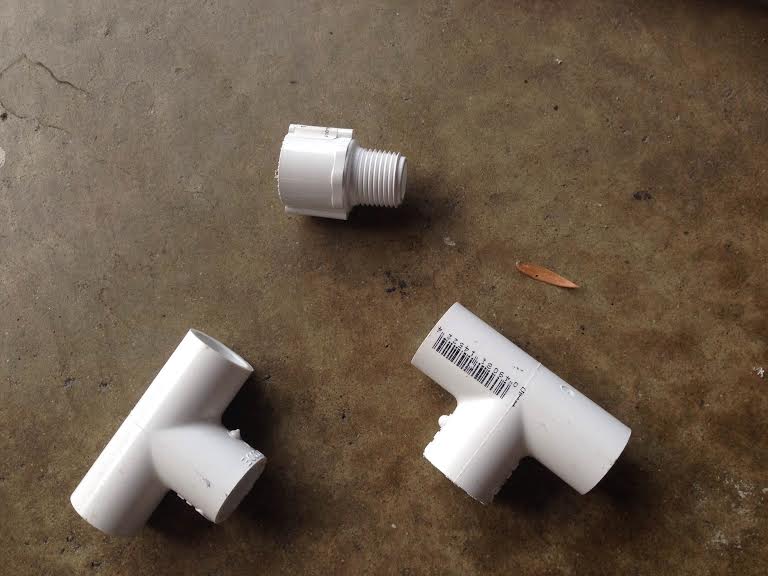
We purchased all of our materials based off of Amanda’s plans for a box using 22″ pipes. We ran into our first snag at Home Depot: the 3-way elbow fittings they had were different – only two of the fittings were slip fitting, and the third was a taped side outlet (see here). We were forced to adjust our measurements on the spot, and add slip fitting adapters (~$1/each) to the shopping list. We returned home and began fabrication of the lightbox. Tina handled the fabric, I handled the pipes. I began by measuring and cutting using a hacksaw, then sanding down the pipes to remove the frayed edges. I had to cut off an extra 2″ off the legs of the box in order to account for the slip adapters. I cut 8 pieces for each box: (4) 22″ pipes – for top of box frame; (4) 20″ pipes – for box frame legs. The frame was really easy to assemble.


One special tweak we made: our two boxes can join together and make a wider lightbox twice the size. Tina foresaw the need for a bigger box from time to time, so we picked up a few of these T-adapters while at Home Depot. If needed, we can rearrange the pipes of the two lightboxes and form this:
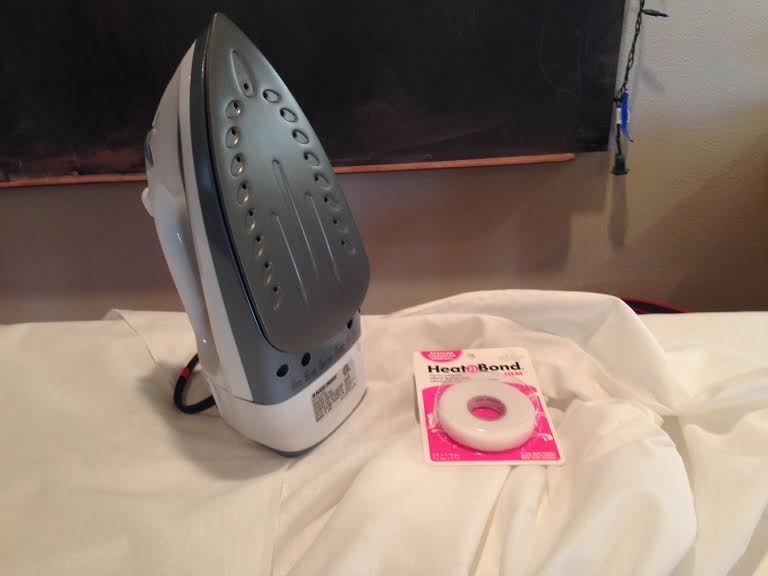
Tina measured and cut our muslin, then attached the square piece for the top to the rectangular side piece with the heat n’ bond tape. Working with the tape made this a great no-sew project. Just cut the tape to size, place it between the muslin, and iron for about 10 seconds. The tape package says 3 seconds, but we soon realized that a more thorough “melting” of the tape was needed to produce a strong enough bond for the muslin. It was a little difficult to hold the tape in place while ironing so it took all 4 of our hands to do this step.
We soon realized that the measurements we were using did not fit the box we created. The instructions called for a 26.5″ square piece, and a 75 x 26.5″ rectangle. We should have checked the math, because we soon realized that 26.5 x 3 = 79.5! The sides of the muslin were about 2″ short on each side. In the end it did not change the functionality of the lightbox, but if these little imperfections bug you (as they do for both Tina and myself), then you’ll want to make sure you make that 79.5″ cut.
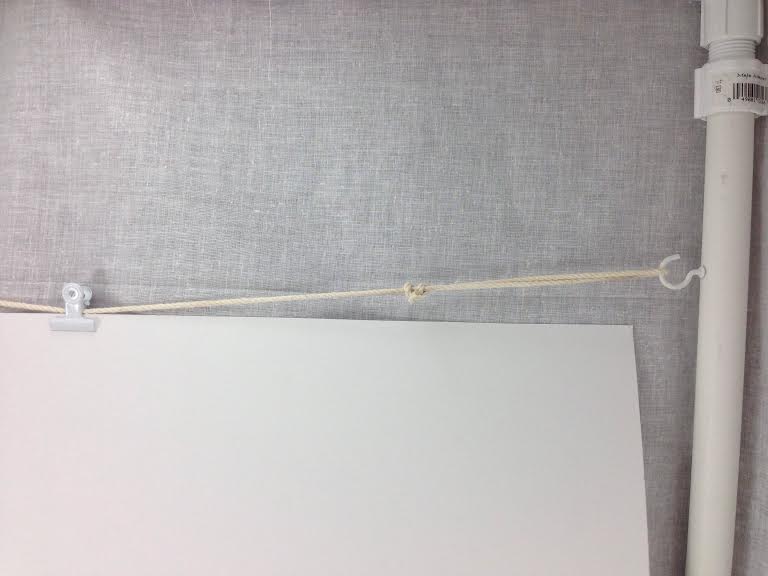
After the frame was constructed and fabric was attached, we tried placing the poster board in the box and realized that it did not stay in place. The instructions called for some support to be placed in back of the box, but in order to make our boxes a little more self-sufficient, we got some string and screw hooks and rigged a support/poster-holder on the back two legs. How far down you place this will depend on the posterboard you get, so measure accordingly. Attach a small clip to the string, and you can hang the board so that it drapes down nicely for the backdrop. We also used a large office clip to hold the front of the muslin to the pvc pipe.

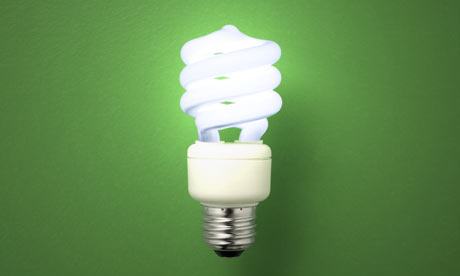
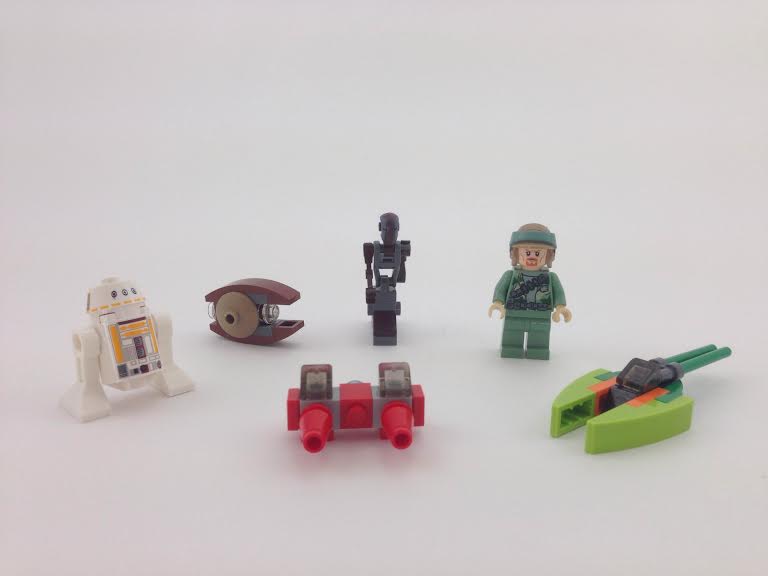
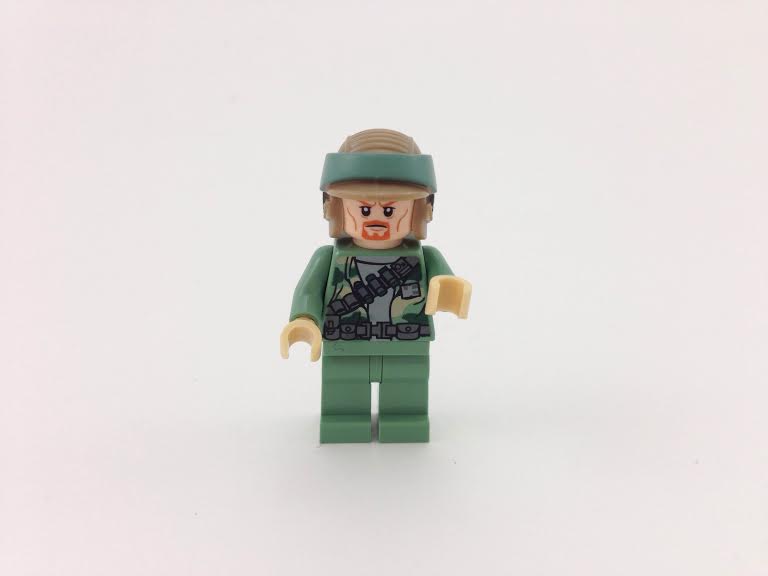
Lastly, you need 3 light sources. We used these Bayco clamp lights from Walmart for about $7/each and these daylight cfl bulbs from home depot. The clamps make it easy to attach to the pipes and/or other items nearby. After that, find some objects to photograph and go crazy! You don’t have to be a professional photographer (you can even use your iphone camera). It makes taking pictures a lot more fun, and you can instantly tell the difference!
Here is our updated materials list (taken from Tinamadeit.com):
- 4 x 22″ sections of 1/2″ PVC pipe
- 4 x 20″ sections of 1/2″ PVC pipe
- 4 x ½” PVC 3-way side outlet elbows
- 4 x 1/2″ PVC male adapters
- thin white fabric cut to 79.5″ x 26″ and 26.5″ x 26.5″ (e.g. muslin or a 200-count white bed sheet)
- heat bond tape (“no-sew” hemming adhesive)
- 2 small C-shaped hook screws
- white poster board
- kitchen twine (or anything similar)
- 3 binder clips (one large, 2 small)
- power drill
- iron
- scissors
- tape measure/yardstick
- hack saw (or PVC cutters, if you have)
- 3 Baylor clamp lights with bulbs
You should all check out Tina’s post on this project! She took nicer photos and documented the process a lot better than I did. Her blog is full of great diy projects, local LA hotspots, and fashion tips that I’m sure you’ll all love.

That’s super cool!
Thanks so much Life-Laughter-Lipgloss!
what’s our next collab project? 🙂
Hmm. Here is my project queue: dining room table, reupholster garden furniture, fireplace mantle. We can do something else too! What do you suggest?