

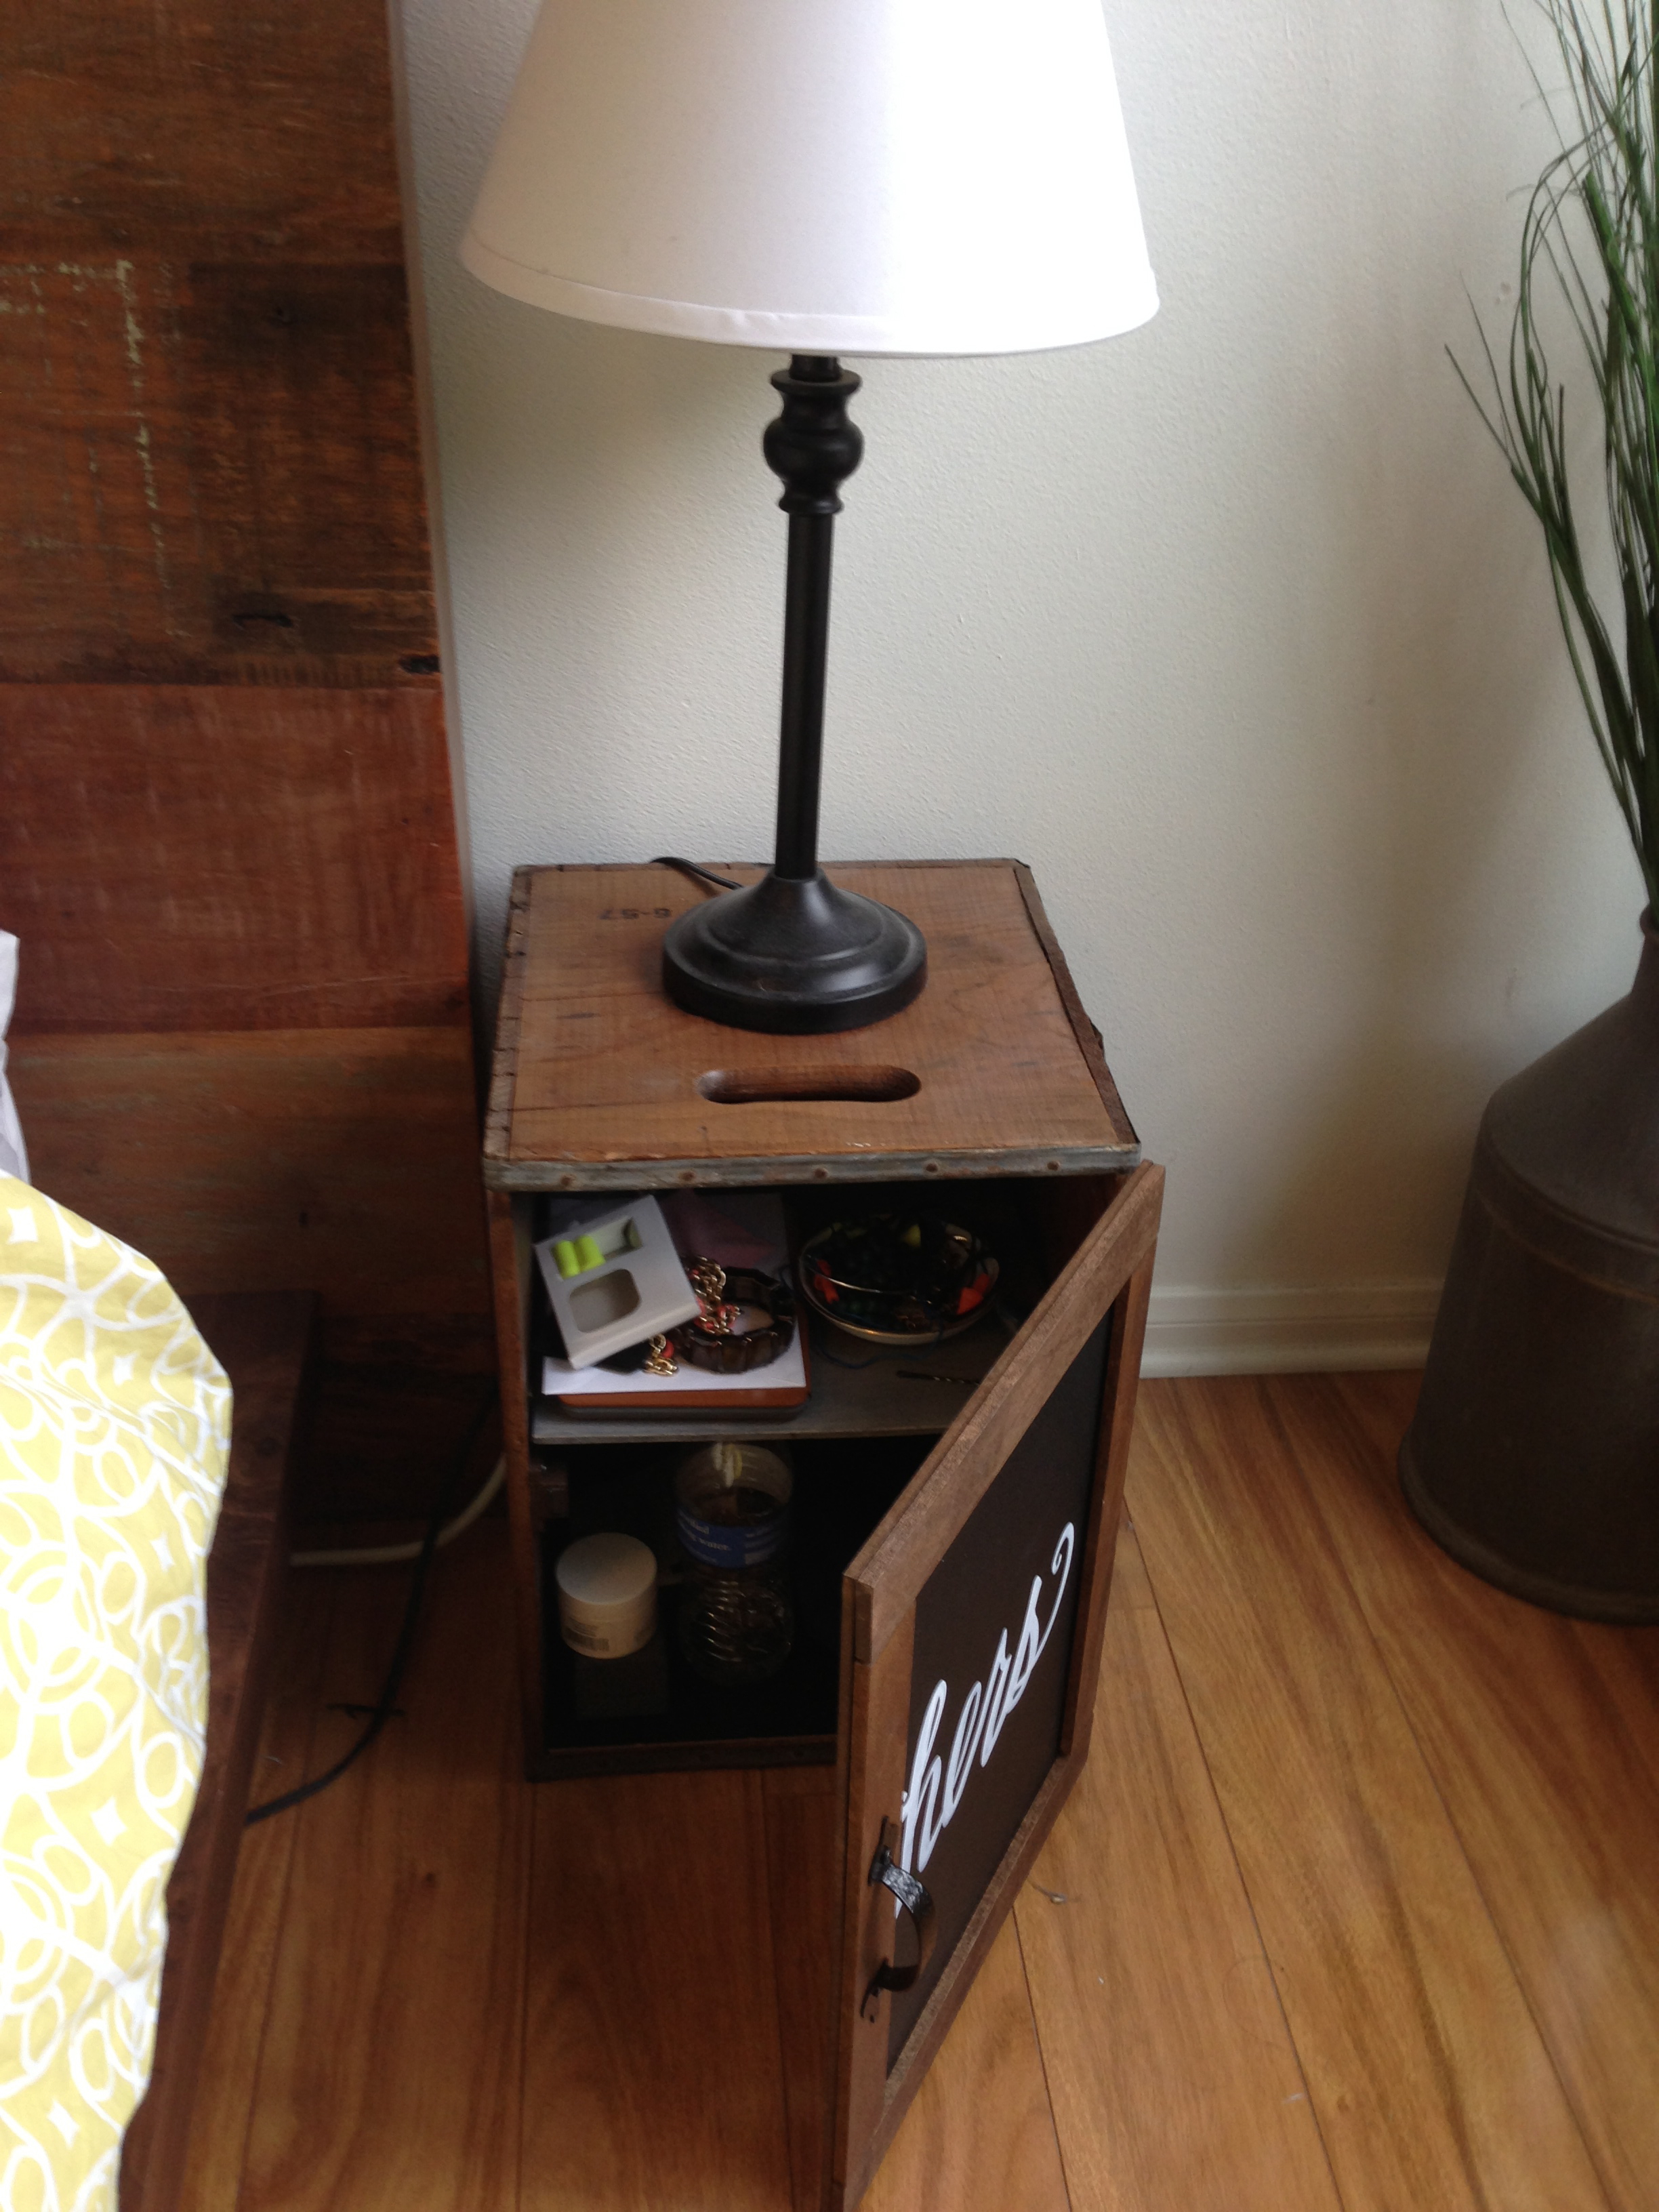
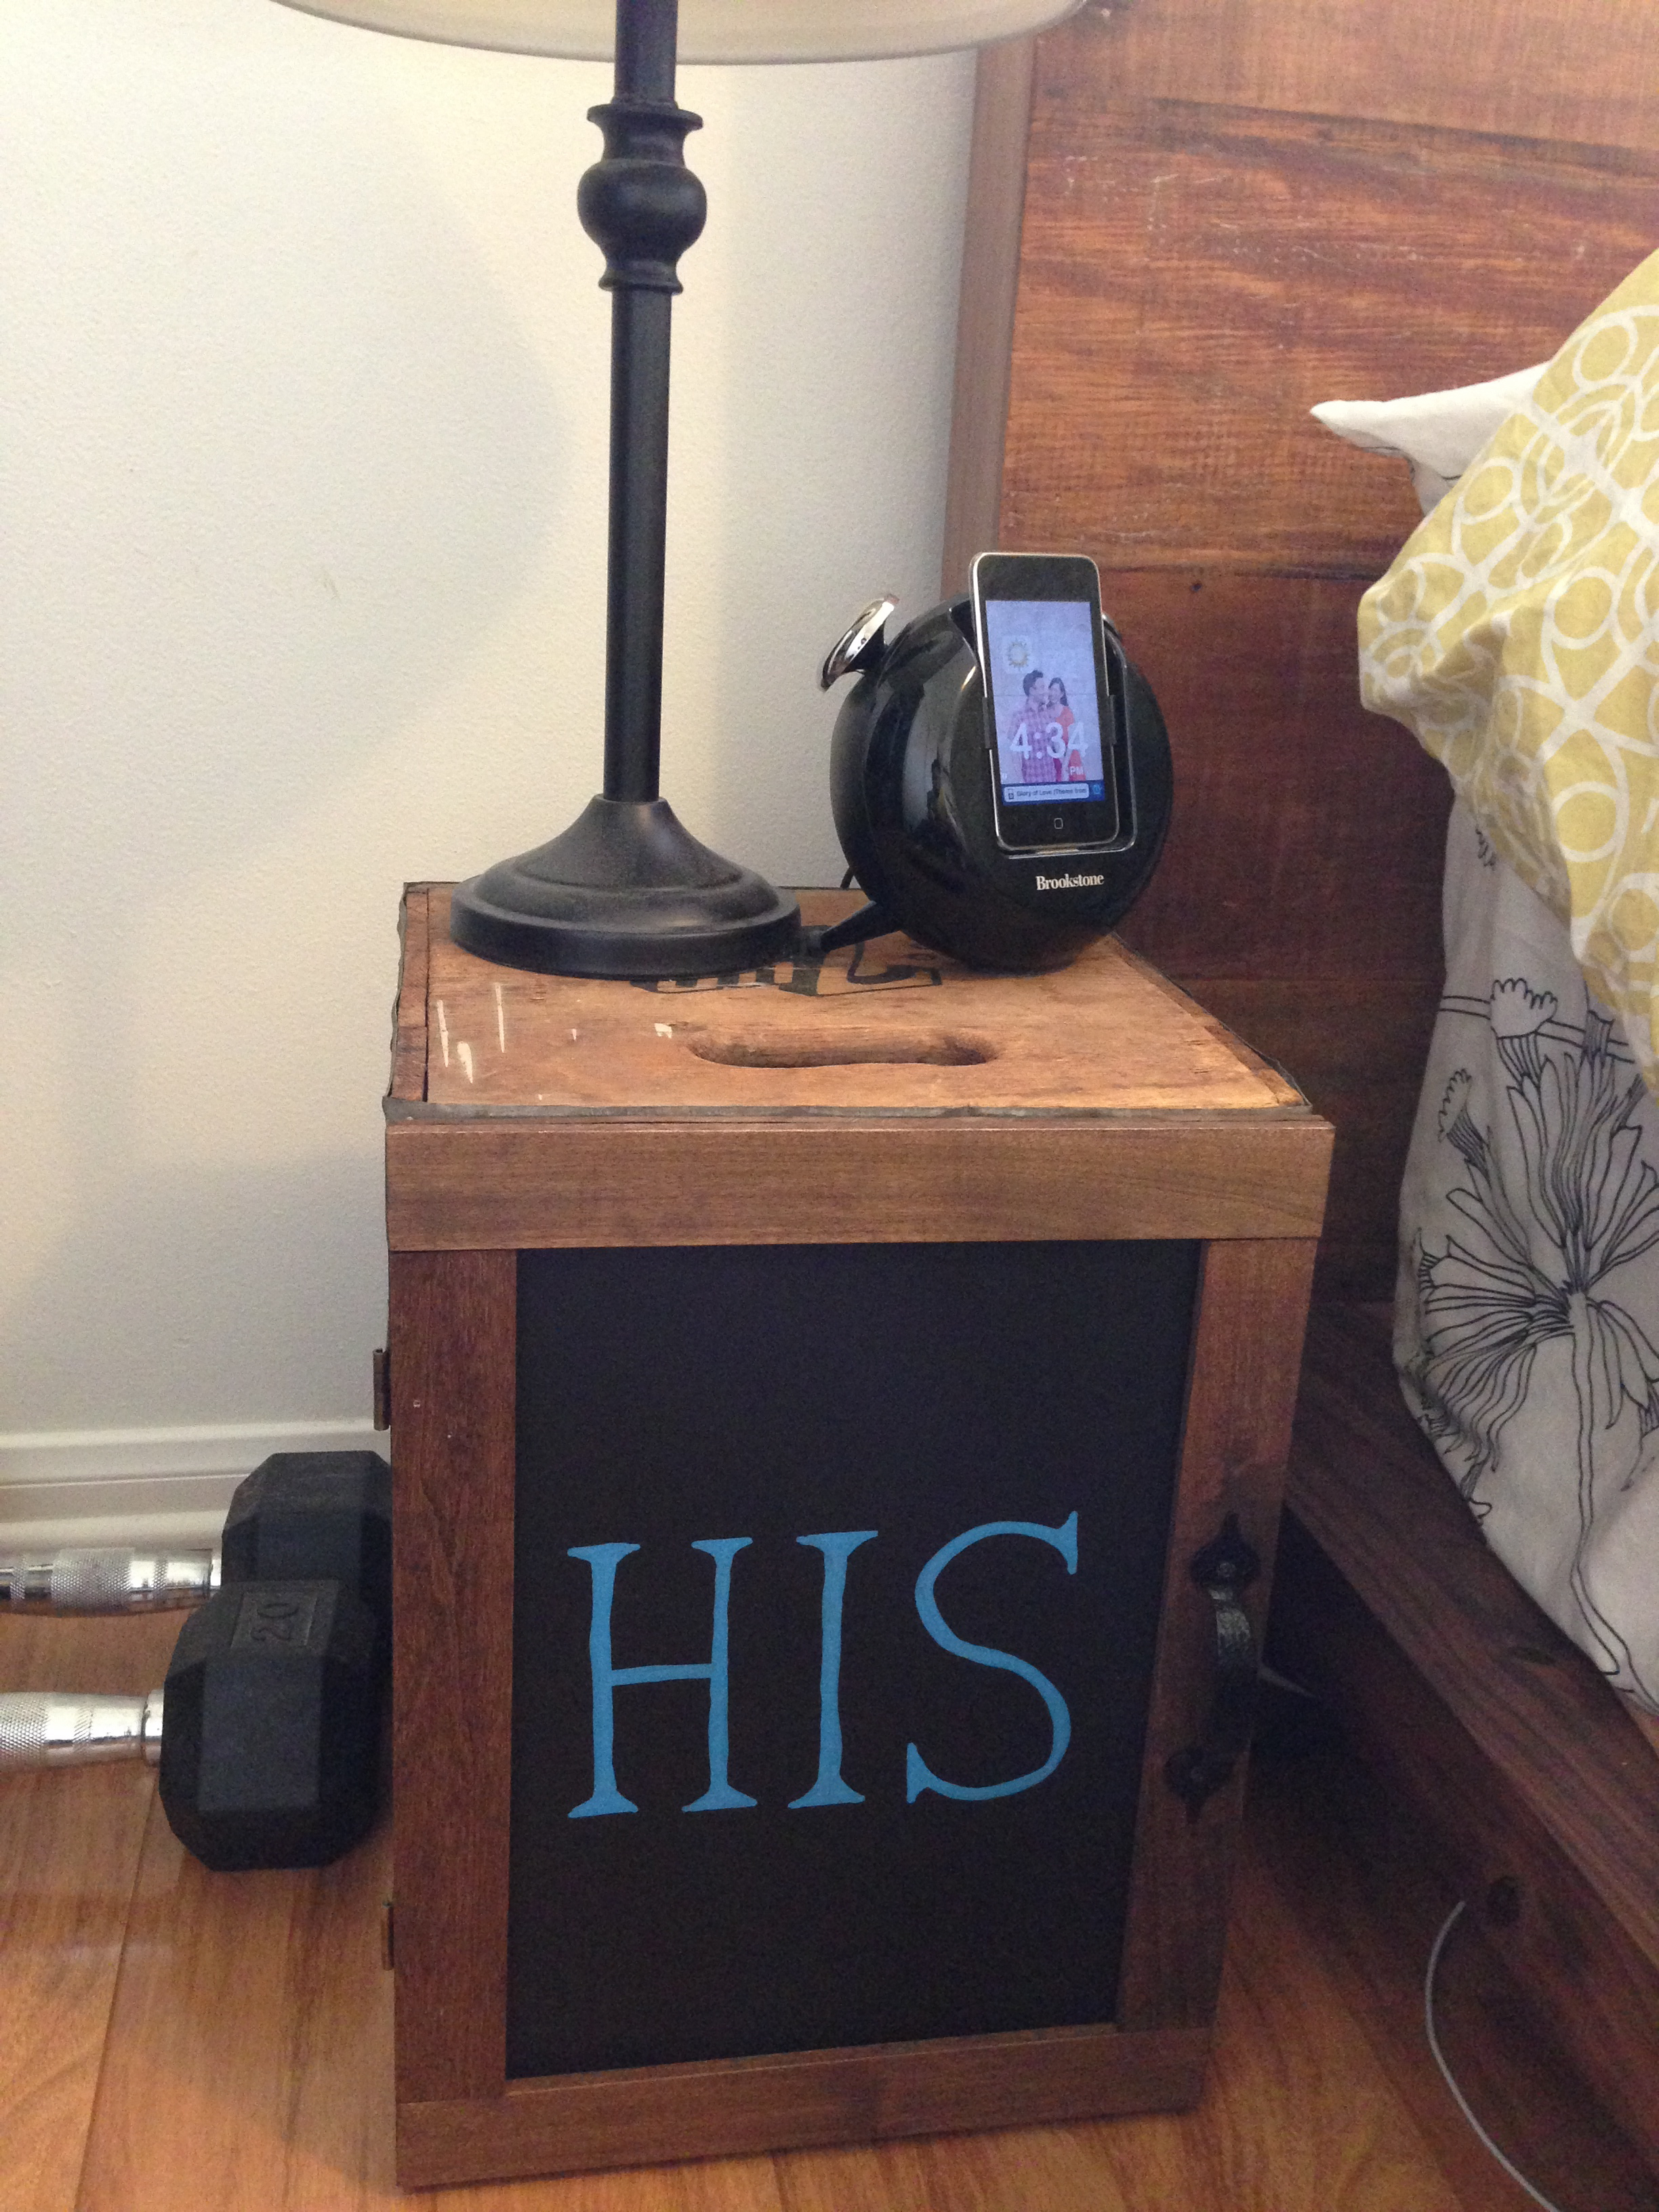
After we got our reclaimed wood bed frame from Crate & Barrel, my wife wanted nightstands to match the new bed and the recently-built industrial pipe shelf. Since we’re living in my grandparents’ old house, we have no shortage of cool vintage things around. My grandfather worked as a butcher at a grocery store, so there are a bunch of old crates at our house. Two of these crates happen to be old wooden 7up crates… the wood was a perfect match for our room, and the height was perfect for our low bed! We started out using them as temporary nightstands until we could purchase some new ones, but the wife ended up really liking them. She charged me to make a shelf in hers, so she could put her books, trinkets, and earplugs (for my snoring) inside the crates. But I wanted to kick it up a notch, and I set out to create hinged doors on them… and while I’m at it, why not make those doors out of chalkboard material!?
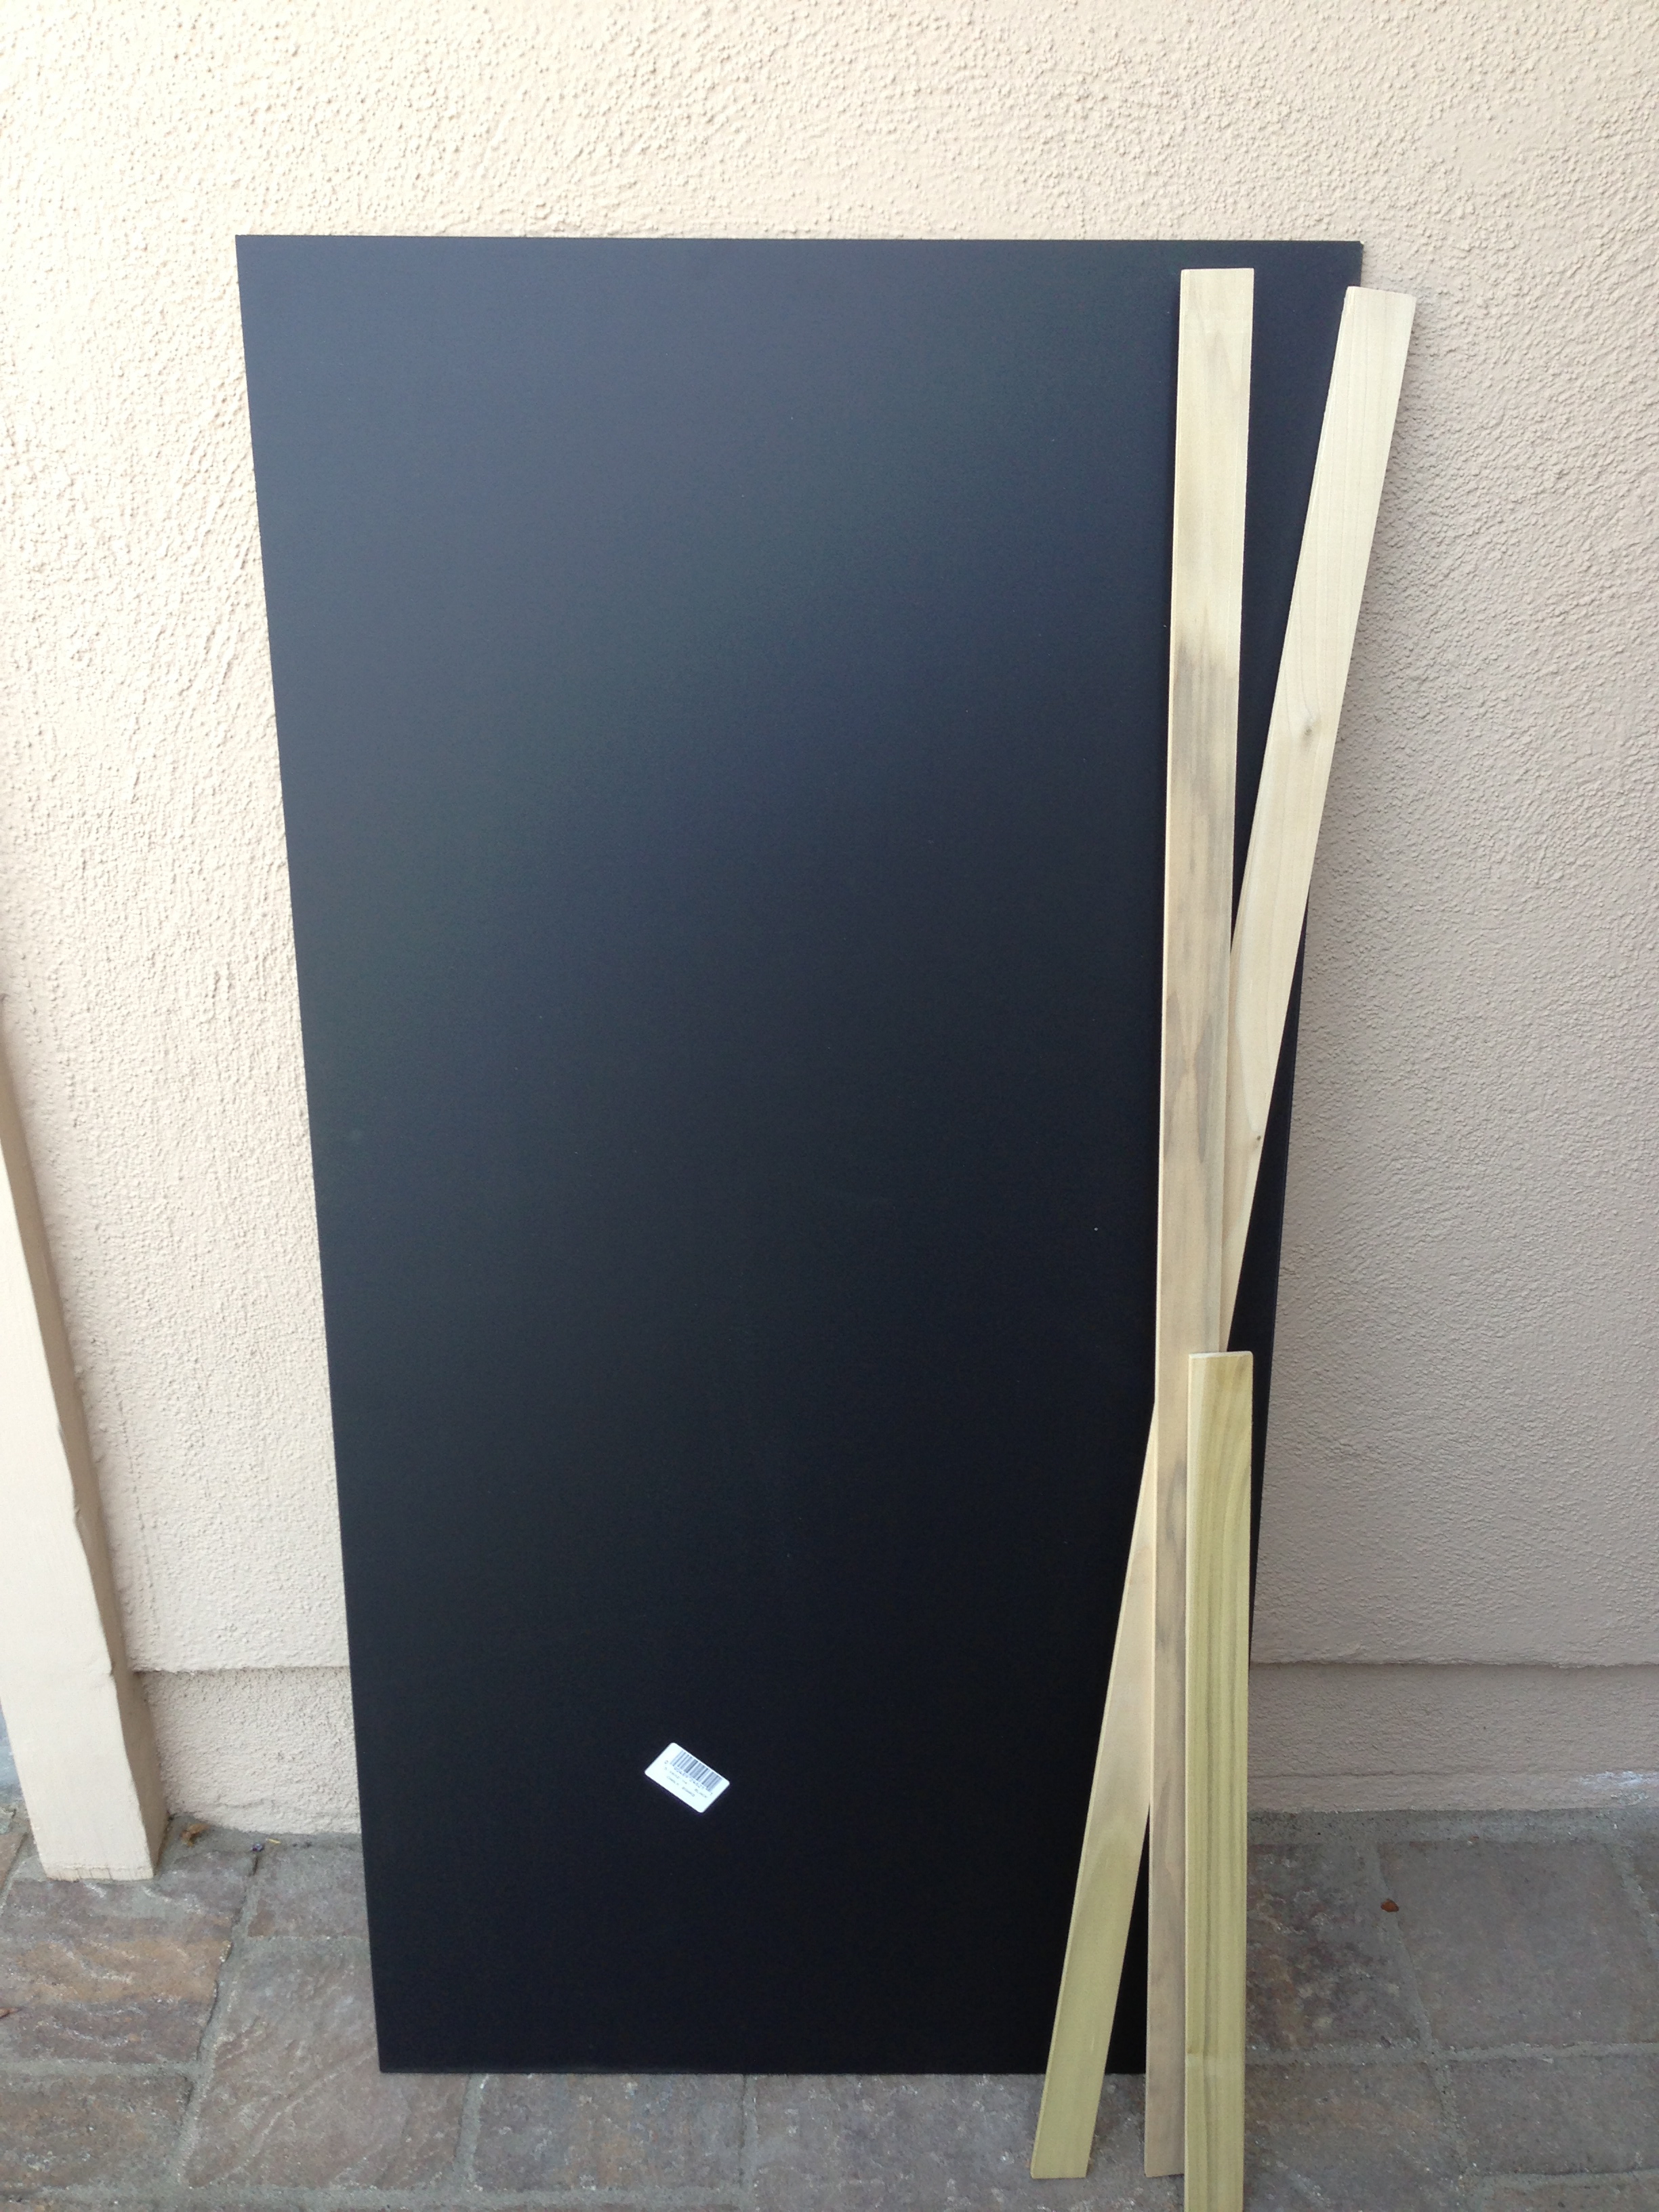
Since this would not be my first chalkboard I knew that Home Depot and other improvement stores would have chalkboard paint. But what I soon figured out was that $5+ for paint, and $5+ for the MDF board was the same price as getting a $10 piece of chalkboard MDF (already finished)! Why go through the work of painting myself when I could save the time and stress of trying to get the finish perfect? I also found some poplar hobby board that would make a nice frame for the doors.
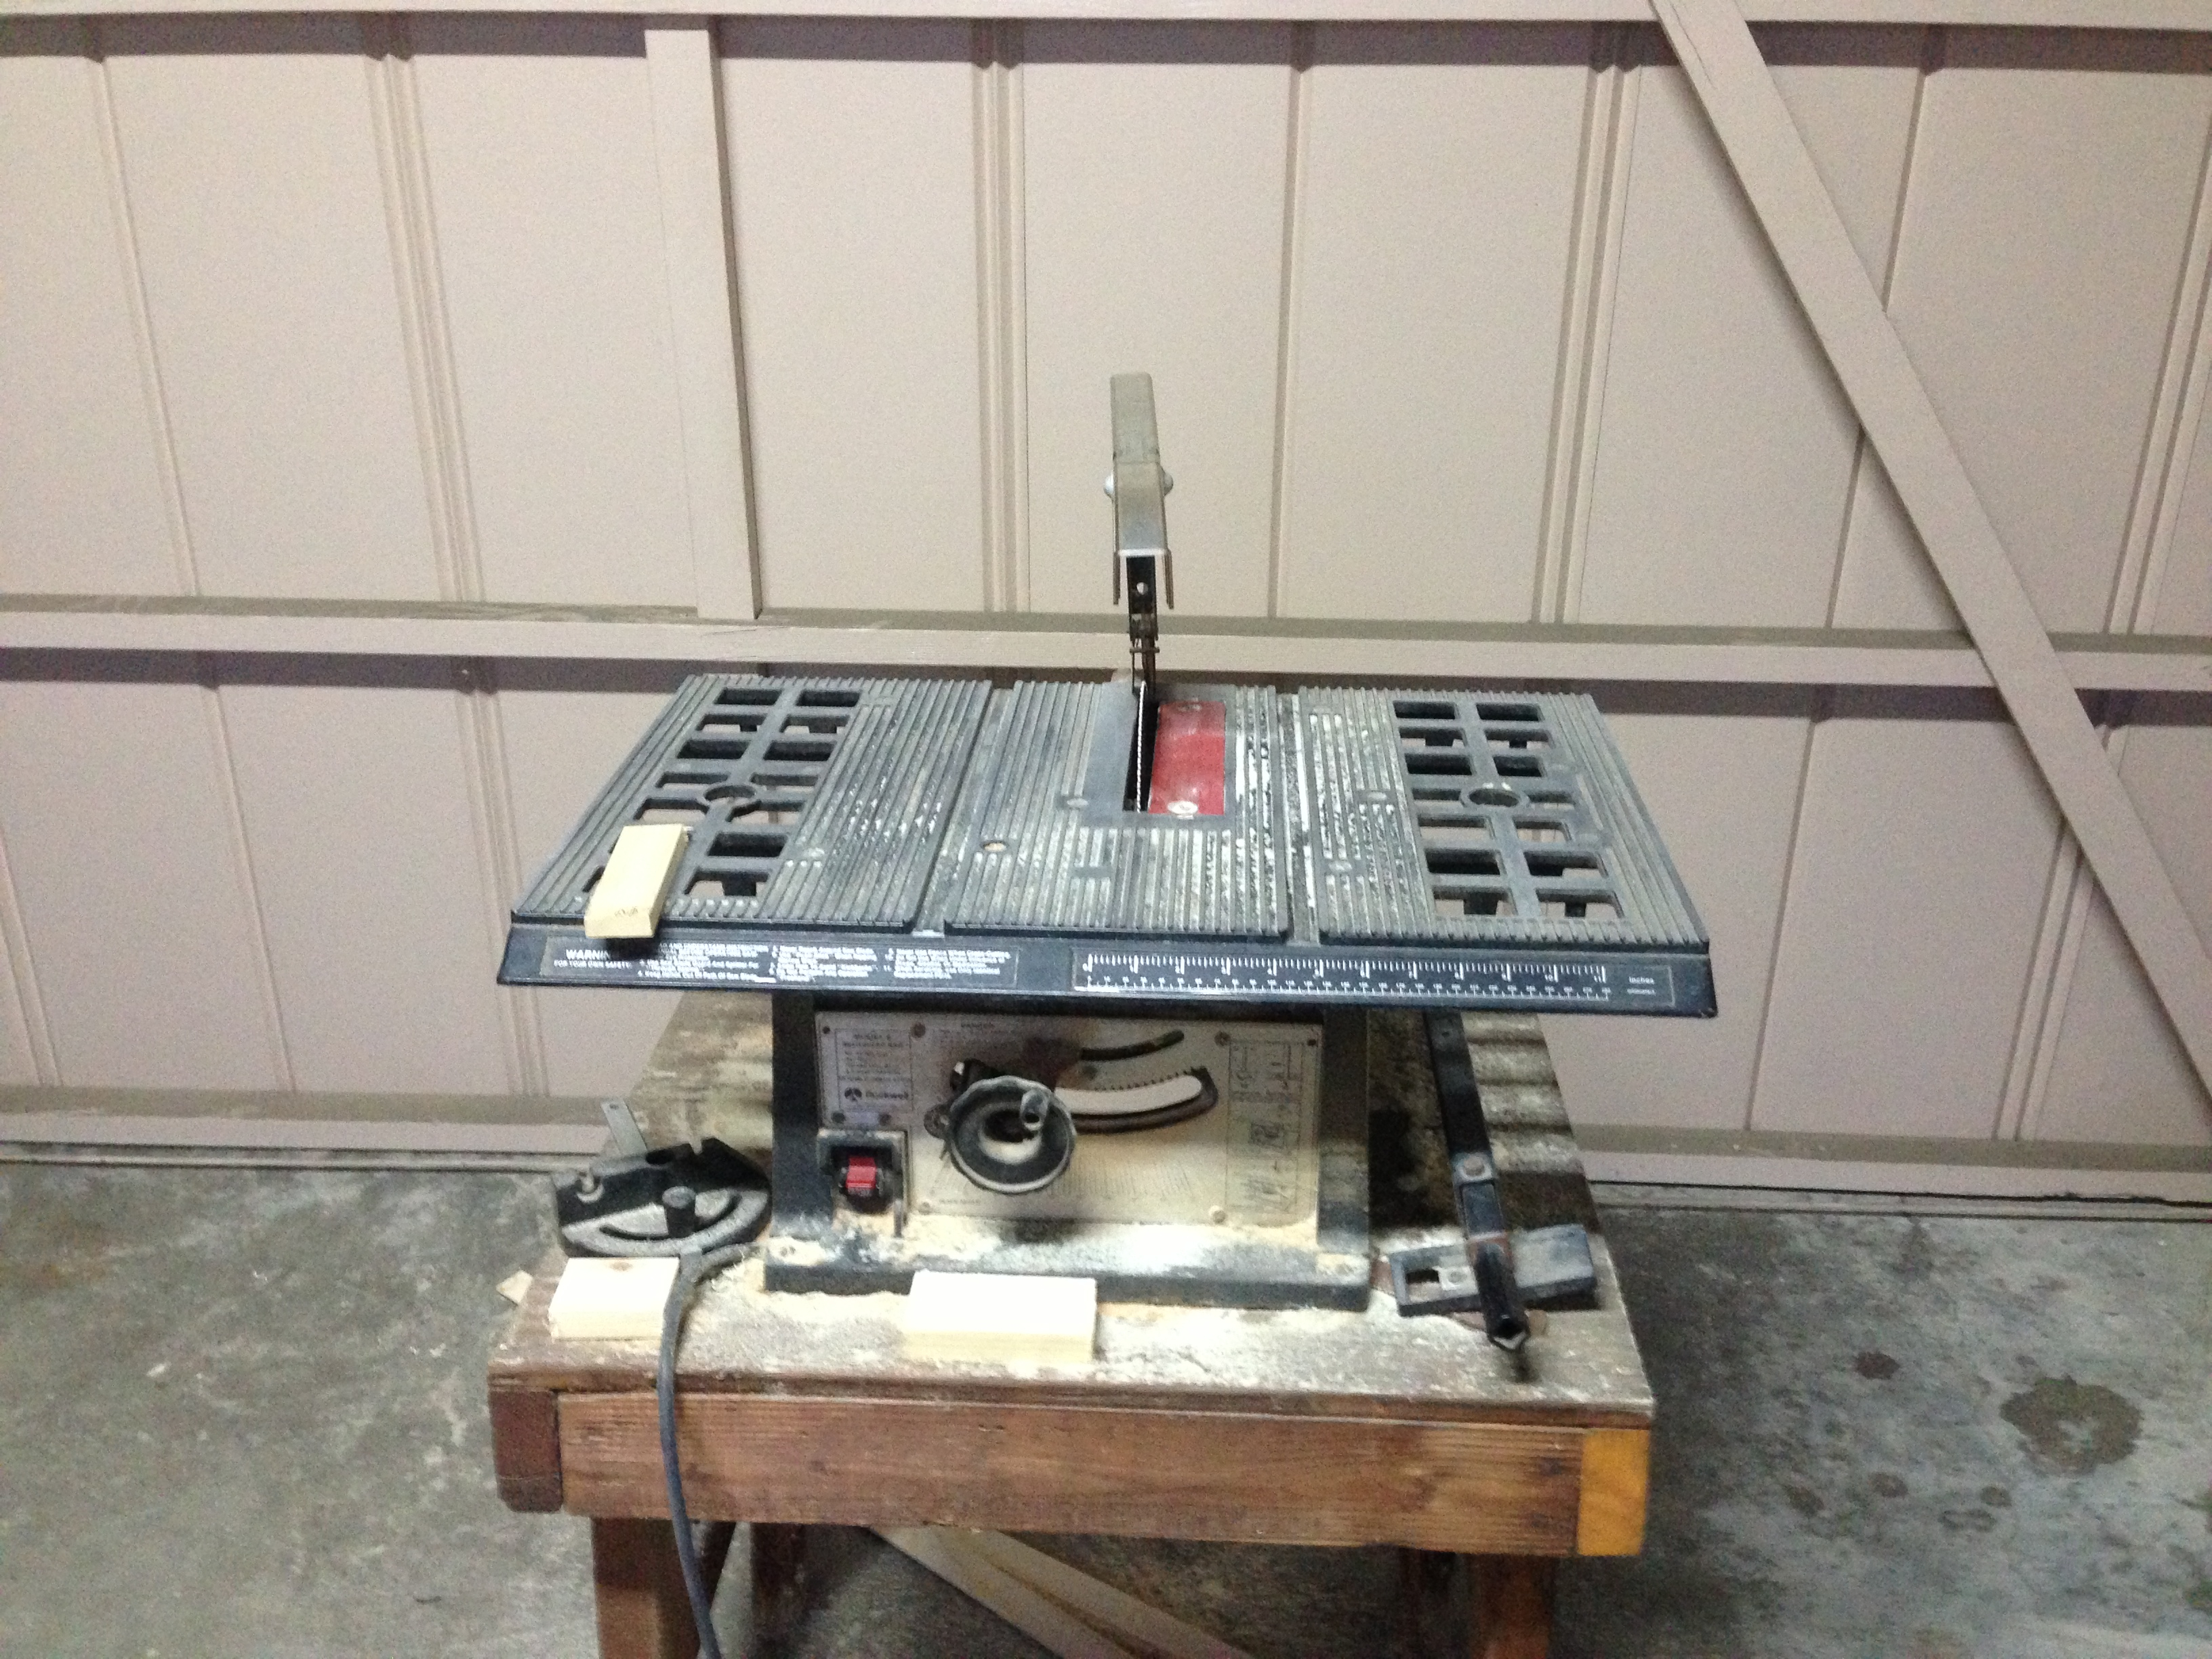
A few quick cuts on the table saw, and I got the pieces down to size. I lightly sanded the edges to give it a softer feel… no need to be precise here since it was going on an old crate. I needed to stain both the hobby board and the back/sides of the MDF (which was a lighter color) to match the rest of the crate. I found some old walnut-colored stain from my table-build and put a single coat on them to darken them up.
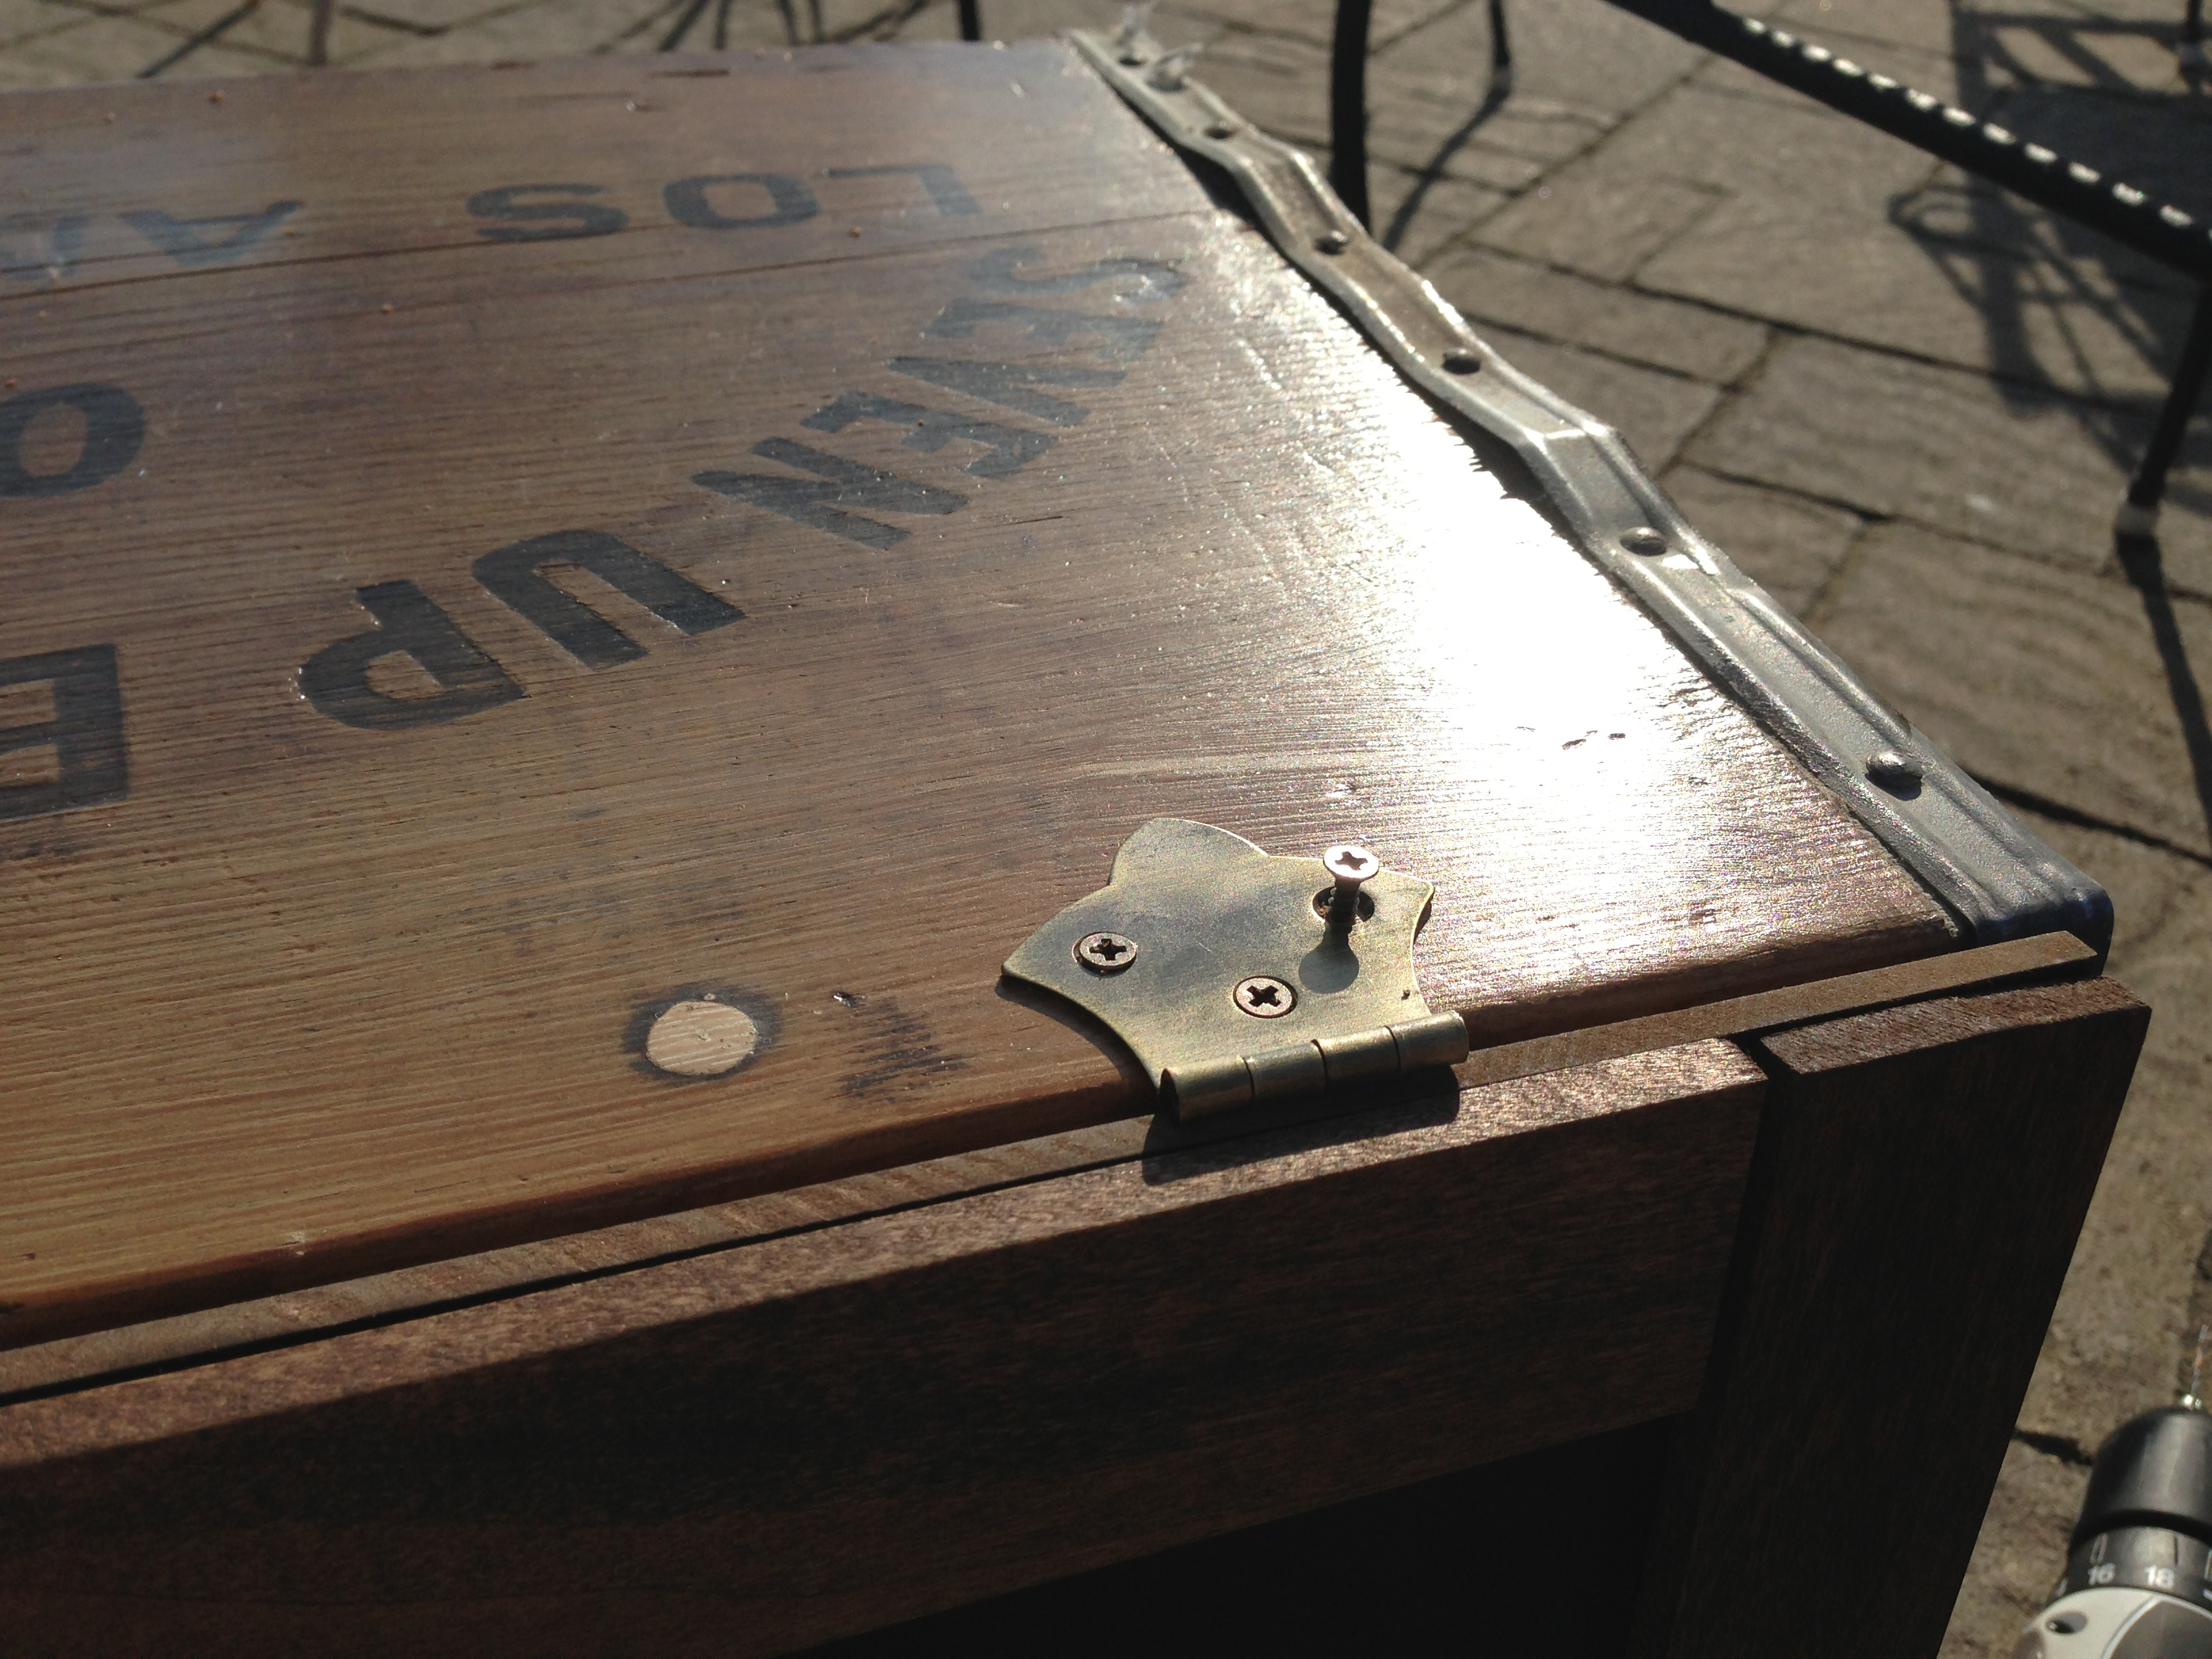
I found some copper hinges at Home Depot for about $4 each and attached the doors to the crates. Be careful not to drill the screws through the entire crate! (I accidentally did this once or twice)
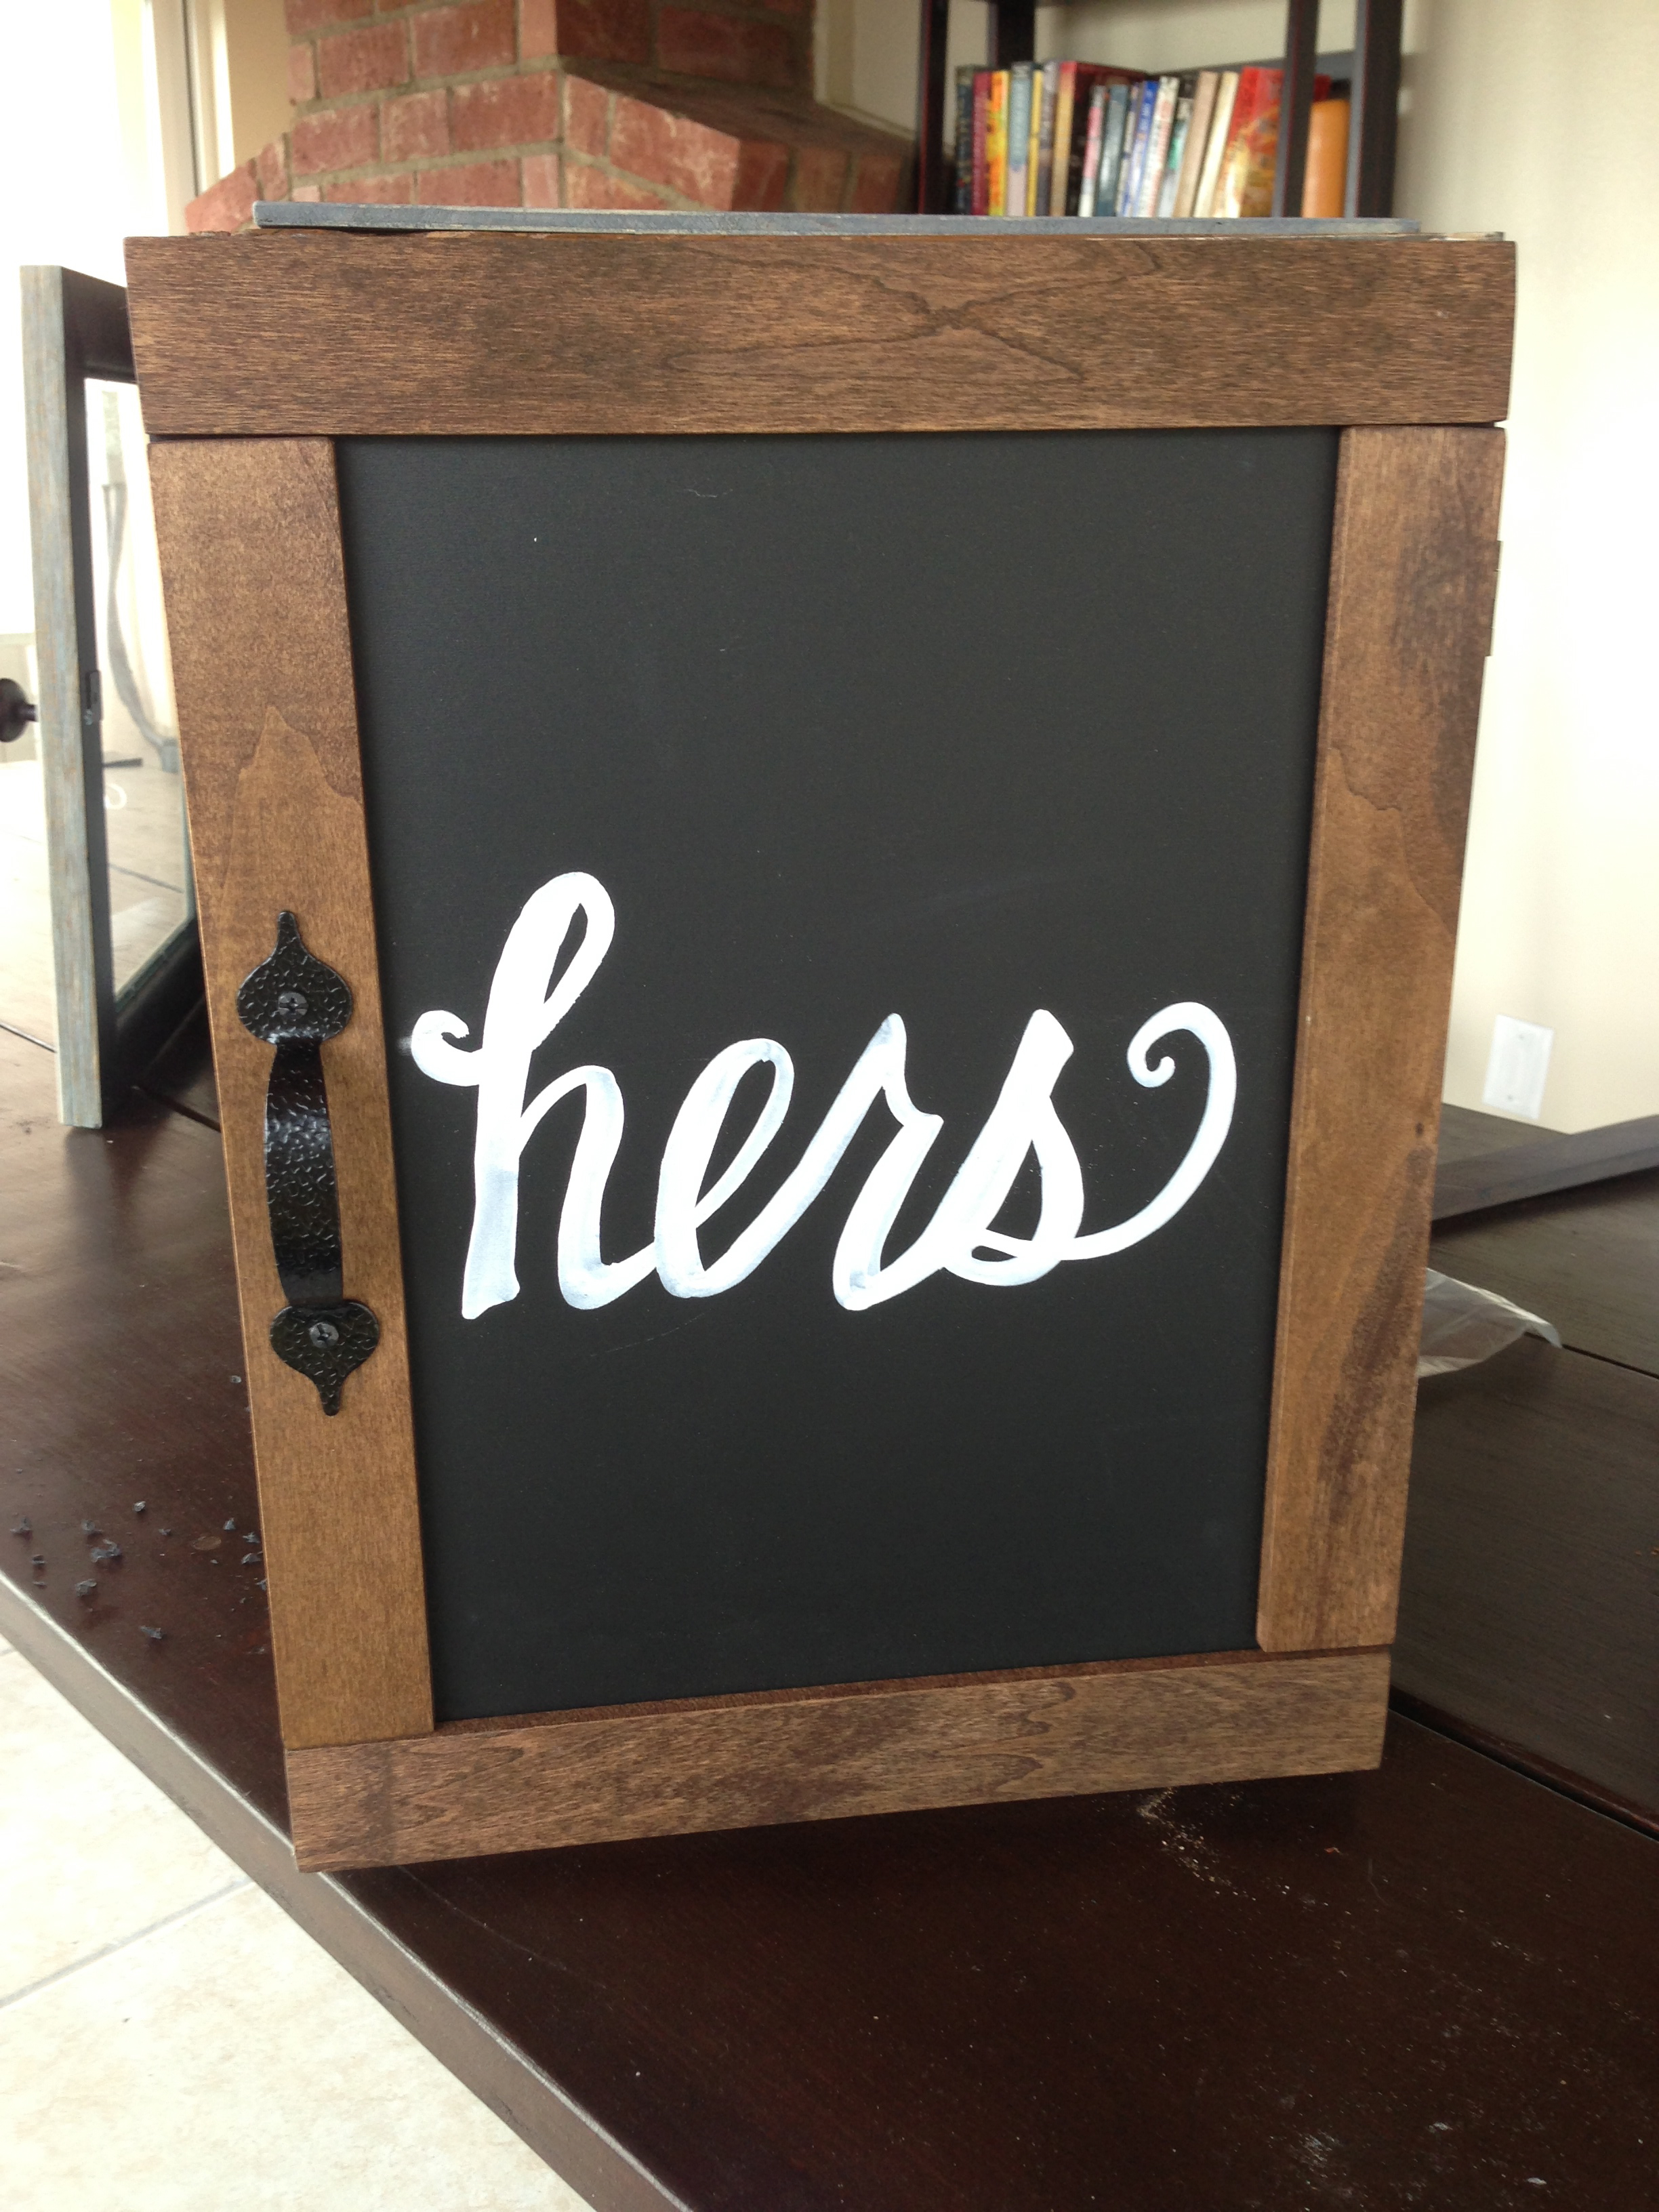
I knew I still had to find hardware for the handles and put the shelf in, but after I attached the doors, I got really impatient and wanted to write on them to see how they looked…
I went to Osh hardware store to look for handles and found some good black metal pulls that had an “antique” feel. My wife wanted pulls instead of knobs to highlight the long lines of the door frame. I must admit, it was an excellent choice. I attached magnets to the inside to allow the doors to stay shut when closed.
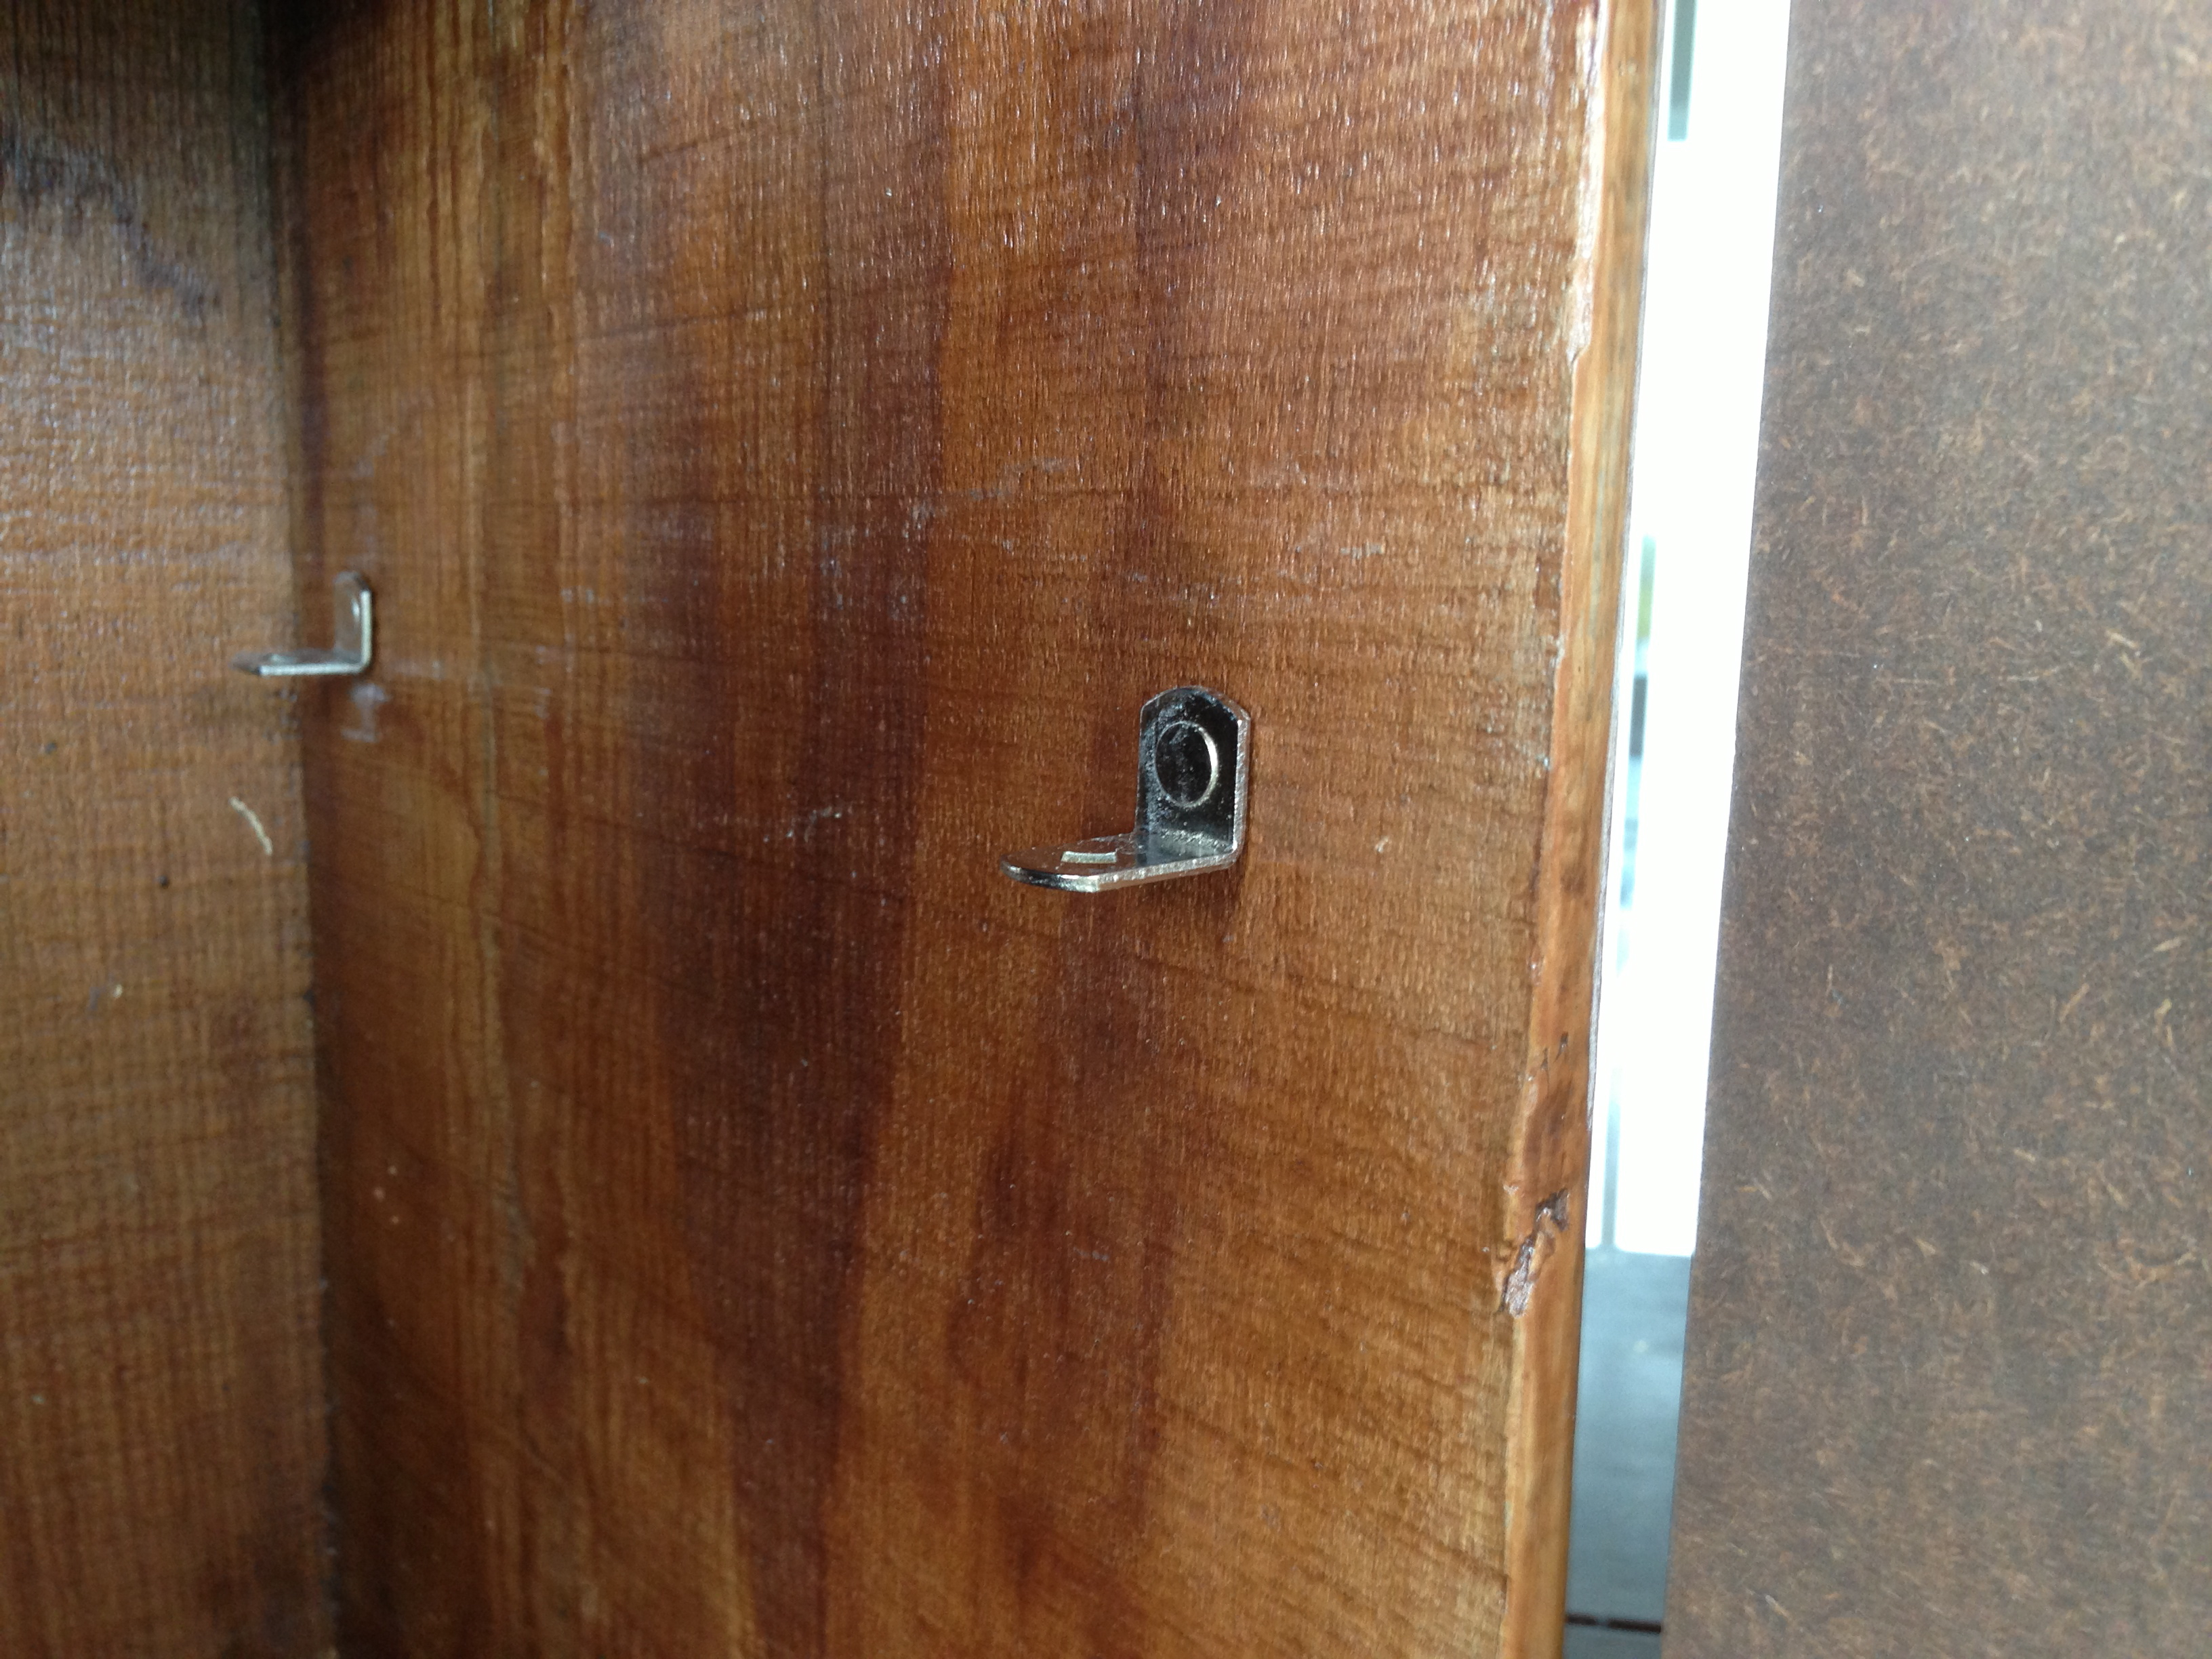
For the shelf in my wife’s crate, I had some extra hardware from our kitchen cabinets that weren’t being used. I drilled a few holes and stuck them right in!
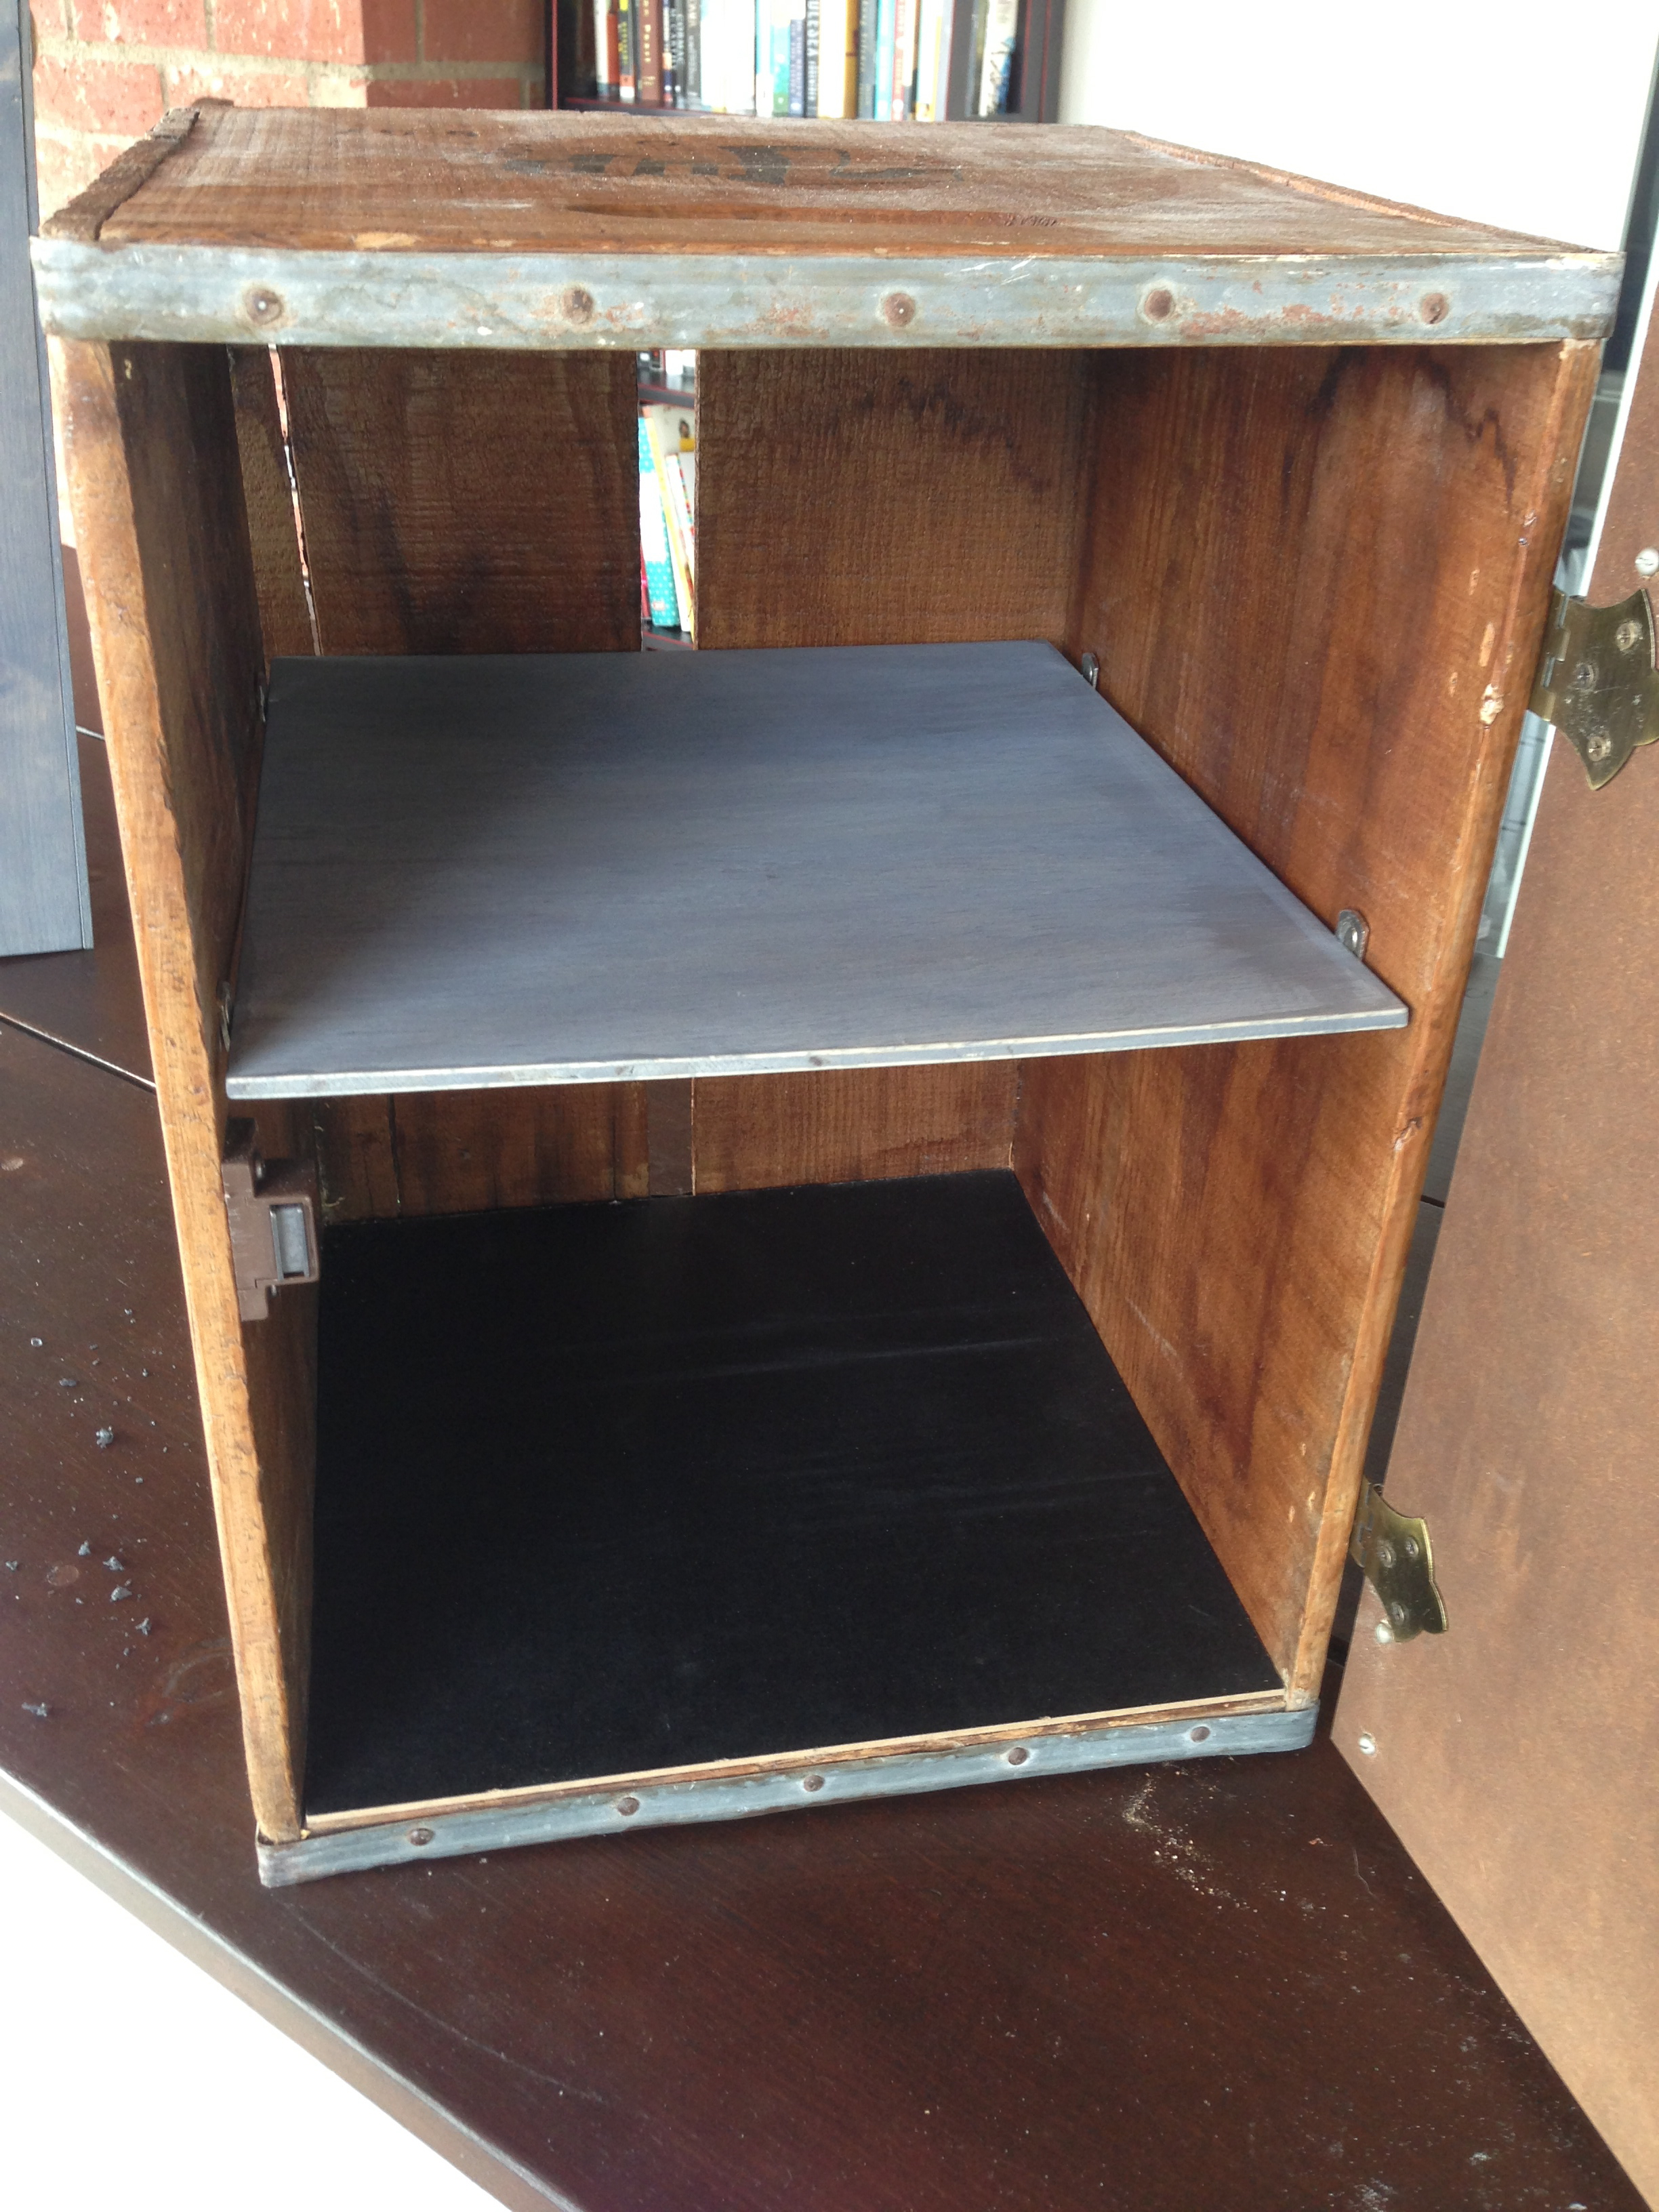
I used a piece of thin plywood (stained grey) for the shelf and some MDF I had from a picture frame that wasn’t being used for the bottom (so things wouldn’t fall out of the handle cut-out on the bottom). A few cuts on the saw, and they fit like a glove!
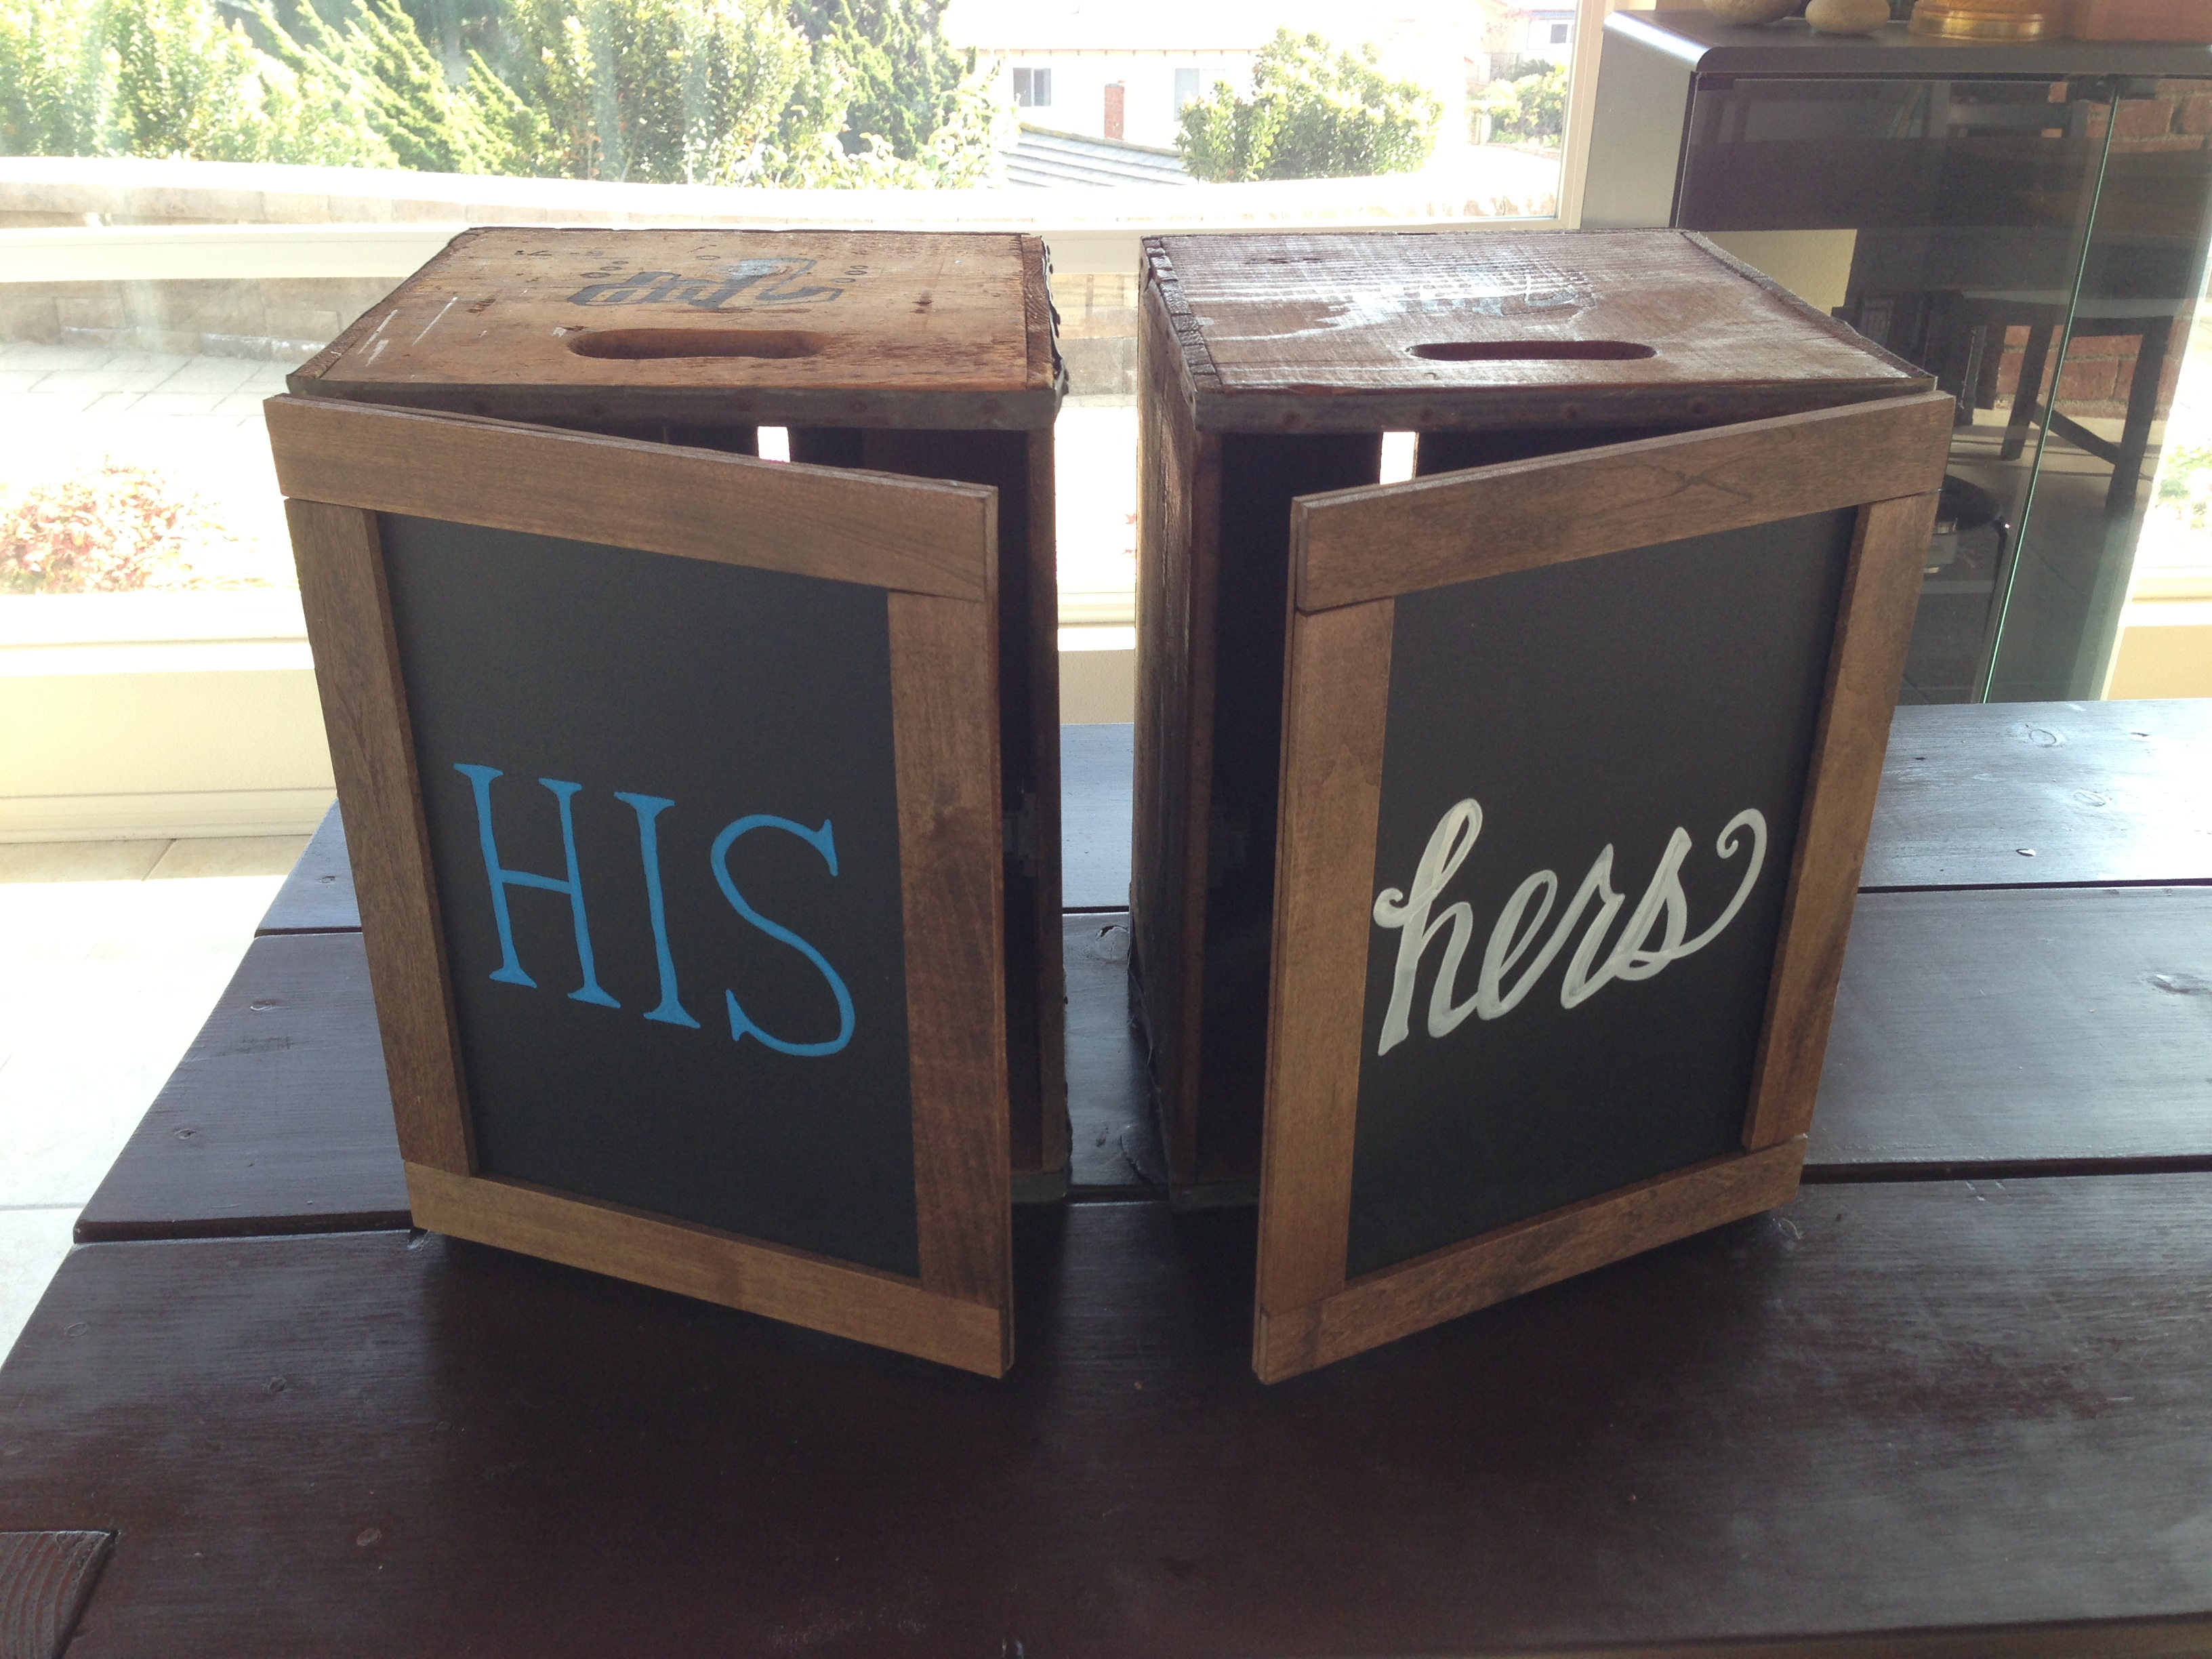
Here are the finished products…
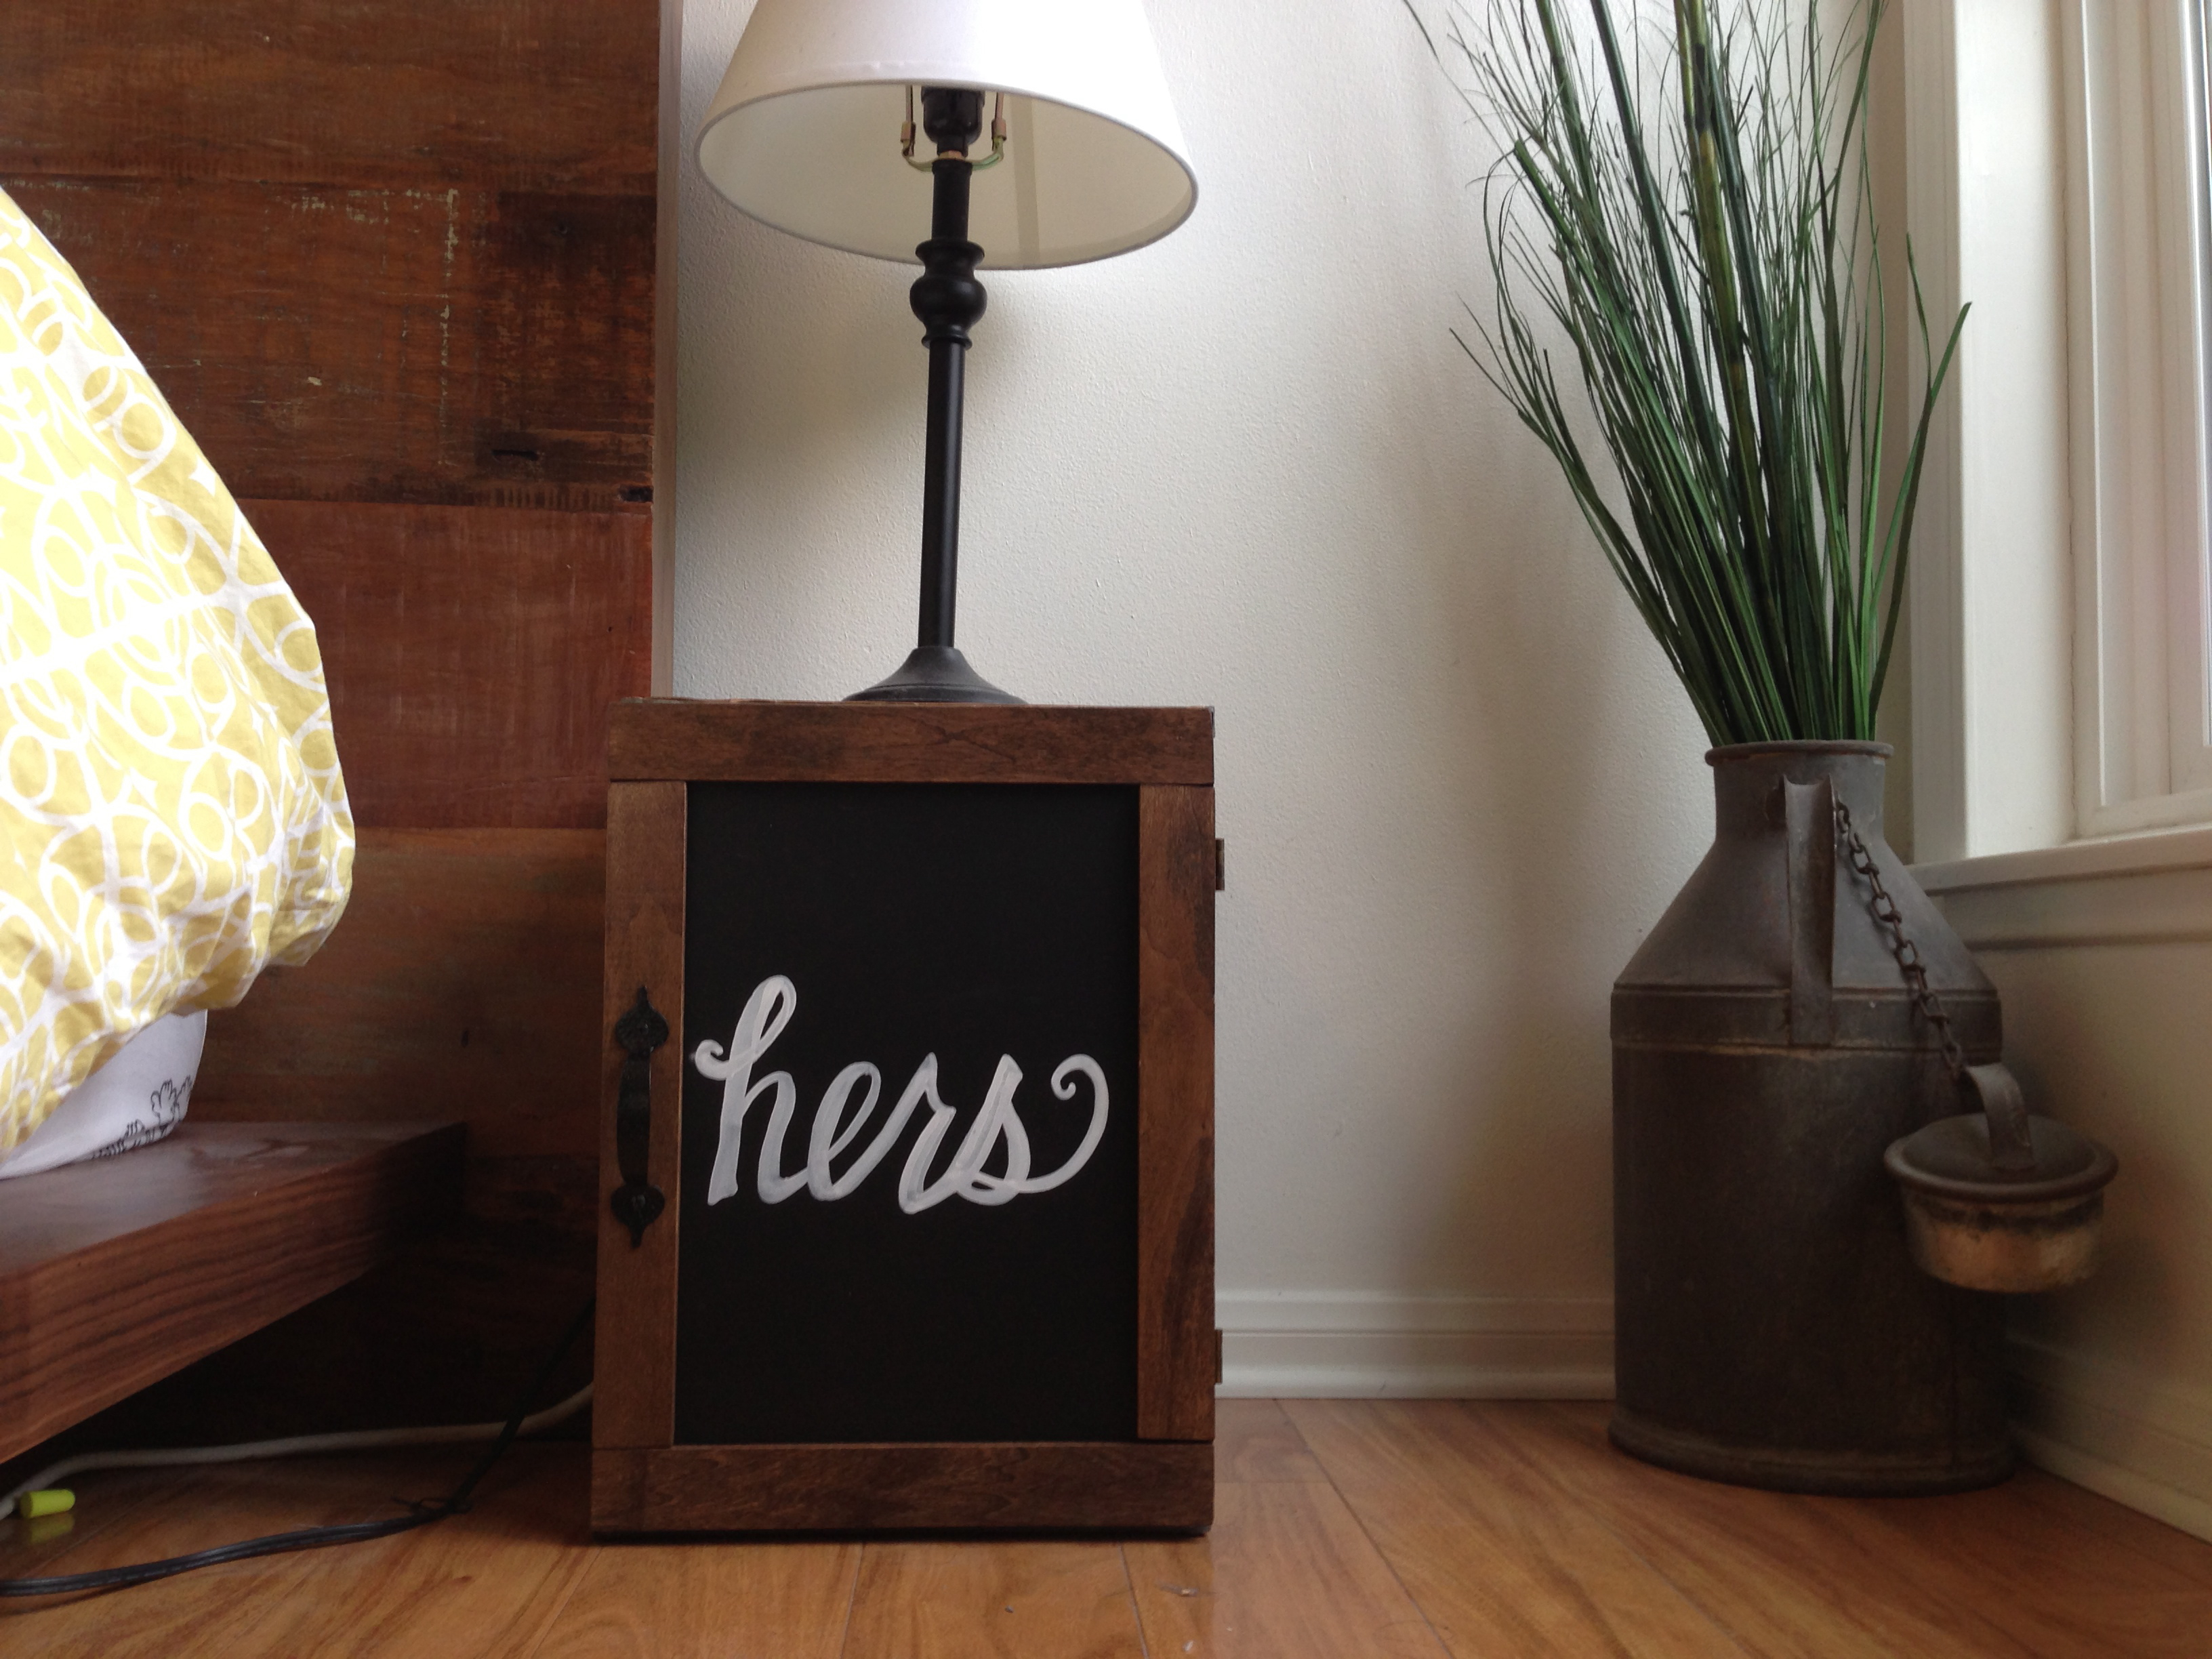
If you try this project, let me know how it turns out!

so cool! all this working with your hands will vastly improve your chances of survival in a zombie apocalypse.
i sure hope so. i want to live through any attack by the undead!
you are way too talented!!
I love this jas!
thanks! didn’t know you had a blog! it looks really great!!