

For Christmas I like to make gifts for friends if I can. It lets me get creative and it adds a bit of a personal touch to Christmas presents. Last year I attempted homemade sparkling cider (some turned out well but others fermented a bit too much), so this year my wife and I aimed for something a little less “explosive”. She suggested I do a wood burning cutting board project, so I found a bunch of tutorials and blogs about diy cutting boards and decided to give it a try…
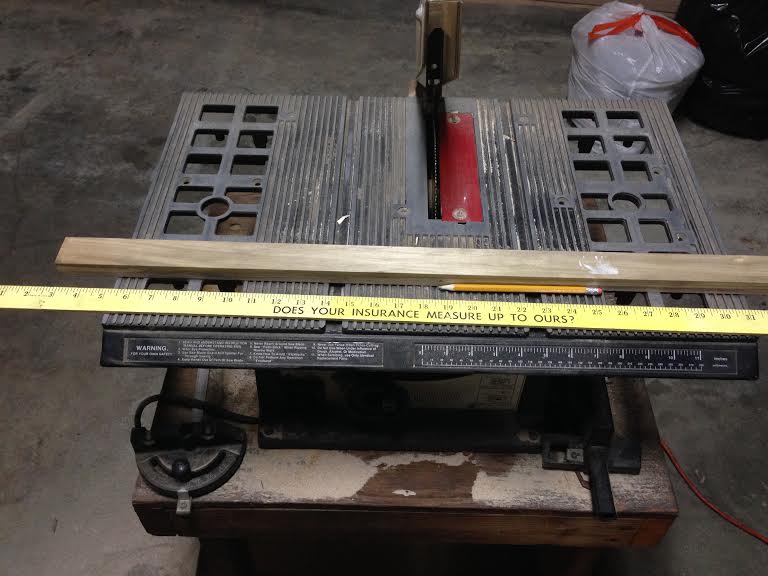
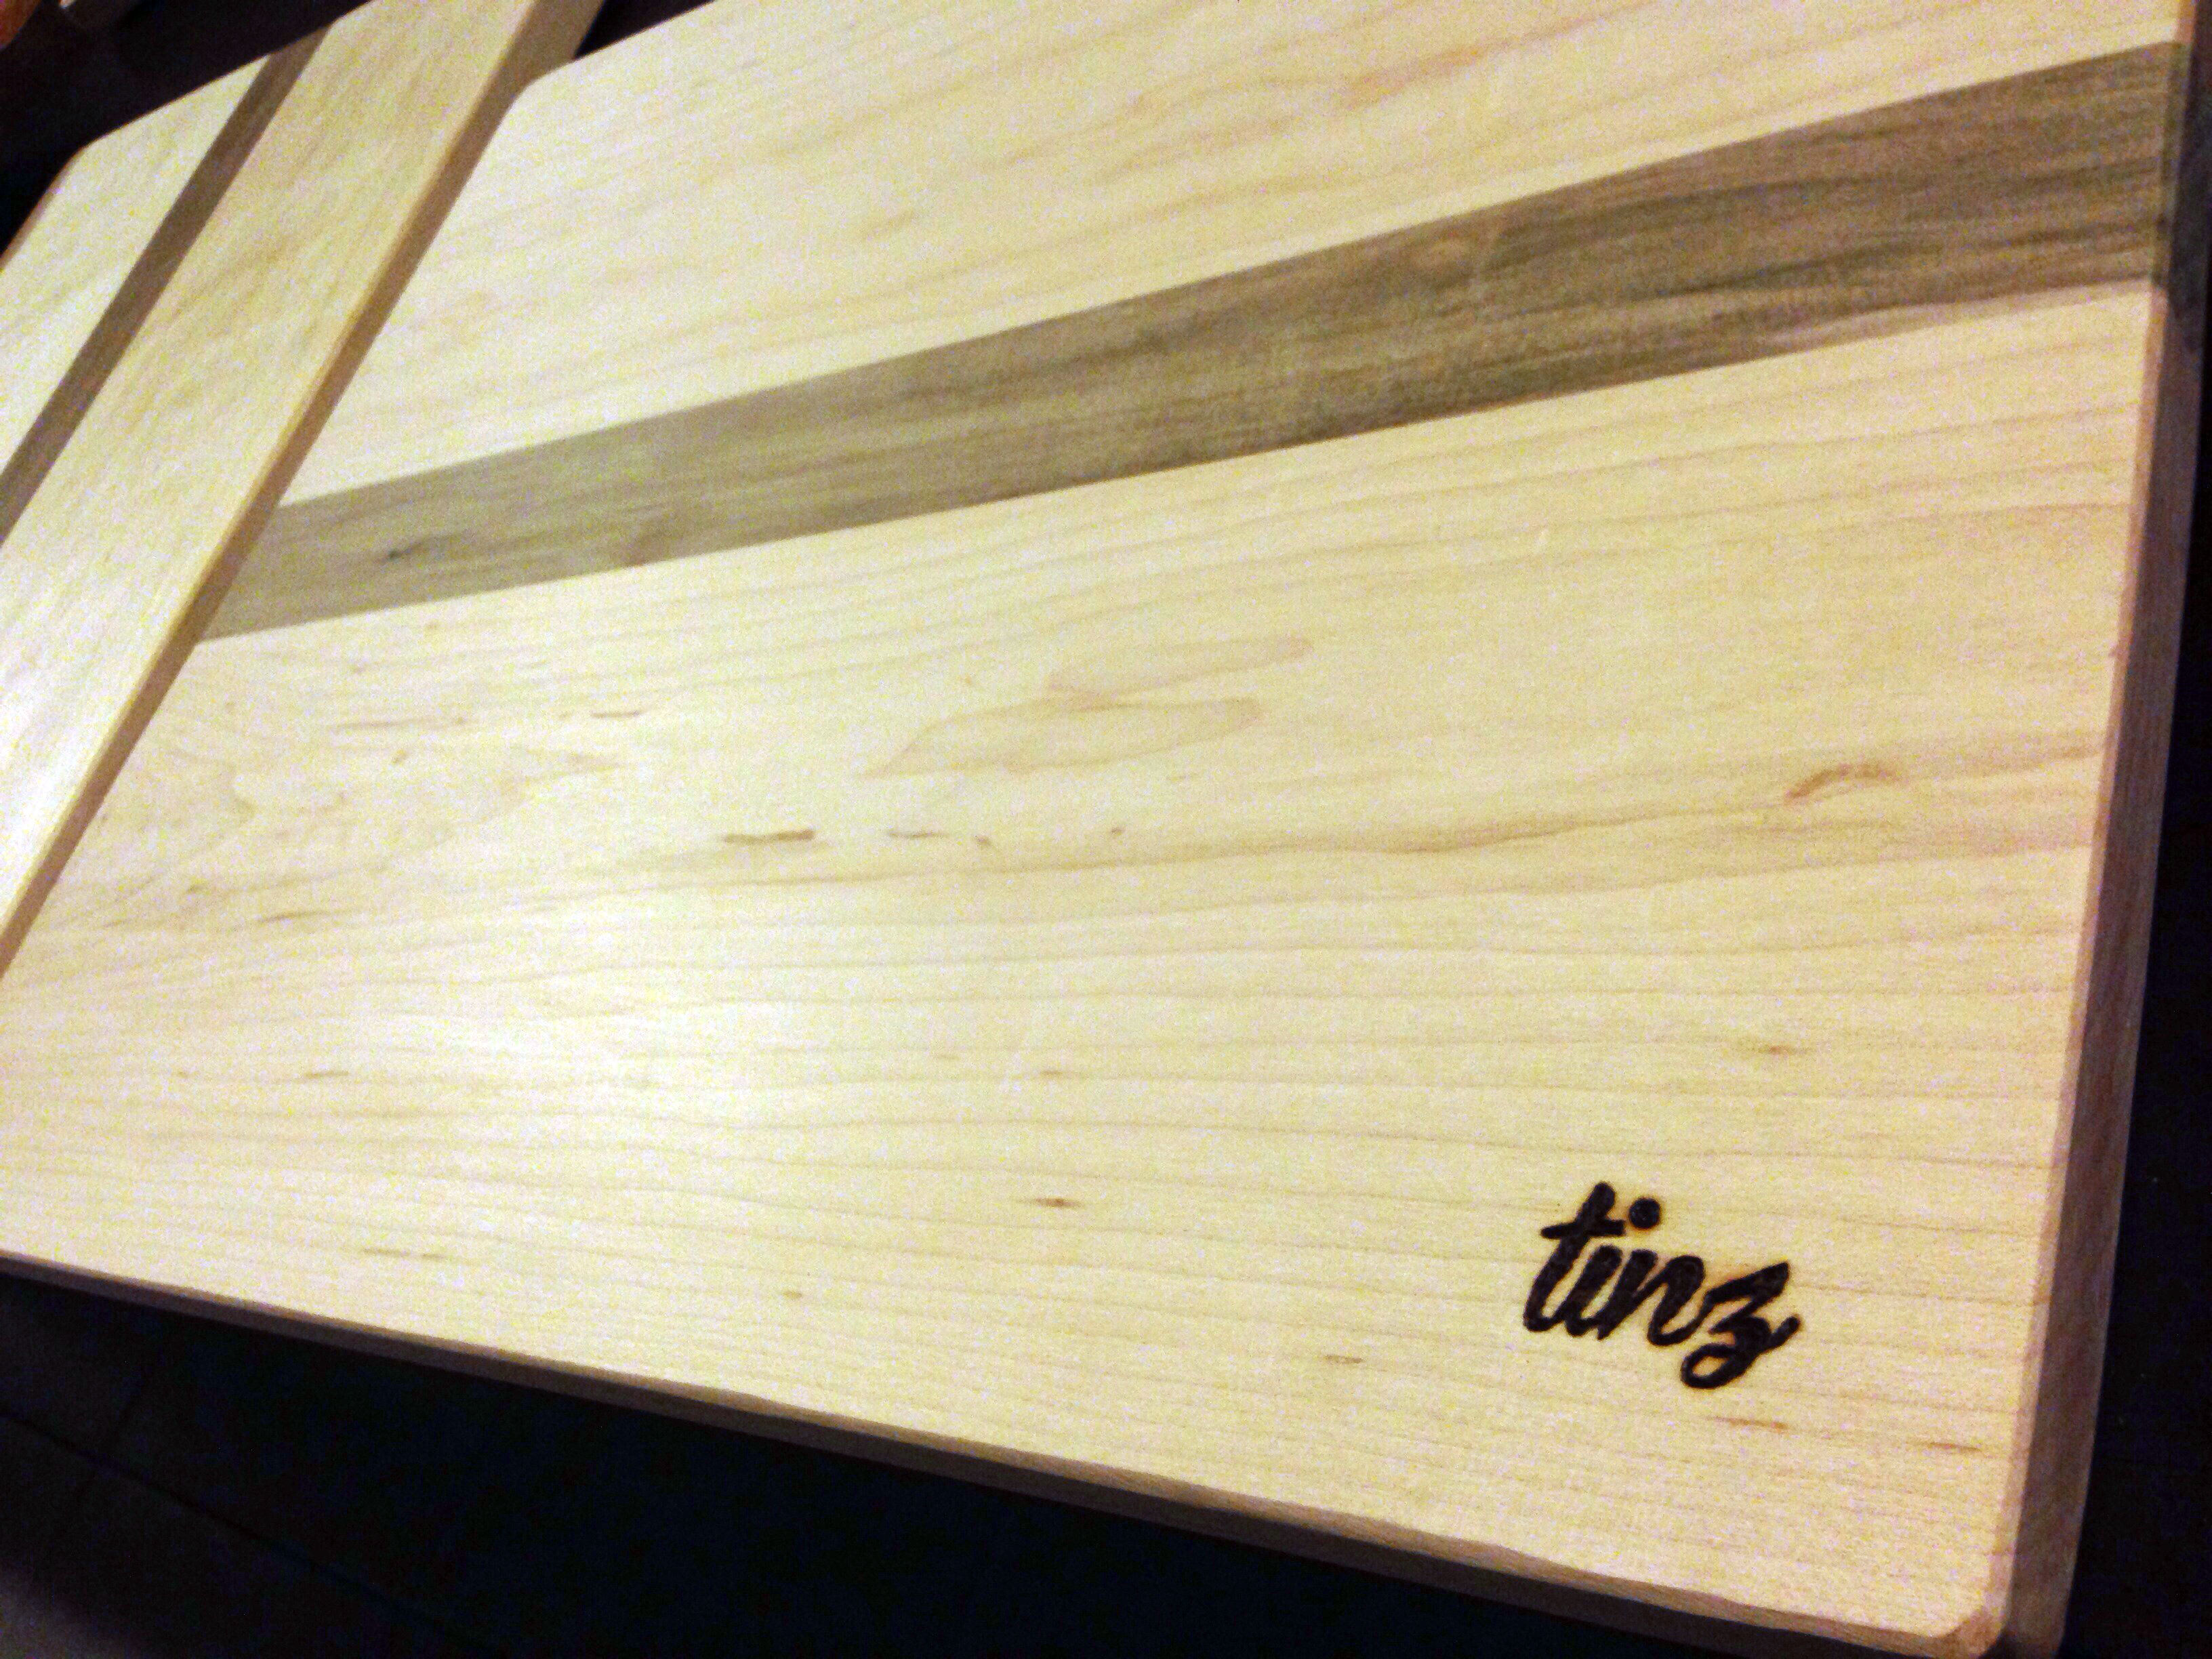
After reading numerous websites about the type of wood to use, I settled on maple and poplar. Most cutting boards are made from some type of hardwood, and maple seemed to be the wood of choice for many. I love maple (I have a Big Leaf Maple guitar that I love) – it has a nice brightness to it along with a clean look when it is unstained. I paired it with poplar to contrast a darker, richer color. My design was to put a strip of darker poplar down the center of the cutting board (sort of like a wooden surfboard look).

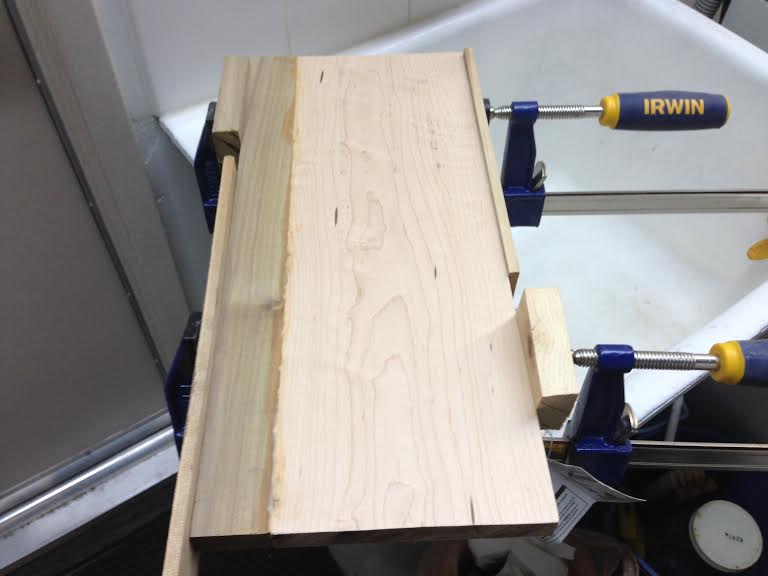
I finally purchased some wood clamps, making the assembly of the cutting boards MUCH easier. I don’t know how I did it before. I would glue one side at a time and leave it for 12-24 hours to dry. There was a lot of dried glue residue on the cutting boards, so you’ll want to wipe away as much excess as you can once you put the clamps on. It doesn’t hurt the board any if you leave the glue, but it makes the sanding step go much faster later.
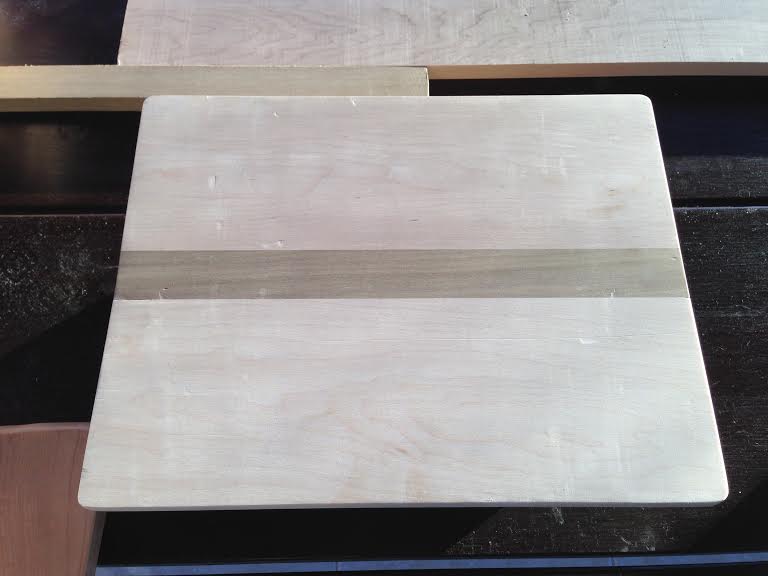
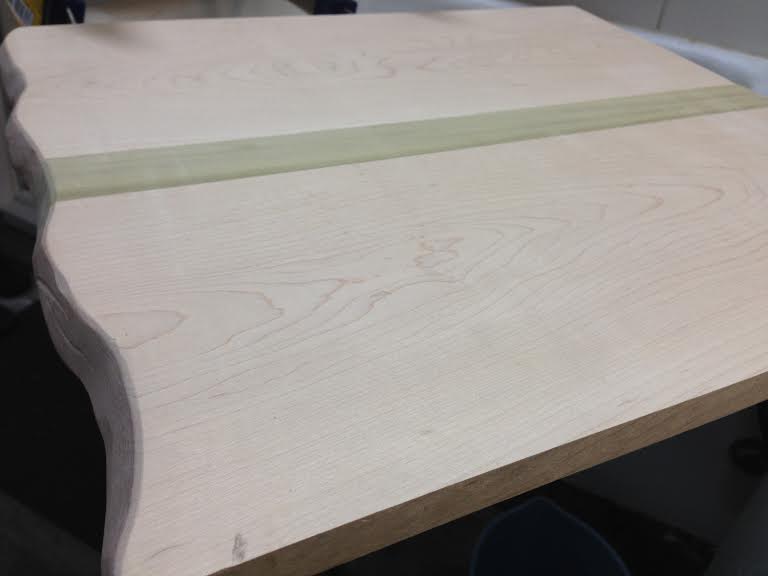
Next comes the fun part: SANDING. I don’t know why this is so fun… maybe because you actually feel like you’re making a lot of progress. The board goes from chunks of wood to a piece of craftsmanship in one step! I used a belt sander, an orbital sander, and hand sanded (sand paper wrapped around a block of wood) to get my desired smoothness. I started with 100 grit, and worked my way down to 320.
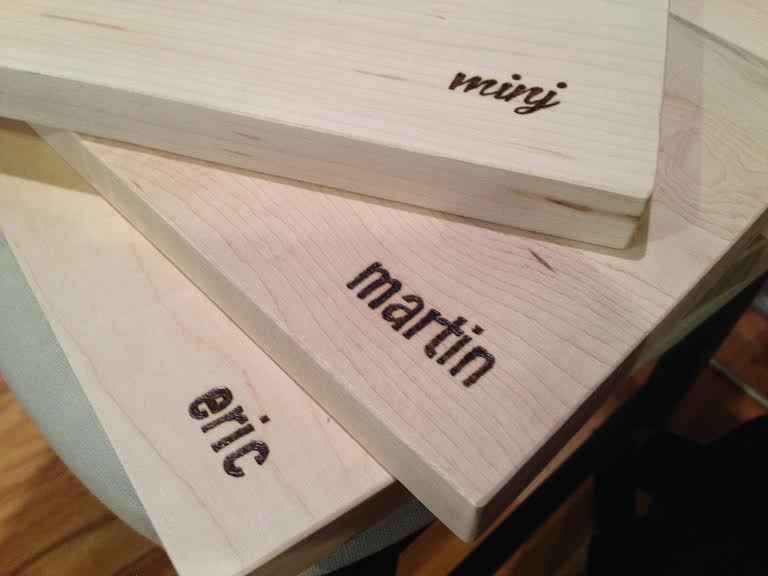
I ordered a pyrography pen online – a pen with interchangeable metal nibs that heats up so you can burn designs straight into wood. You can find them on Amazon.com or your local craft store like Joann‘s. I bought the Amazon pen, experimented with it for a week, then ordered these nibs to accompany the pen. I ordered the base model, so I assume if you spent a little more, you’d notice a jump in quality. However, the base model was more than adequate for the novice project I would be doing. The handle gets hot after a while, so you can either wear a leather glove or just hold the pen lightly to avoid the uncomfortable heat. If it gets too hot, just put it down for a second to rest your fingers.
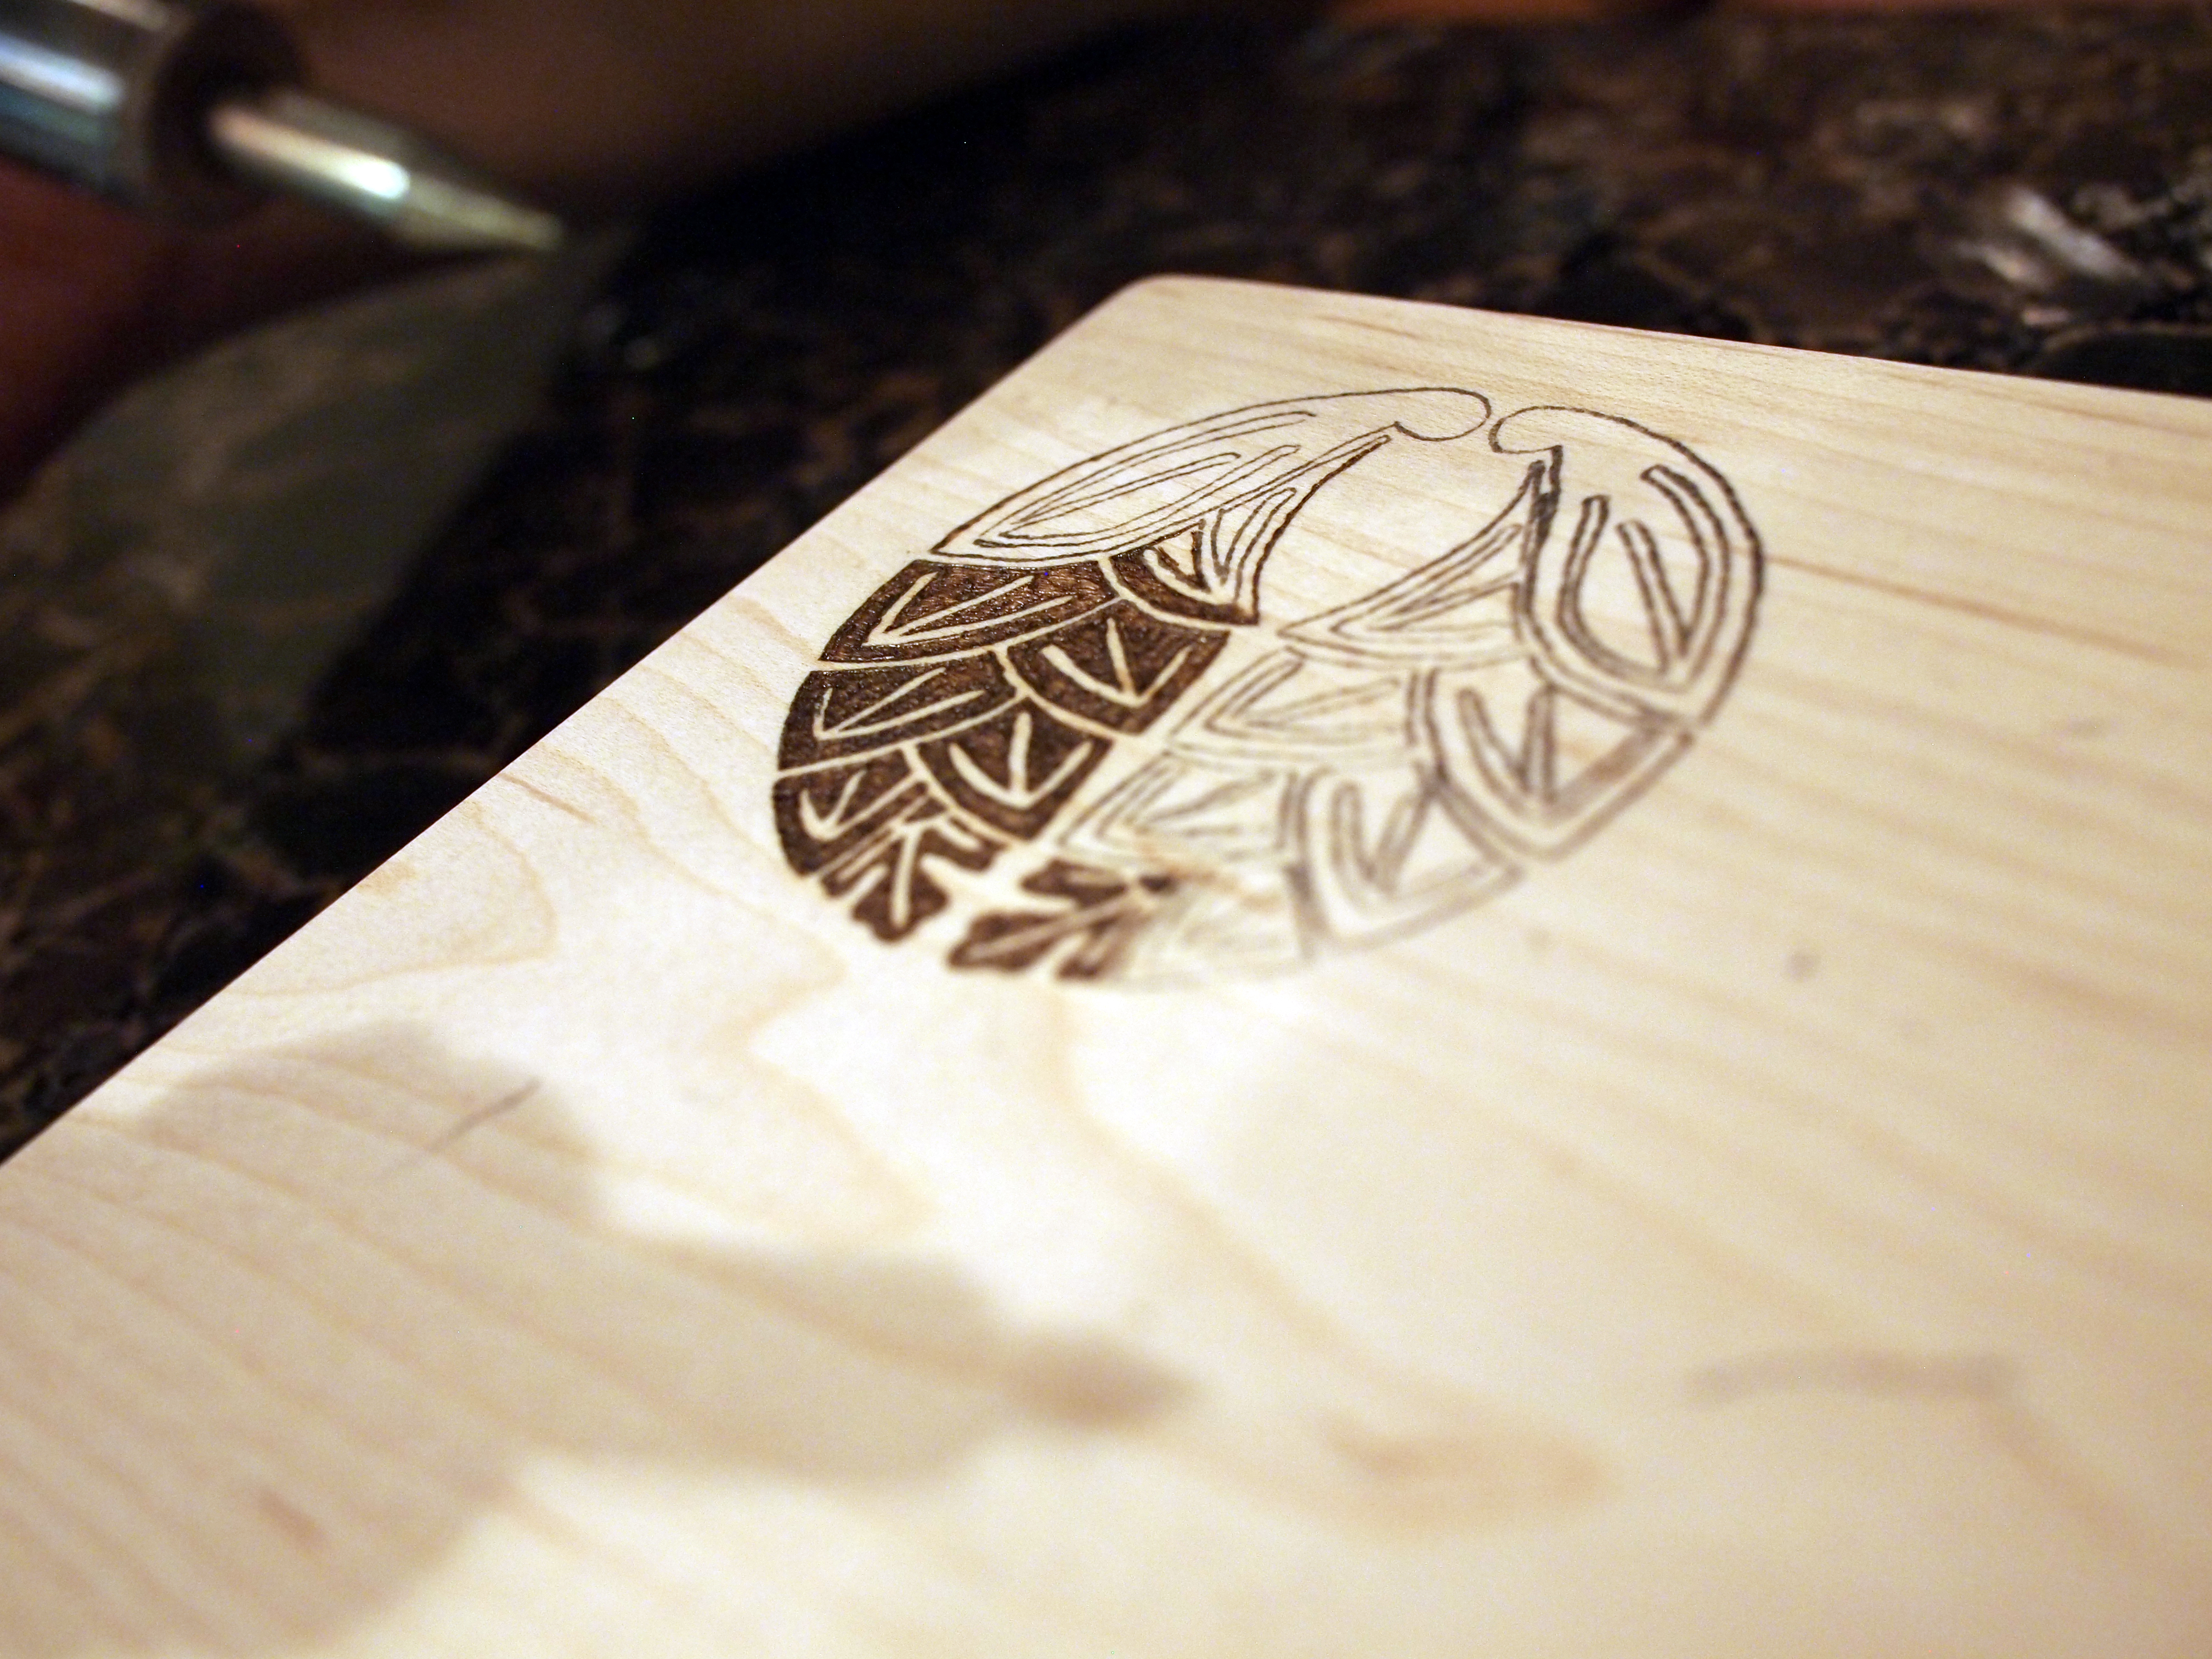
Writing with a pyrography pen is also much different than using a normal pen/pencil. The longer you hold the pyrography pen on the wood, the darker and deeper it burns. I still have not mastered writing smoothly, but I noticed that you can improve as you experiment with different nibs and as you spend more time practicing your penmanship. I believe the key to a “somewhat smooth” use of the pen is the nib you use and the angle of the pen. Unfortunately, that is the best advice I can communicate over a blog. You will have to experiment and figure it out yourself!
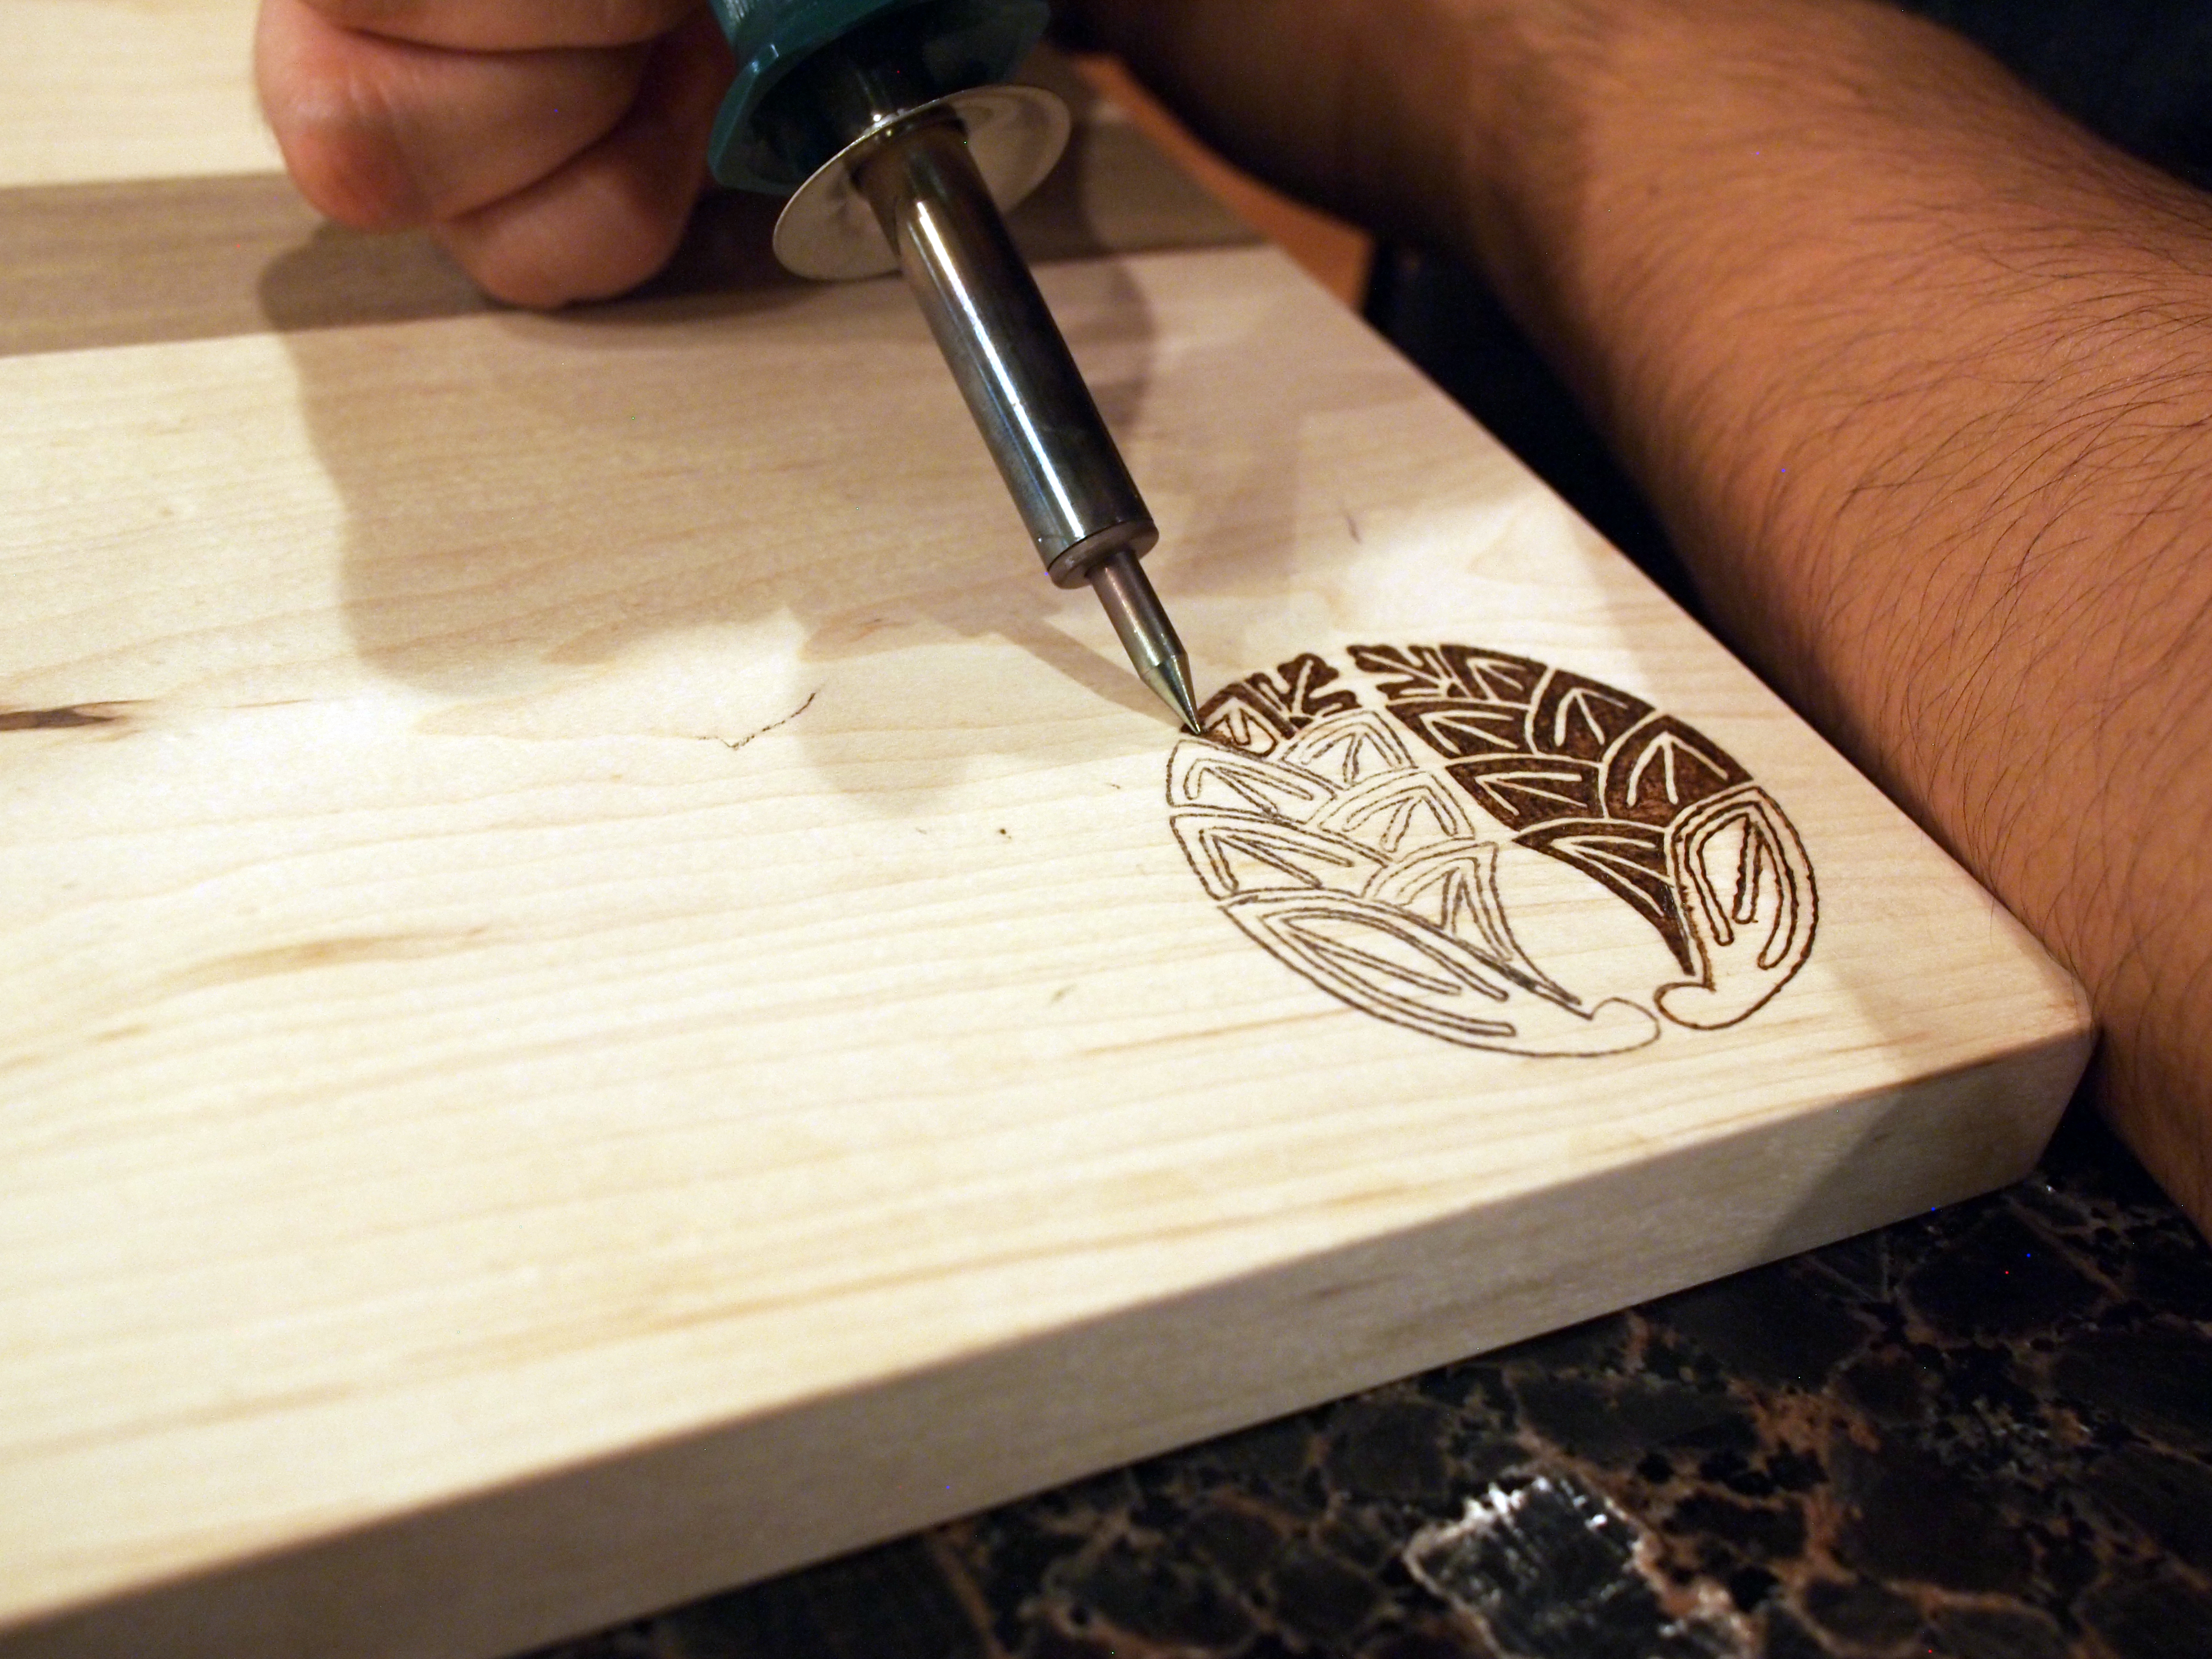
I also purchased some transfer paper online – sort of like carbon copy paper, but for woodburning – so that I could create cleaner text on the surface of the wood. Since we wont be burning with a computer or lasers, the pyrography pen will produce an imperfect burn (I call it the “handmade look”), so using the transfer paper will help you have guides for your burning. If you mess up with the transfer paper, it is erasable. Just get a good eraser and go at it.
After you finish your pyrography, you can finally seal the deal. Get some food grade mineral oil, or butcher board cream (I used Boos Block). Either should work great, but I wanted to try the board cream this time because it had beeswax. It seemed like it would condition and protect a little more, and since I was giving these away as gifts, I wanted the first coat of protection to be nice.
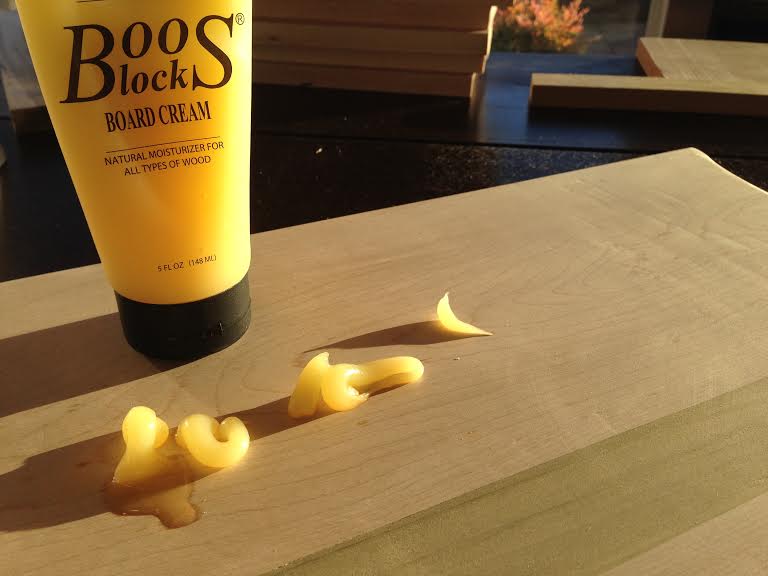
Just follow the directions and squeeze it onto the wood. Take your hands and massage it in. It gets a bit greasy, so don’t do it on top of your recently laundered tuxedo/curtains/wedding dress. The cream really brings out the color of the wood – the poplar is a rich brown, and the maple brightens up a lot (you can see the grain really well). Here’s a pic of the final product:
Happy cooking!

Reblogged this on nsfcom2 and commented:
Great work
one of the best presents i’ve ever received in my life!