

I decided to do a quick coaster project following my Instagram coaster project and my cutting board project. I combined the pyrography pen and transfer paper from the cutting boards and the wooden squares from the coasters to make a pyrography coaster. I love re-purposing leftover materials!
You will need:
- 4.5″ hobby wood squares
- a pyrography pen + nibs
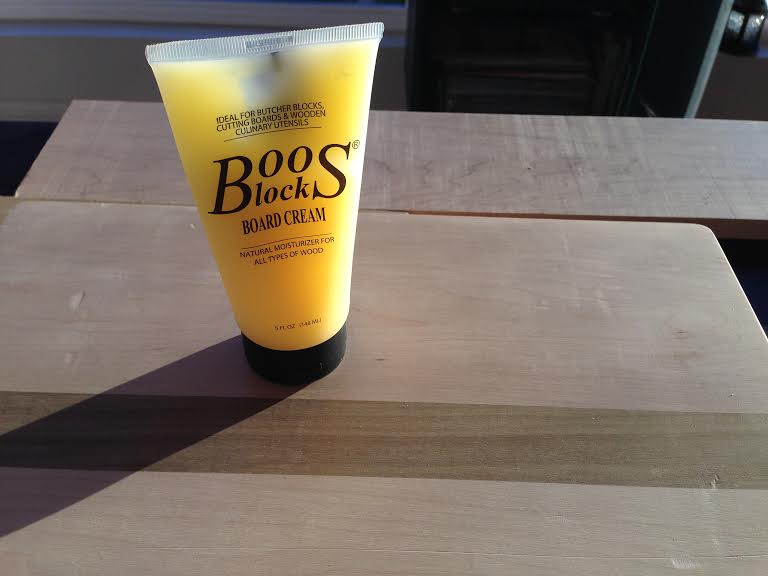
- butcher block cream
- transfer paper (like carbon copy paper)
This is a simple project that can get more involved depending on how much detail you want, or how creative you can get! Simply print out your favorite design to be traced onto the wood squares with the transfer paper. I used my family crest (again), since I already had a print out handy. I also normally use either a soft pencil or my wacom tablet pen to trace the design. Once the design is traced, plug in your wood burning pen, and get to it!
The pen gets hot after a while, so either 1) hold it lightly, 2) wrap it with a small paper towel, or 3) put it down and rest your fingers. It won’t scald you… it’s just a little uncomfortable. I’ve learned to hold it lightly and further up on the handle so it doesn’t get too uncomfortable.
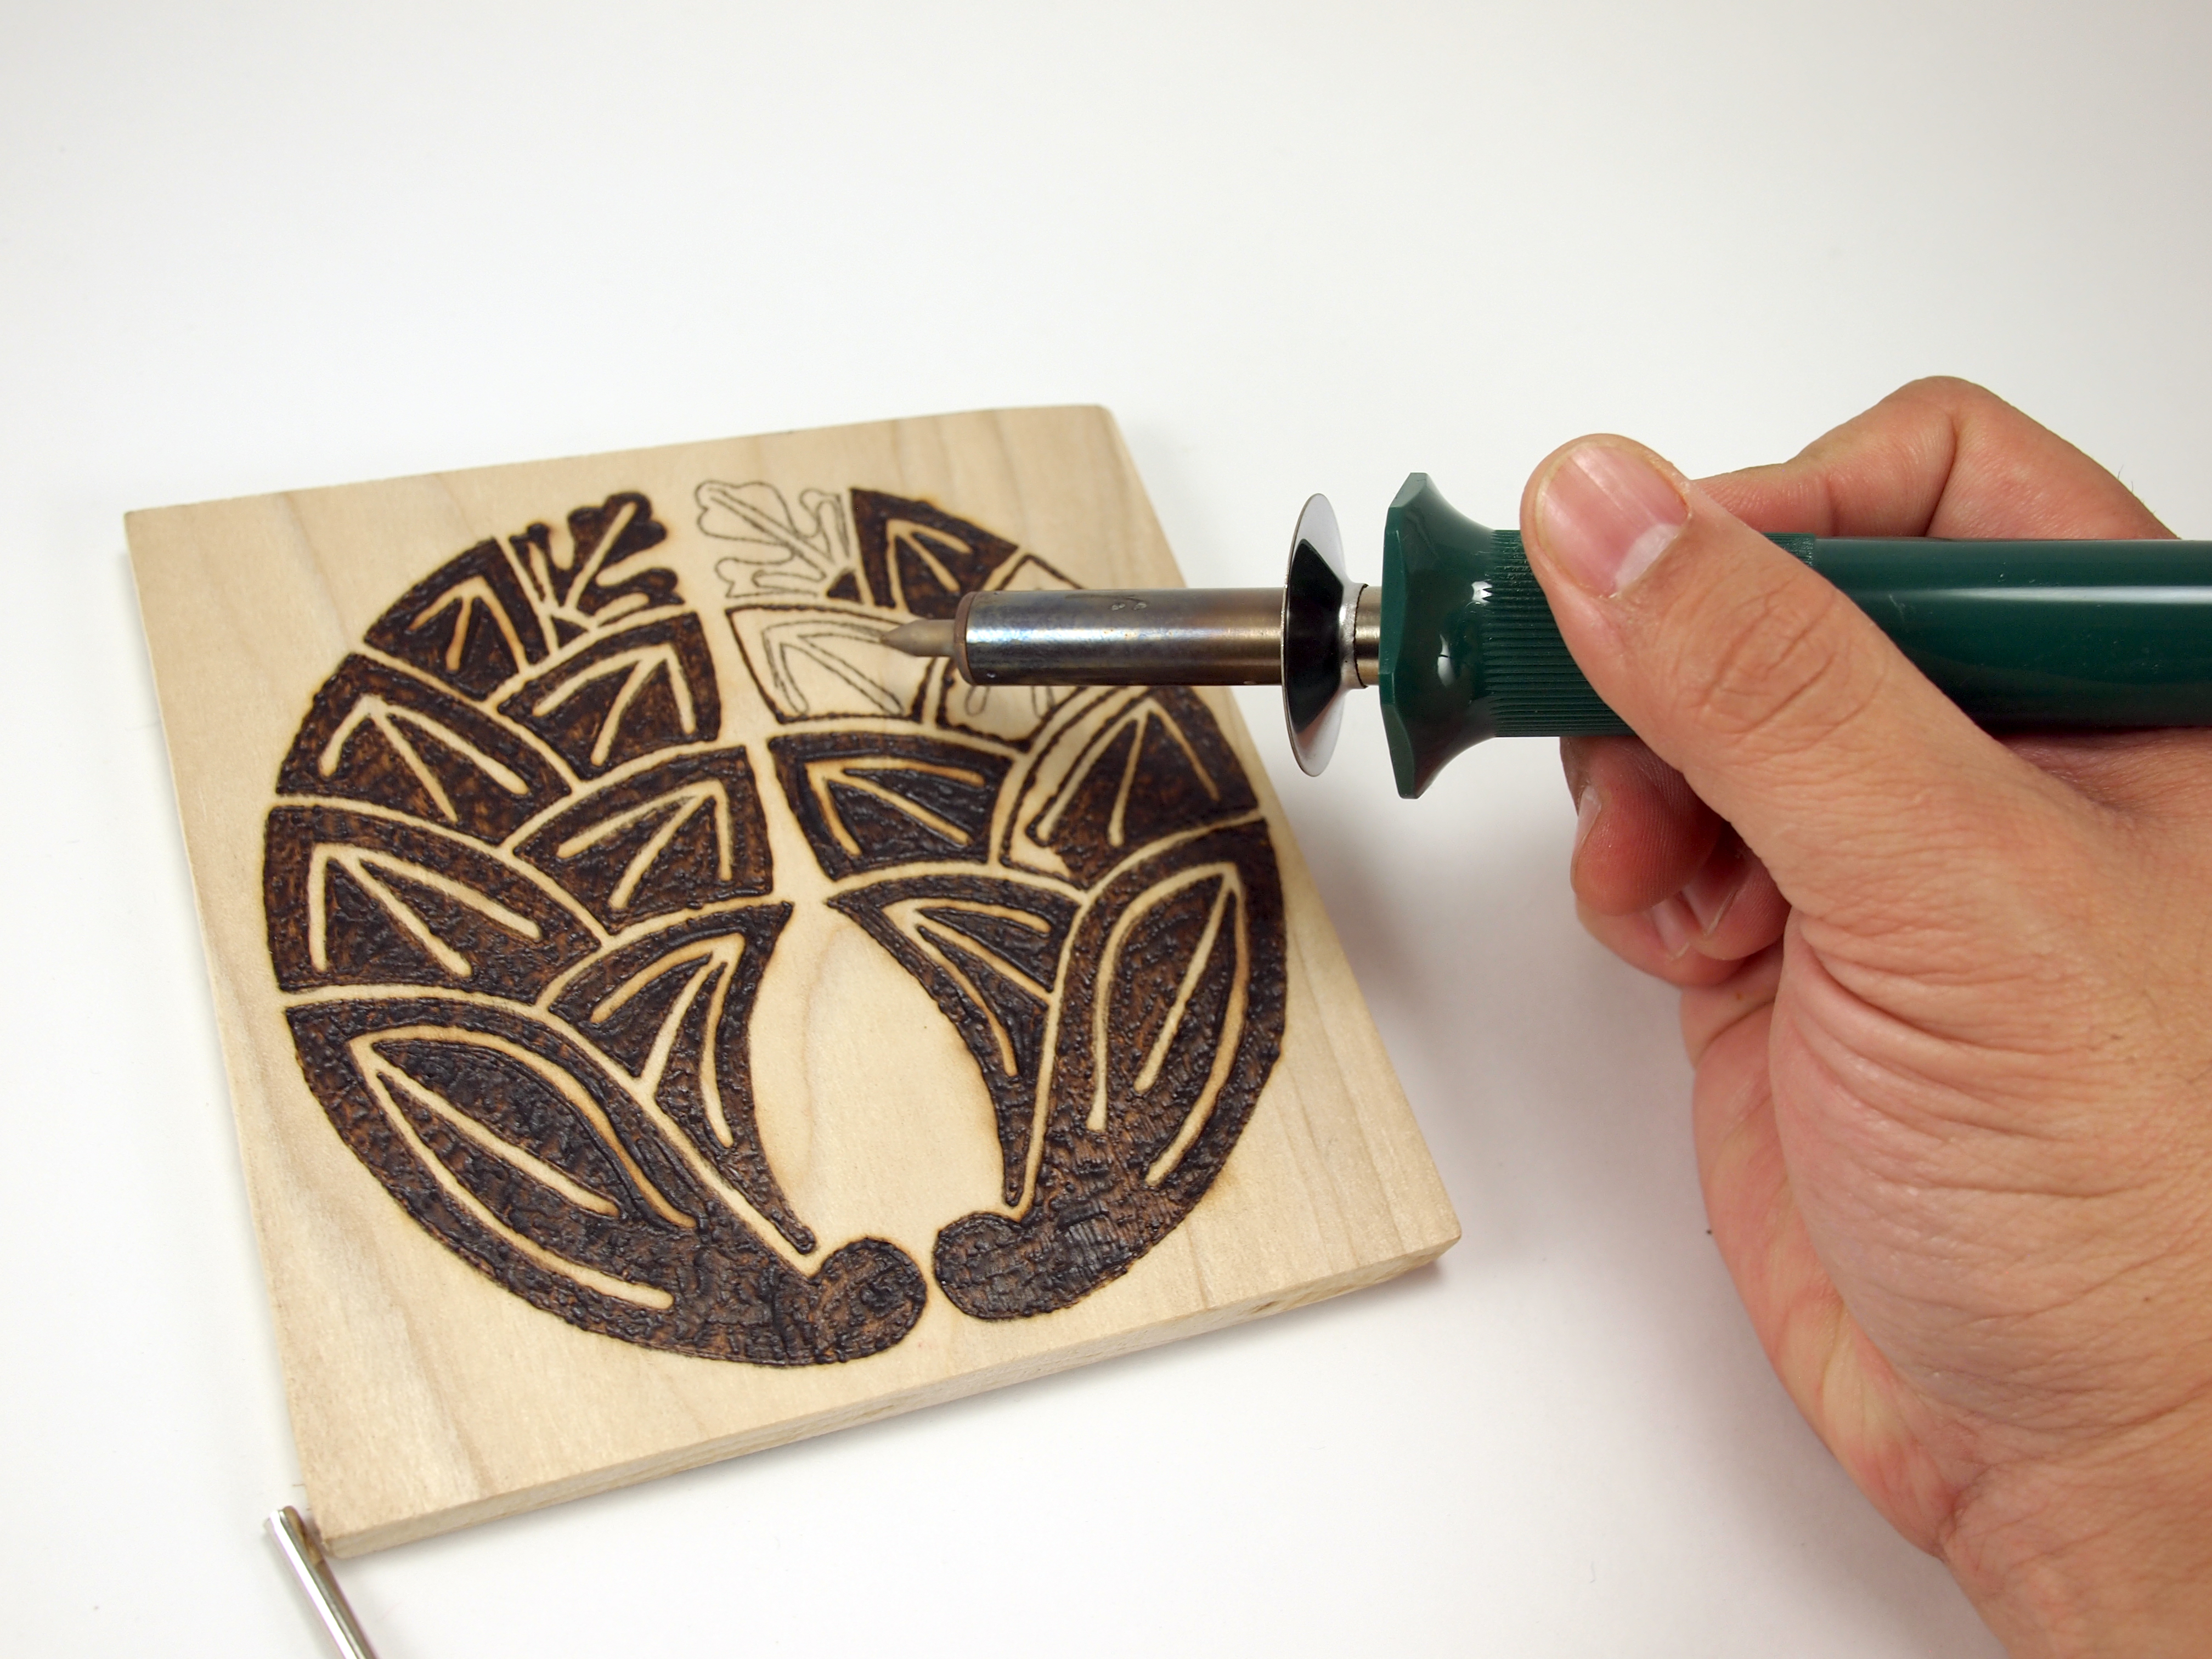
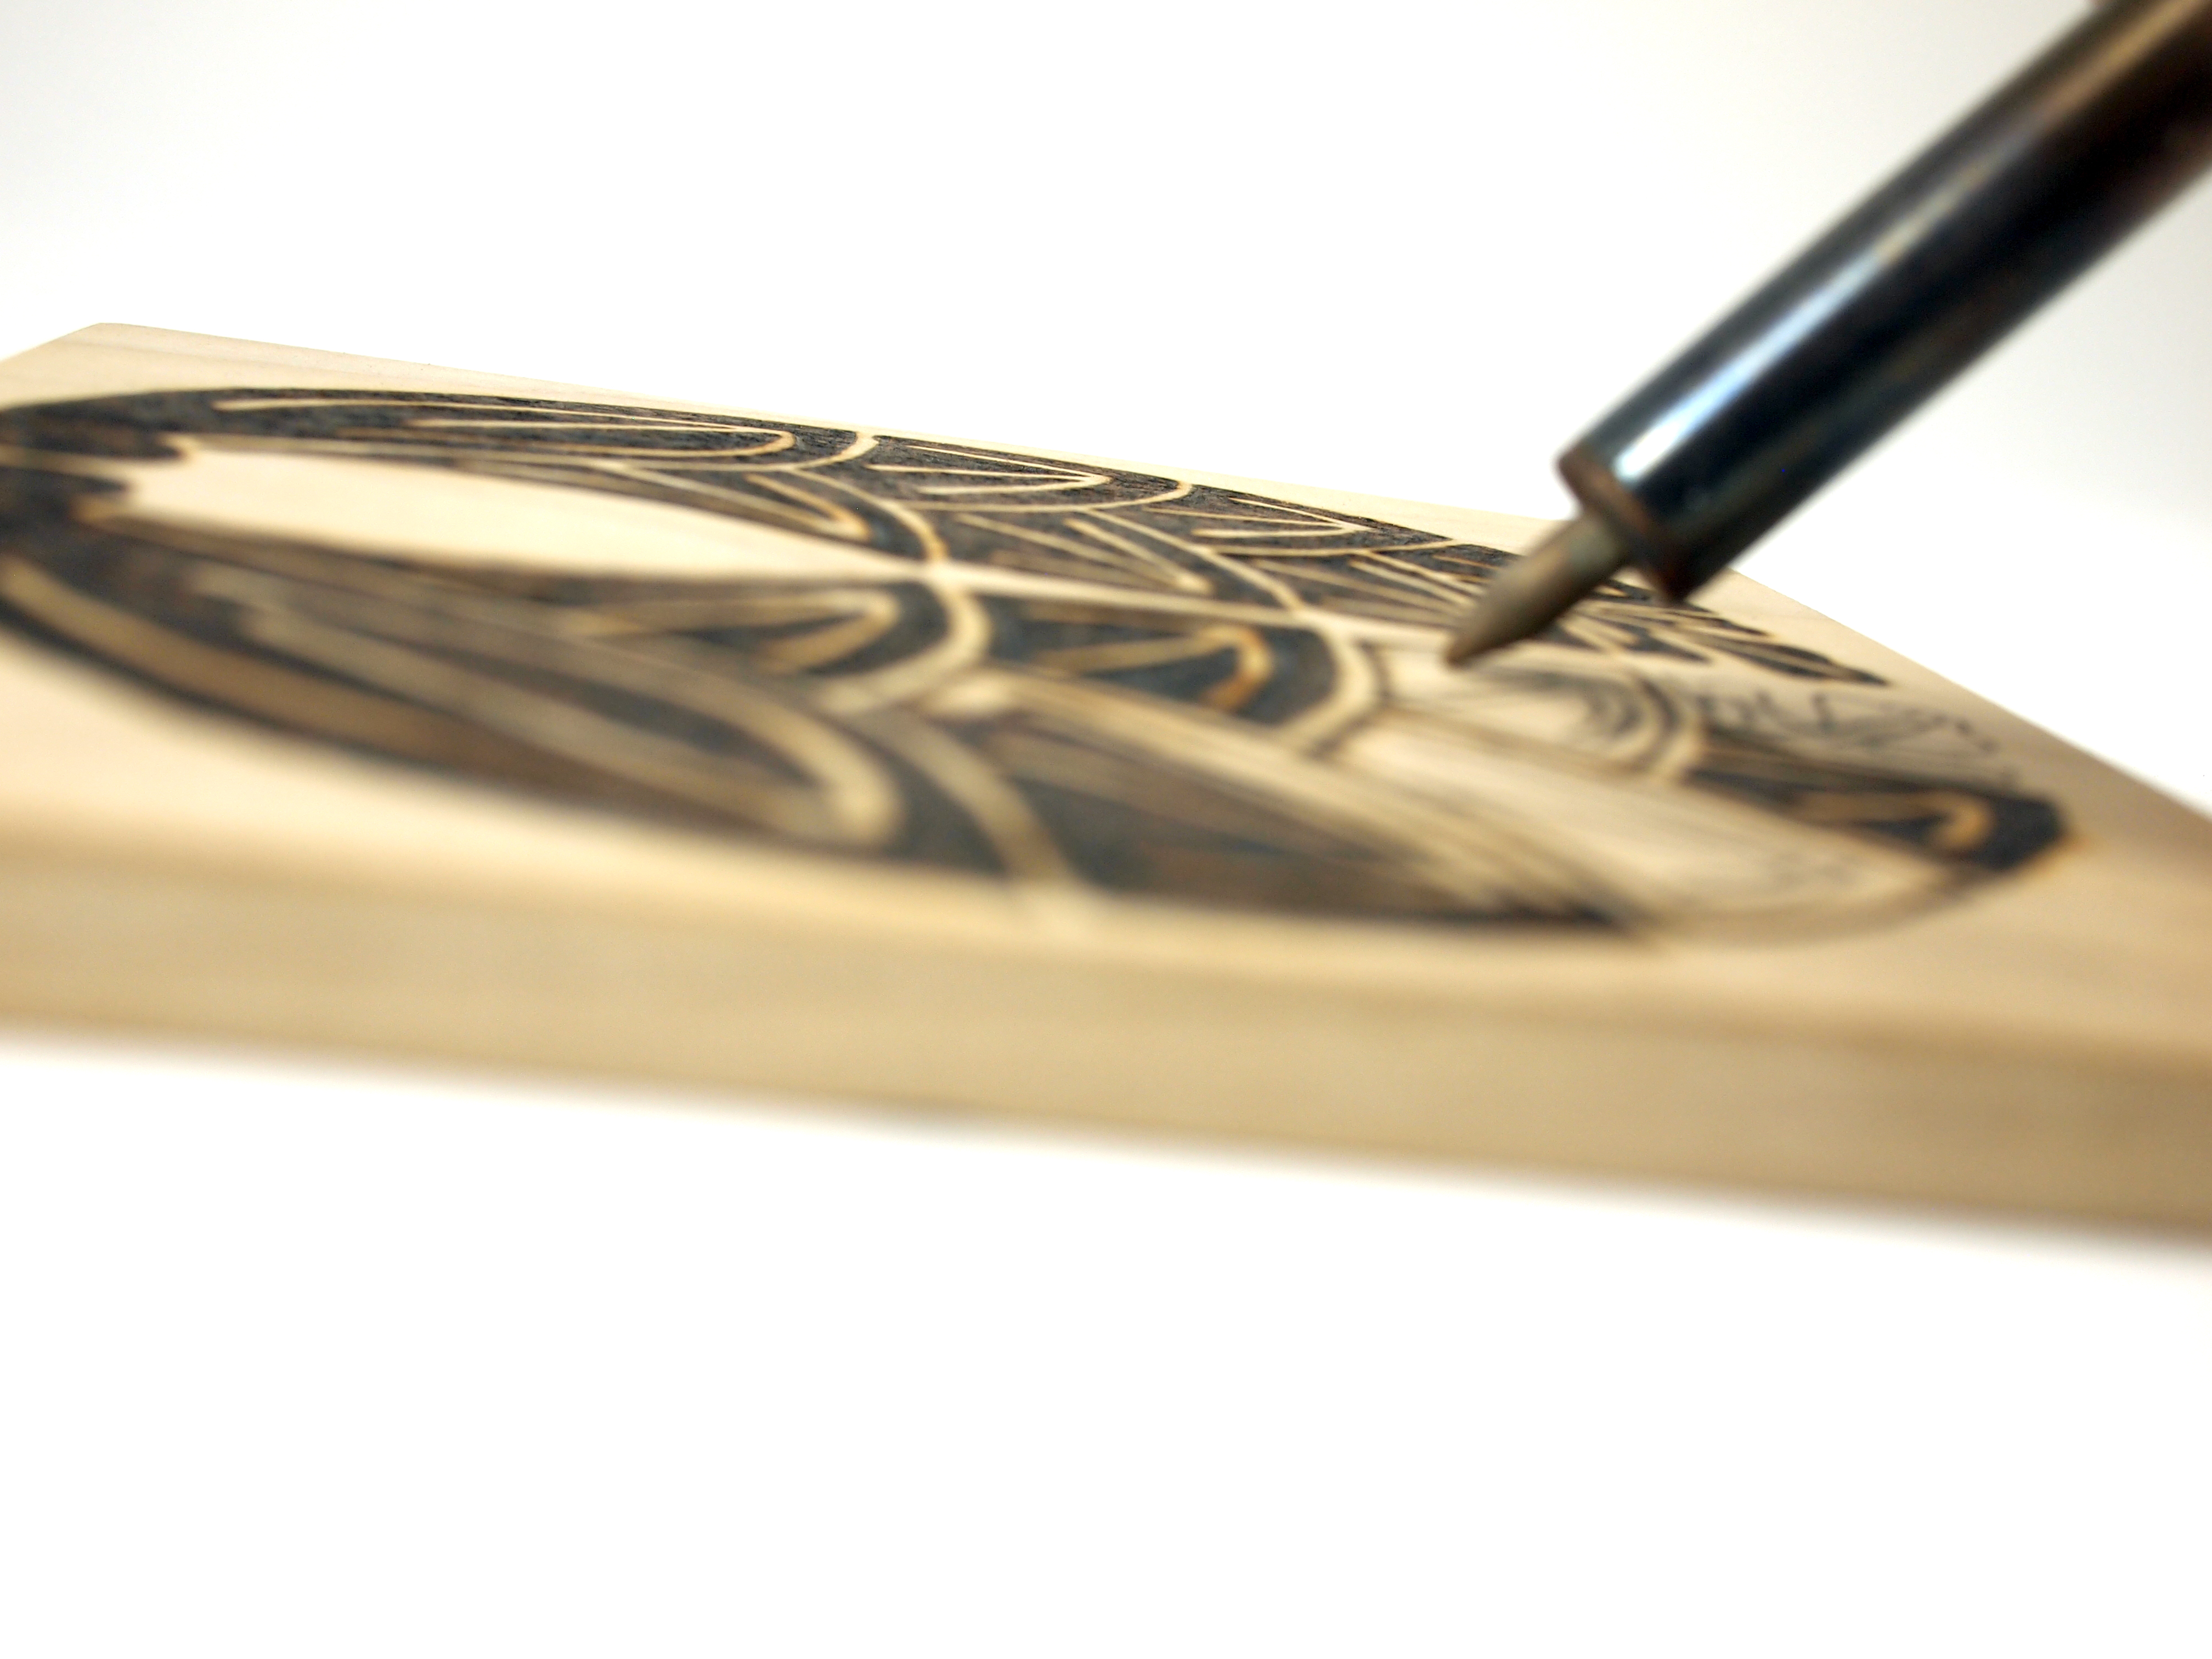
The trick is in the nib you choose and the angle of the pen. It’s not like drawing with a pencil. The pyrography pen is a lot more clumsy. Think blaster vs. lightsaber (Starwars reference, anyone?). Take your time, and you’ll be happy you did. If you have any leftover marks from the transfer paper, take a good eraser and remove them when you’re done.
As a final step, I used the same butcher block cream as I did from my diy cutting boards. Place a small amount on the coaster(s) and you’ve got a nice layer of protection from any light spills!
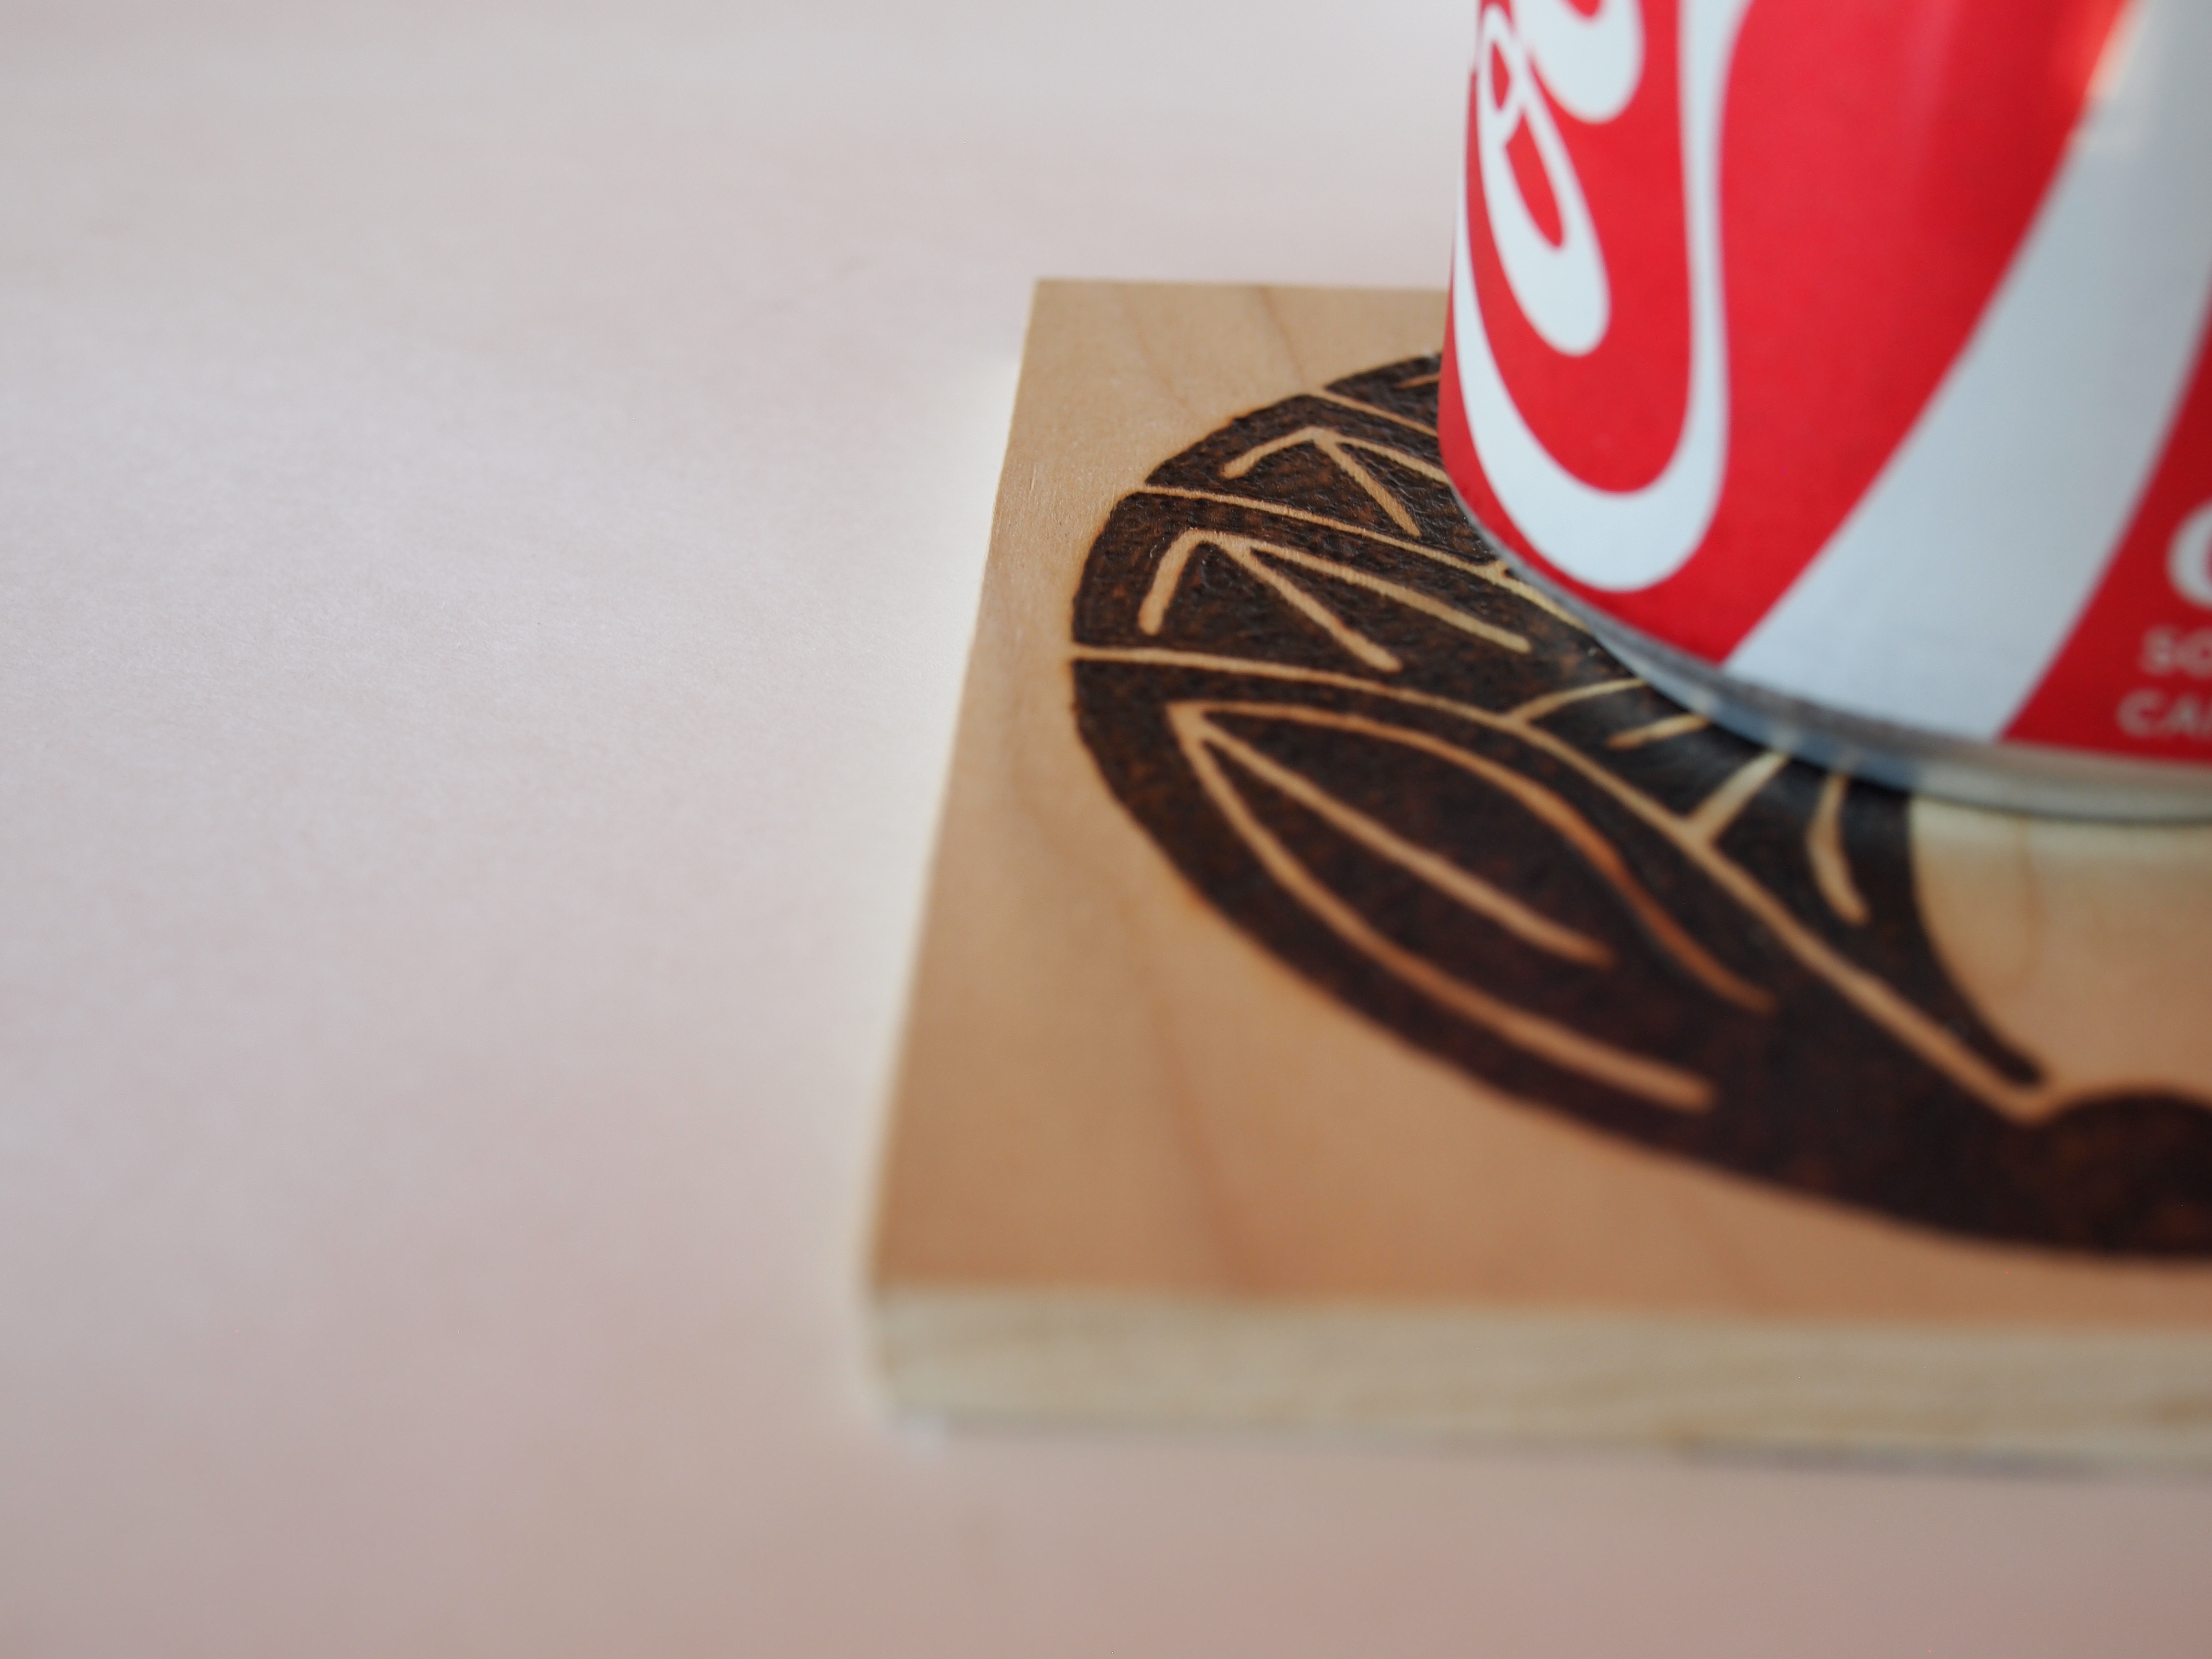
Another addition to your coaster collection!

COOL.
Love it!
thanks!