

Here’s a neat-o little project that I’ve been wanting to put together for a while now. I’ve wanted a guitar effects pedal board for a long time, but I couldn’t justify paying for one (because I don’t play many gigs these days and my guitar skills aren’t good enough to warrant a fancy board for my effects). I happen to get my hands on a vintage briefcase, and got the crazy idea of making it into an effects pedal board! I could house all my necessary pedals, a DI box, power adapter, cables, and sheet music! Plus, when I was done, all I had to do was close the lid and I’d be ready to go!

Here’s what I did.
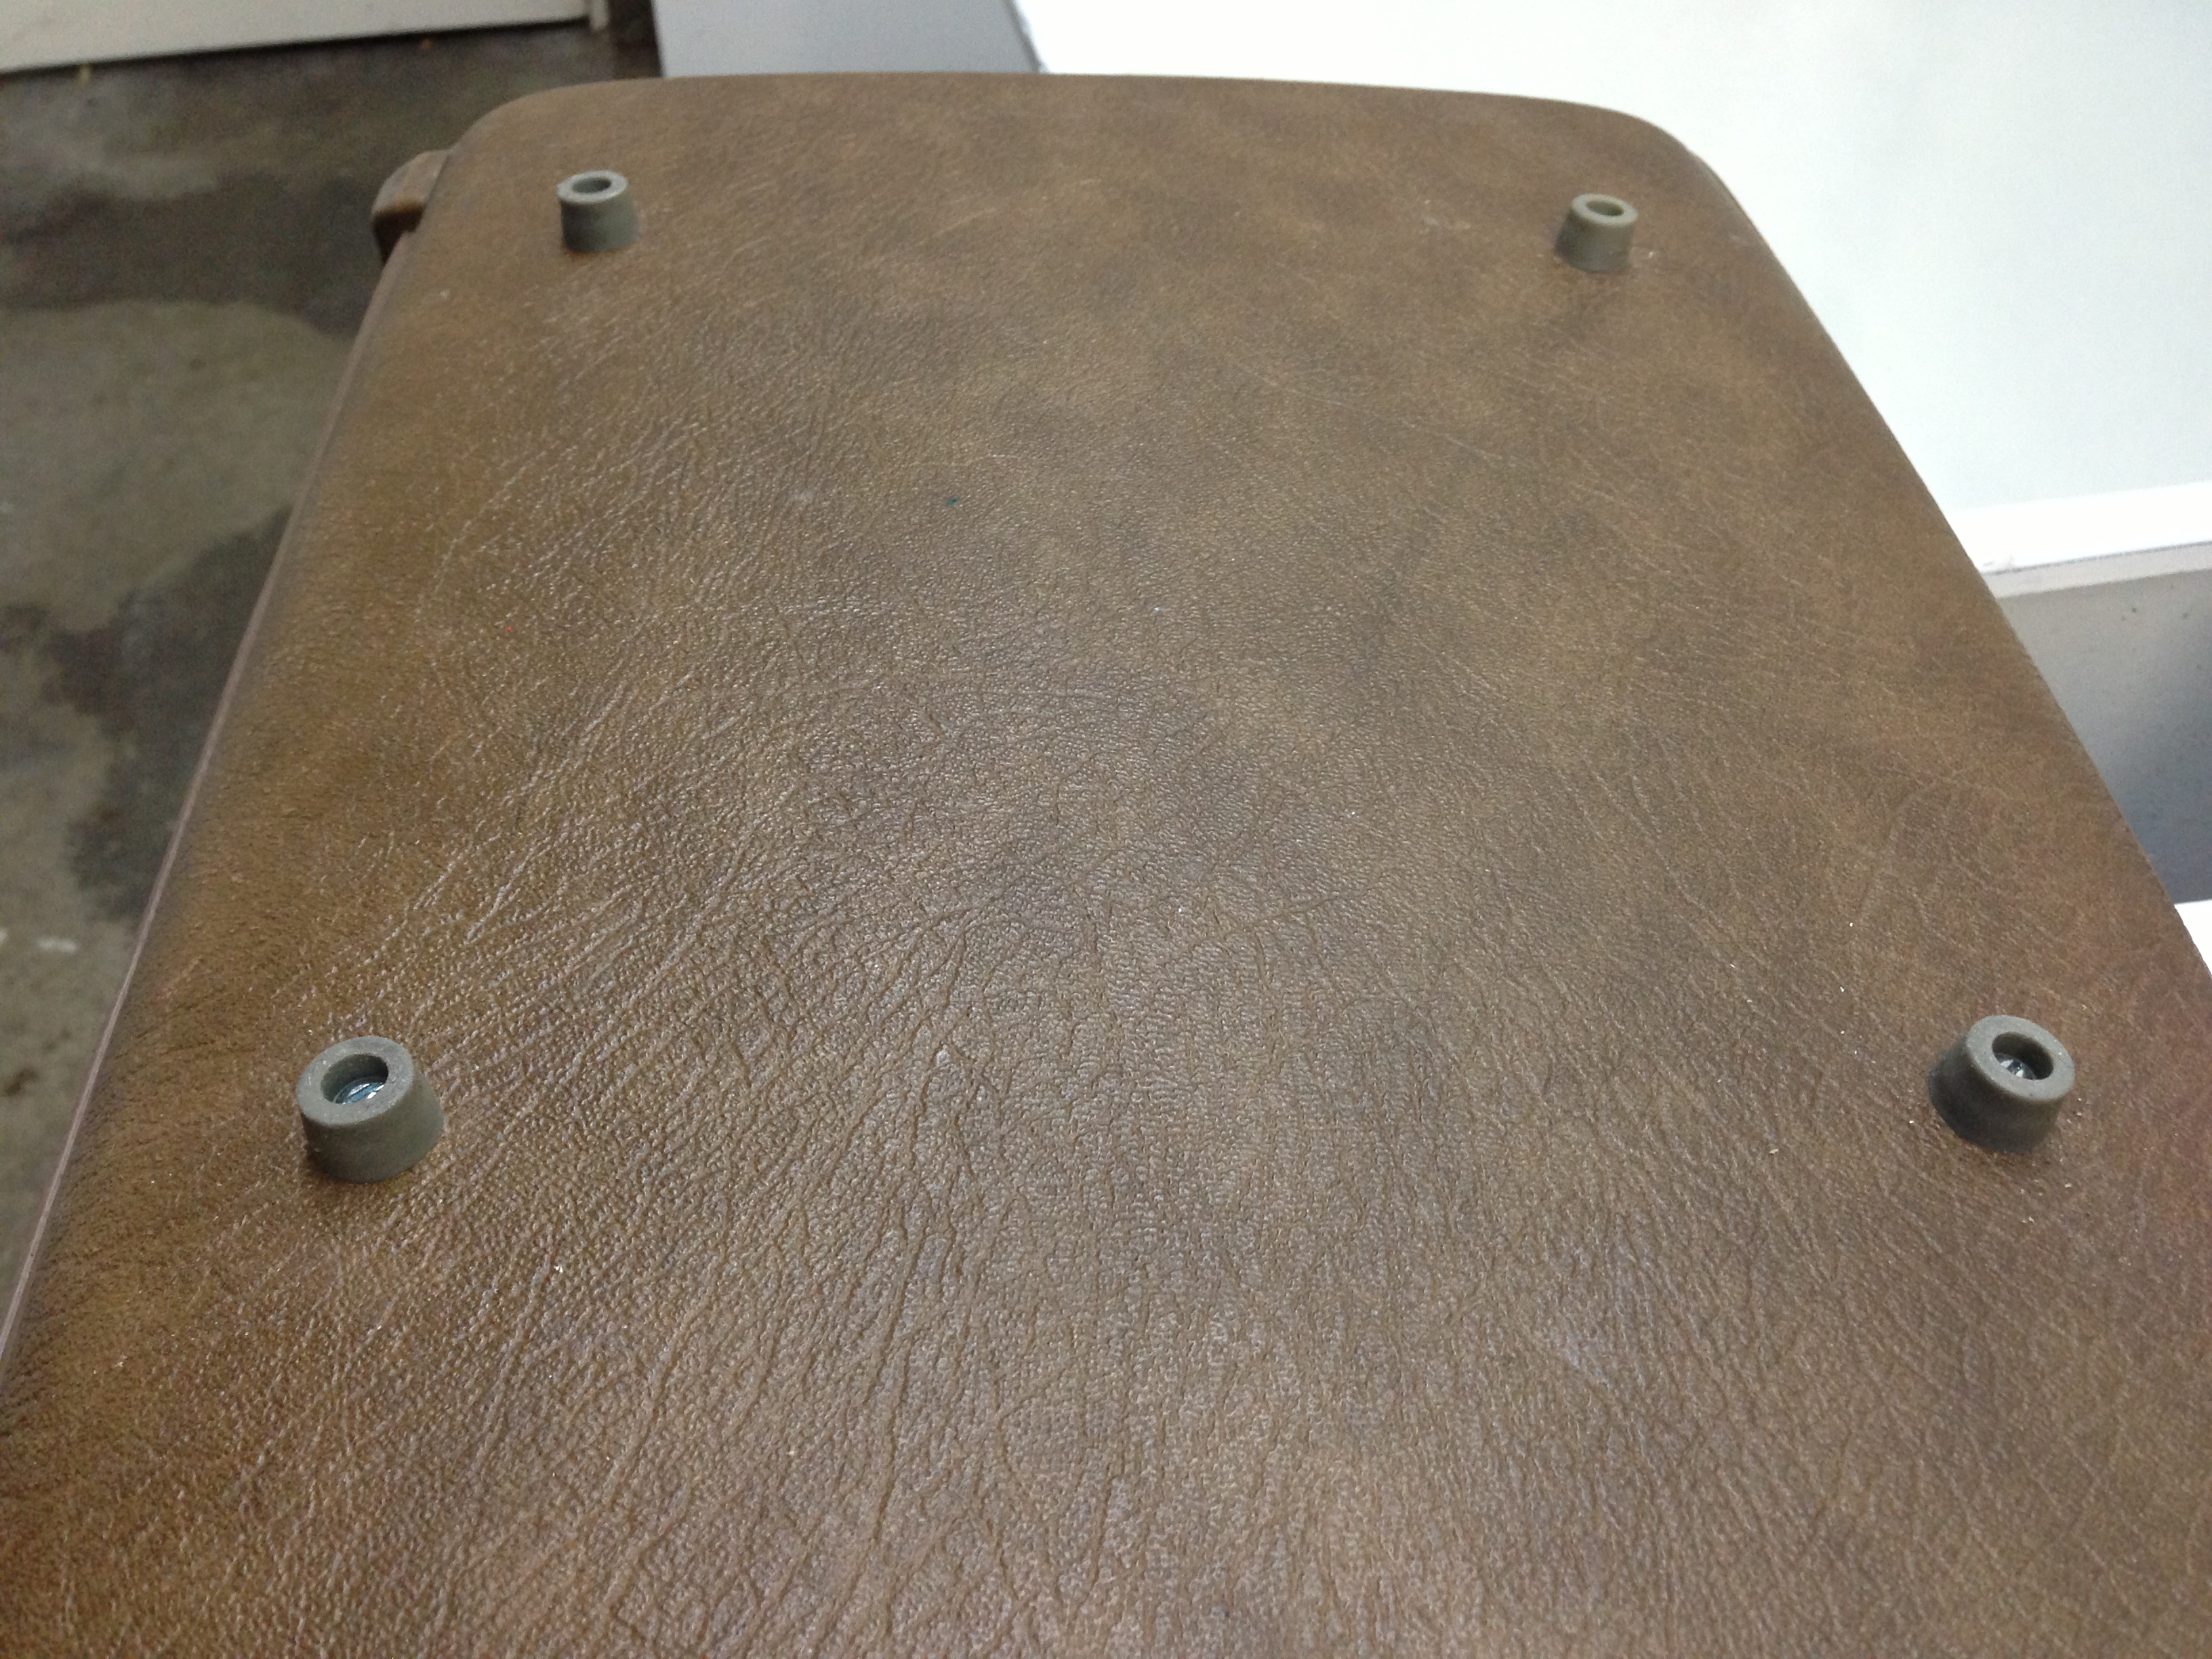
First, I drilled some holes in the bottom of the suitcase. It was very easy – the suitcase is made of some faux leather and some type of hard plastic. My Makita drill went through like butter. I attached rubber feet to the bottom of the suitcase to stabilize the briefcase (you don’t want it rocking back and forth when you press one of the pedals during a performance!). With the rubber feet in place, the suitcase was anchored to the floor. The rubber keeps it from sliding around too.
After I attached the feet, I took some cool egg-crate foam I had saved from a past package. I laid out the pedals I want to carry in here, and chalked their outlines like they were bodies at a crime scene. With a pocket knife and razor, I sliced up the foam and made snug cut outs of the pedals. I also took the razor and made the foam fit into the inside of the briefcase. A few more cuts and I had room for the daisy chain power cords and the 1/4″ cables.

As you can see, everything fits perfectly. I was going to Velcro everything down, but once I placed the foam in, everything sort of stayed put. I may cut out more spaces in the future for a DI box and an additional pedal, but this is enough for now. I also love the fact that the briefcase contains places for papers and files, allowing for a convenient place to keep sheet music and other goodies. After all was done, I put some decals on the briefcase to make it look a little more like it belongs on stage, rather than something someone forgot in 1976.
These briefcases can run for about $30 on craigslist, and if you have to buy hardware, it shouldn’t cost much. The whole project should only take you a few hours (if that). It’s much cheaper than buying a pedal board… and a lot more creative and fun!
In the end, I ran into a couple minor problems. See Part 2 for info…

Pics are broken. 😦
Hi George,
I checked and the pics are working. Sometimes it can be the connection of where you are logging online. The pics look broken at my office b/c of the firewall, but at home they work fine. Thanks for checking the site George!