

So after I [thought I] finished my briefcase pedalboard, my wife says, “did you try it out?”
“Not yet,” I replied… but quietly I was thinking, “I don’t need to try it out. I know what I’m doing!”
Turns out, I don’t know what I’m doing. Listen to your wives, fellas.
I plugged in all the cables and realized that I didn’t have enough clearance to get my guitar 1/4″ instrument cable to fit. The head of the cable was too long for the cable to fit! I needed to drill another hole into the side of the suitcase to allow side access for my cable. If not, the pedalboard would become useless… I’d have to remove all the pedals each time I played and just set them up on stage (thereby making this whole project worthless). But I shall not give up that easily!

PROBLEM #1. I started drilling, thinking that the same “butter-like” effect I encountered with the rubber feet would be true when drilling the side of the briefcase. NOPE. The sides of the case are reinforced with metal, making the case sturdy, but very difficult to drill. I managed to create a small hole in between the metal reinforcement, but not big enough to fit my cable head through. FAIL.
PROBLEM #2. I decided to abandon the side drill attempt and drill a second hole just below in the plastic part of the case. It was at the edge of the case, and while it was not ideal, I thought I could squeeze the cable in through the second hole to access the my tuner pedal. I tried, and it did not fit. FAIL AGAIN. Now I had 2 holes in the case, and no way to fit a cable through.
But I could not give up! All this work for nothing? I was not satisfied with that. So, in one of my rare moments of ingenuity, I took apart a hacksaw (the only thing I could find that would cut metal), and threaded it through the first hole. I cut enough of the metal to be able to bend it back with some pliers, and force open a bigger hole. I used a round file to shape the hole a bit, then tried to fit my cable through. SUCCESS! I use an acoustic-tuned Monster cable, so it has a slightly bigger head than the standard instrument cable.

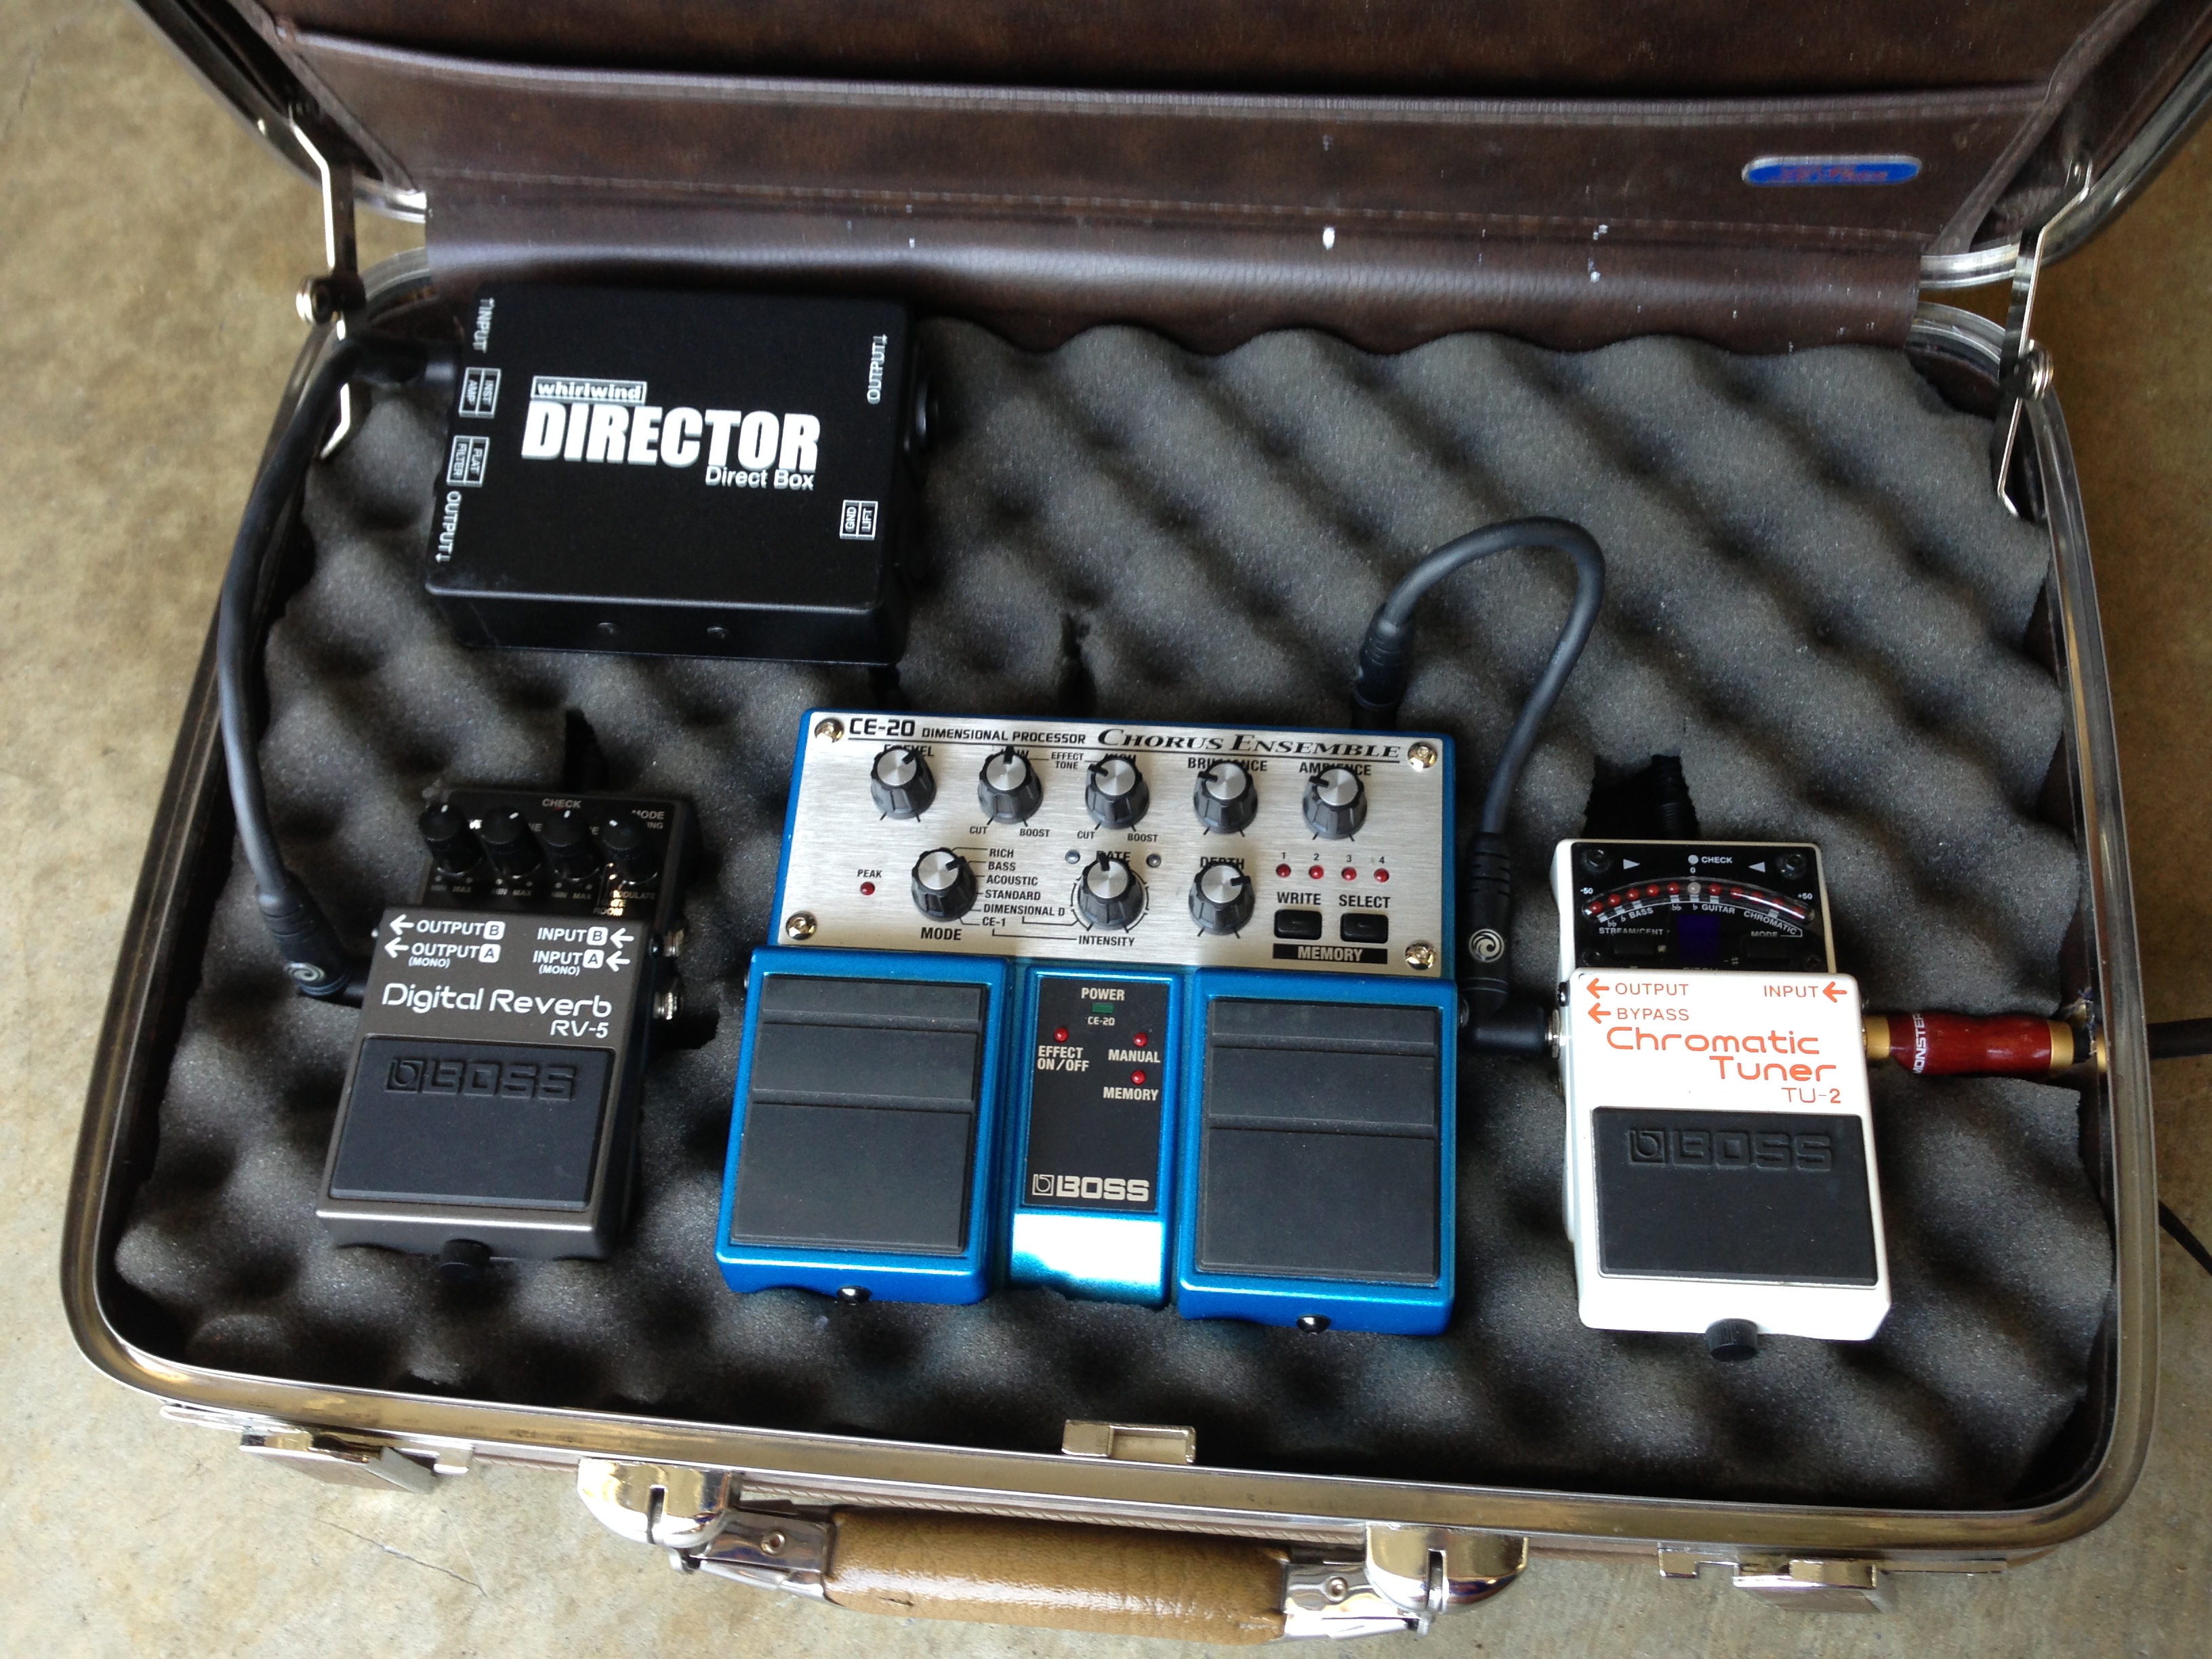
I felt better about the project now that I had salvaged it. However, that second hole kept looking at me, reminding me of my failure. So, I decided to see if I could fit my power source cord through the hole and hook everything up… SUCCESS #2!


The other half of the pedal chain works well. I may cut out room for a DI box in the future, but for now I am satisfied with everything working and fitting well! I also placed the daisy chain AC cables under the foam to clean up the appearance a bit.

If any of you decide to give this project a shot, let me know how it goes!
